May 22, 2018 December 9, 2018
Pirate101 Swashbuckler
Logan’s Kane Solo Guide
Logan is back, with a guide on how to solo Kane as a Swashbuckler, Without Blood Flames or Frozen Tide!  — First of all, Let me tell you about Kane. Kane is the Supreme Commander of the Armada. You get to know some about him early game questing then Meet him face to face in Duomo, Florenza in Valencia then finally Encounter him to Tackle your way into the victory to save the spiral in The Machine Control Room in Valencia.
The Fights
The Machine Control Room has 3 Fights total:
1. Kane’s Guards
2. Machine Battle
3. Kane and his court
Gear
In order to solo Kane and his guards, You’ll definitely need this certain equipment set as a Swashbuckler as follows:
Protection
Obtainable from the following gear pieces:
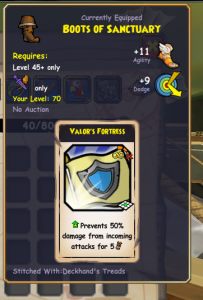
Boots of Sanctuary – Dropped by Friar Sand in North Landing – Subata Skyway – Mooshu (Alternatively, Shoes of Faunus from Sssiva)
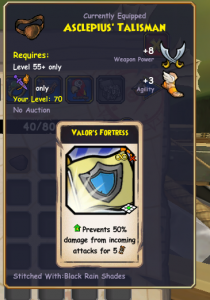
Ascelipus’ Talisman – Dropped by Sssiva in Temple of the Fire Cult – Illios in Aquila OR Diskylos in Cave of Shadows in Illios as well.
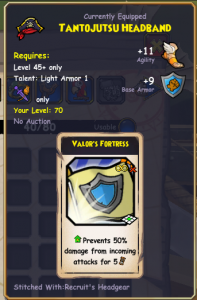
Tantojutsu Headband – Friar Sand – North Landing – Subata Skyway – Mooshu
 Kraken’s Lament – Pet Grant
 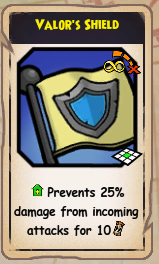 Valor’s Shield – Trained by The Commodore
Heals
4 To 5 Heals Which can be obtained from the following:
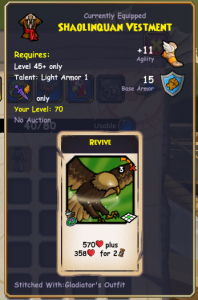 Shaolinquan Vestment – Friar Sand
 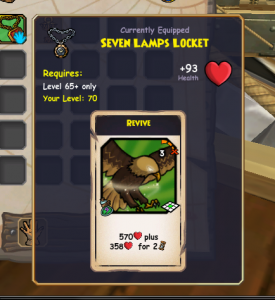 Seven Lamps Locket – Bazaar
 Spring Champion’s Sabres– Second Wind (Not Necessary but it’s one of the best clutching heals ever in game)
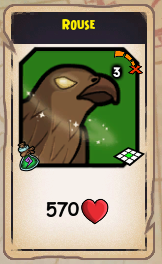 Rouse – Trained by The Commodore – The Privateer Class Trainer
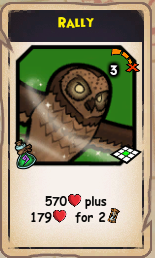 Rally – Pet Grant
Note: If you don’t have Second Wind you can go for a Grants Rouse and Rally pet.
Companions
Personally I found it the best with these companions:
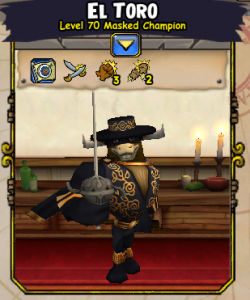 El Toro– He’s a great companion with potential due to his Espirit De Corps buff which helps a LOT against the Soldiers since they tend to dodge a lot. Relentless 2 gives him good chains.
 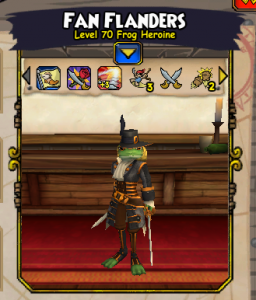 Fan Flanders– She’s an offensive cannon and a great buffer with her Cloud Spirit buff and the ability to flank and chain the enemies with her critical chances if Grand Shadowdance is also used!
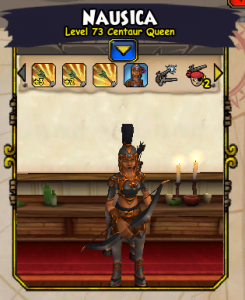 Nausica– She’s a destructing companion that can easily charge without the need to be in the enemy’s range with Black Fog. Not to mention that she’s the Musketeer’s Silencer with her Grit 2.
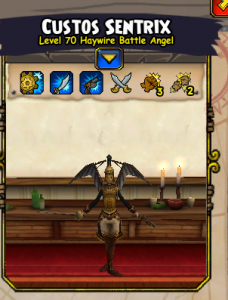 Haywire Battle Angel– Haywire Powers are what makes her very SPECIAL. Specially the Haywire Shot power if used with Black Fog. You can one shot kill an Enemy easily.
Old Scratch — Very fragile, although his Mojo Flow Buffs help Swashbucklers a lot in boosting their Heals and Poison Damages. Which could lead to a super crit poison that deals 1,000 Damage for 5 rounds.
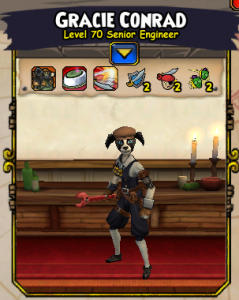 Gracie Conrad- She has a War Golem that can halt enemies is what makes her indeed an Important Companion during this Epic battle among with her Mine Trap. With Scratch’s Mojo Buffs, The Mine can deal nearly 2k damage and Summon a Level 108 War Golem.
 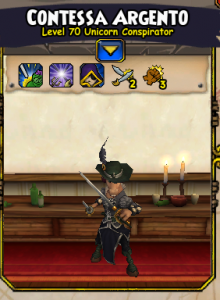 Contessa Argento- She is great for Suicide missions to tank the damage with her Gallant Defense to help saving your Important companions from the danger of death. Not to mention how her criticals and Dodge is pretty destructive.
 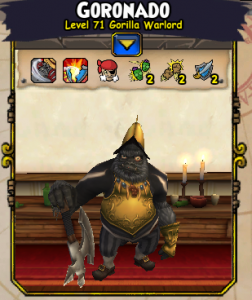 Goronado- He is is pretty good to halt the enemies for sometime and also disable Musketeers and Swashbuckler Mobs from damaging you with his Vicious Charge. After his vicious used though, He may be a bit useless.
* Nausica and Goronado aren’t really Necessary If you don’t have them, I was soloing Kane as well easily before I had these 2 companions.
Weapons
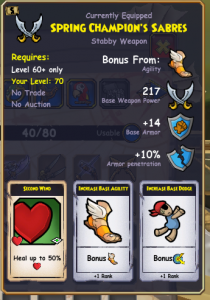
Spring Champion’s Sabres– As much as this weapon is more for a PvP use, It’ll always be number 1 for the stats boost it has and of course the Second Wind Heal it has.
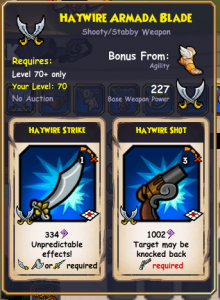
Haywire Armada Blade – Second favorite right after the Champion weapon for a reason – One of the best Shooty/Stabby Hybrid Combo weapon power wise and of course the destructive Haywire Shot. If you do have a Relentless Burst Fire pet, This Weapon makes wonders in battles.

Boarding Knives – One of the weapons I loved the most back in 2014 and still useful until this day. An Extra Assassin Strike is always welcomed and also it has a Level 70 Tier as you can see, So better weapon power.
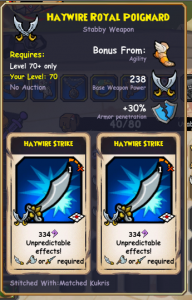
Haywire Royal Poignard – Pretty decent if you don’t have any of the above and Haywire Strikes could make up to 2k Damage if luck is on your side.
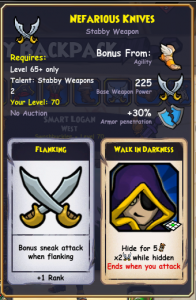
Nefarious Knives – Dropped from Nefarious Five Battle in Tower of Moo Manchu and still a great weapon to use for it’s extra hide. Flanking can be the only con about this weapon but only if you don’t know how to avoid flanking an enemy. So make sure to avoid a flank before charging an enemy!
Pet
Pets are anything really – Best is a Grants Rally, Kraken Lament, Brutal Charge, Relentless, Elusive, Burst Fire (If running Hybrid weapon) or Turn The Tide.
Talents for your Pirate
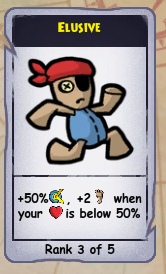
Elusive 3 – You can train Elusive 1 and 2 from Commodore, Only way to obtain Elusive 3 is a Grants Elusive from a pet. You’ll need Elusive to dodge basic attacks or chains from enemies or Kane’s Deadly Frenzy. It has the potential to help you survive
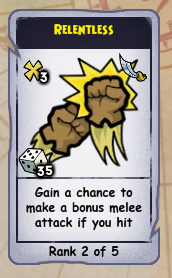
Relentless 2 – You can train Relentless 1 from the secret melee trainer in Corsair’s Channel and obtain the Relentless 2 from a Pet Grant. It helps in making some decent chains to kill and damage enemies.
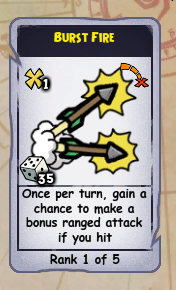
Burst Fire 1 (Hybrid Players only) – You’ll need this as a pet grant for extra chains — You can train rank 2 from the secret Musket trainer or as a grant from Illios Quiver Totem dropped in Troy.
The Dungeon
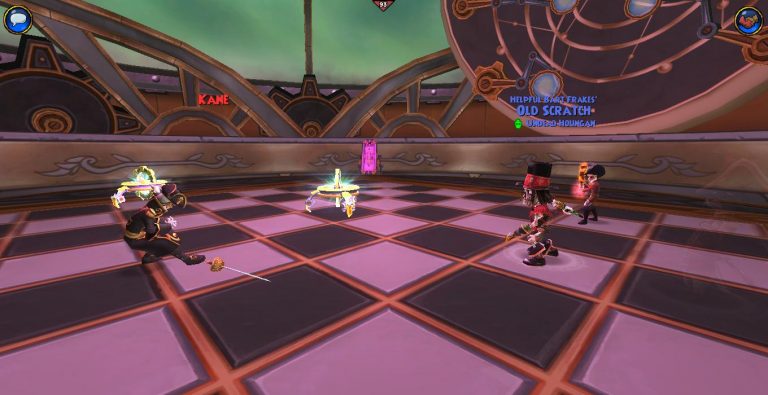
First Battle: Kane’s Guards
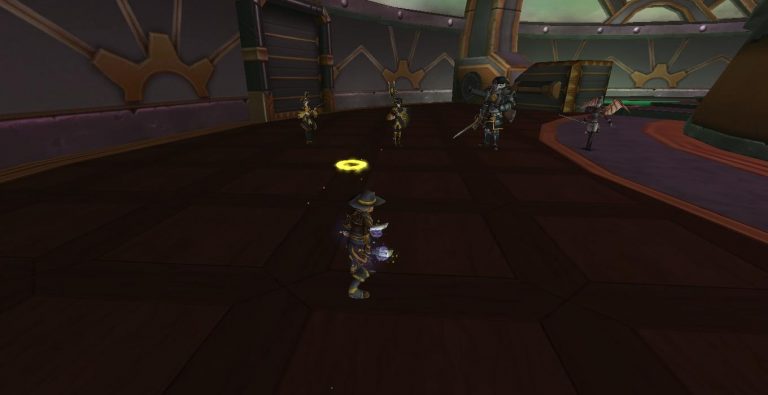
This is the first battle in Machine Control Room after the death of Gazpaccio by Kane and Kane’s reveals to his plans – The enemies here have a few powers and a decent group of chaining talents.
Enemies:
Armada Battle Angel – Swashbuckler – Powers: Assassin Strike – Talents: Riposte – Relentless 2 – Bladestorm 2 – Flanking 2
Armada Musketeer (Sniper) – Musketeer – Powers: None – Talents: Burst Fire 2, Overwatch 2, Double Tap 2, Quick Adjust 2
Armada Marine – Buccaneer – Powers: Vicious Charge – Talents: Hold the Line 2 – Repel Borders 2 – First Strike 2 – Bladestorm 2 Turn the Tide 3
Armada Dragoon – Buccaneer – Powers: Vicious Charge – Talents: Hold the Line 2 – Repel Borders 2 – Vengeance Strike 2 – Relentless 2 – Bladestorm 2 – Turn the Tide 3
Companions
Personally I use Toro/Fan/Nausica or Toro/Goro/Nausica or Toro/Fan/Haywire Angel or Toro/Scratch/Fan in the same Arrangement exactly.
Gameplay
If you plan to use Toro Fan Nausica, You simply fog first round, move your companions everywhere close to the enemies on the board then round 2 use Shadowdance of your pirate, round 3 fort your pirate and use fan’s Grand Shadowdance, Round 4 you poison the enemies, Use Toro’s Espirit and Fan’s Cloud Spirit. Round 5 when it’s the last fog round left.
You simply assassin strike the Dragoon or Haywire angel, Use El Toro to attack the marine or Armada Musketeer, Super Strike the Dragoon or Battle Angel with Fan Flanders and super point blank shot any of these 2 targets or the Marine with Nausica. Don’t forget to spam doubloons too!
Toro/Goro/Nausica:
Fog first round of course and spread your companions all over the board, Poison the enemies round 2, Fort round 3, Use Toro’s Espirit round 4, Charge with your companions and your pirate last round of fog. Make sure to use Goro’s Vicious Charge on the Armada Musketeer to avoid his awful damage and chains.
Toro/Fan/Haywire
Fog, Spread your companions, Poison round 2, Shadowdance round 3, Fan’s Grand Shadowdance round 3, Fort your pirate round 4, Espirit and Cloud Spirit round 4 And round 5 charge with your pirate and companions. BUT make sure to use your Haywire Battle Angel’s Haywire shot on one of the Buccaneer targets or Armada Battle Angel to Eliminate a target in 1 shot easily.
Toro/Scratch/Fan
This is one of my favorites, Fog, Move your companions across the board EXCEPT Old Scratch, Keep him next to your pirate and use his +25% Mojo Buff Round 1 While fogging so your pirate can receive the Spell Power Boost buff.
Shadowdance Round 2 and use Scratch’s +50% Mojo Buff while your companions are still idle.
Fort your Pirate Round 3 and use Fan’s Grand Shadowdance and Scratch’s 100% Mojo Buff also in round 3.
Round 4 head to poison the enemies with your 500+ Damage Poison with a chance to get higher damage if you crit your poison then use Toro’s Espirit, summon Old Scratch’s Skeletal Corsair Summon and Cloud Spirit Also still at Round 4.
Then Charge in Round 5 and enjoy your Assassin Strike’s Poison Damage.
Fight 2: The Machine

This is the second battle in Machine Control Room which has a victory condition to end the battle, Which is destroying The Machine’s Main Mechanism to stop the launch of the digging machines that will destruct the Spiral.
Companions
Toro Nausica Goro OR Toro Fan Contessa
Gameplay
The gameplay for this battle is really easy for a Swashbuckler. Just Fog Round 1, Spread your companions around the Machine Devices, Then destroy them with your companions’ Powers and Your Pirate’s Assassin Strike.
Last Battle: Kane and his Court
This is the final battle and the most difficult if not played correctly. You face Kane and his Court members among with 2 Armada Marines and 2 Rookes.
Cheats
If Rooke gets attacked or poisoned, Kane uses “King’s Castle” and teleports to Rooke.
If one of the Armada Marines reaches the Pirate’s Side of the Chessboard, The Marine transforms to a Queen
Bishop summons an Armada Device every round.
Companions
Scratch/Gracie/Contessa
Gameplay
Fog is a must to show up in this battle in the first round. You simply Fog, Use Scratch’s 25% Buff first round. Second Round you start to use Shadowdance or Valor Shield on your pirate while Old Scratch uses 50% Mojo Buff. Keep spamming doubloons still.
Round 3 you start to fort your pirate while Old scratch uses his 100% Buff and Gracie uses her mine CLOSE to The Marines or Rooke. The Marines must die before they reach your side of the Chessboard. Round 4 you poison a group of the Court (Make sure to include Rooke and Queen in this poison square). Use Gracie’s War Golem for more Summons Distraction and get Contessa next to you.
Then Round 5 Charge and get your pirate to brutal charge Bishop, Use Contessa’s Backstab against Rooke and cast Old Scratch’s Summon and see if Gracie can use her Epic Strike to any non-much of a harmful Target that could potentially kill her. Once you’re done with Marine, Queen and Rooke, Focus on getting Bishop dead. If you have Witch Hunter trained on your pirate, Stand next to him to trigger your Witch Hunter and trigger your relentless chains.
Once that’s over You’ll have Kane and deacon left. Simply Hide, Poison, Fort then Charge Deacon (But make sure you’re away from Kane within 2 squares or so so he doesn’t get you killed).
Once Deacon is killed. Rest shall be easy. You’ll have a fort and Kraken Lament Protections left and probably the 3 rounds Hide. Use the hide, One of your shields, then Assassin him. Make sure to drain his health to yellow or red then go for the final assassin Kill. Also note, You may lose a companion or 2 in this battle. This is normal.
Enjoy your Victory and the bounty of Kane’s Loot!
Enjoy your victory and claim Kane’s Chests at last! After being able to Solo Kane in a matter of no time and without the need of Blood Flames or Tide
Verified Solo Method
So far, I’ve done that solo method 40 times easily and earned The Bane of Kane Badge on my Swashbuckler! This is how i run the battles against Kane with no problem. Now, Tell me, What is your favorite part in this dungeon when Farming Kane? Hope the guide was helpful enough for you!
If you haven’t played Pirate101 yet, Check it out and play your Free Trial here .
Thanks for reading, And see ye in the Skyways! Yarr!
Logan