May 31, 2020 June 6, 2020
Wizard101 Beastmoon Hunt
Getting Started in 15 Minutes
Have you ever wanted to try the Beastmoon Hunt, one of the monthly special events in Wizard101? There’s a lot of great information about it, including Eric’s Comprehensive Beastmooon Hunt Guide, but they can also be overwhelming and confusing.
This guide focuses on key things to know ONLY – so you can get started, be a helpful teammate, and start having fun in 15 minutes or less.
It’s arranged in the following sections:
- Beastmoon Hunt overview
- Getting started in a Hunt
- How to help your team win a Hunt
- What should I do after my first Hunt?
- Where can I get more information?
Acknowledgments
Big thanks to two Final Bastion staff members:
- To Eric Stormbringer, for his Comprehensive Beastmoon Hunt Guide, which seems to provide more information each time I read it, and patiently answering my questions as I got started myself
- And to Ravino, for also patiently answering my questions and then providing really helpful detailed feedback as this article was taking shape
Also to my friend Steven Lionflame for stubbornly refusing to try Beastmoon Hunt and motivating me to write something to try to make it easier for others to get started. Hopefully he’ll play now… ¯\_(ツ)_/¯
I’d highly recommend giving the Beastmoon Hunt a try if you haven’t played it before. I finally decided to play this month (better late than never, eh?), and was glad I did because many things were better than expected:
| What Held Me Back from Trying It | What I Experienced |
| “This seems really confusing” | It’s easier to get started than I thought |
| “I’ll start off weak and will have to grind to become competitive” | You can be a helpful teammate right away — all it takes is a little coordination |
| “Why did they change all the spells? I don’t feel like having to learn a bunch of new stuff again” | The new spell mechanics work really well. It’s worth the time to get used to them |
| “Eh, the PvP community can be pretty toxic. Not really interested in being around that…” | Most of the community was friendly and fun to play with (especially if you’re a helpful teammate!) |
| “They want me to do more gardening?” | Hmm, this gardening actually is pretty easy |
A. Beastmoon Hunt Overview
 What is It?
The Beastmoon Hunt becomes available the first Tuesday of each month for 5 days.
While it is running, two teams of 5-6 Wizards can compete, either signing up individually or in groups, in a “Hunt” that usually lasts 15-25 minutes.
The objective of each “Hunt” is to be the first team to get to 100 points. It’s a competition that is part team PvP and part “capture the circle” in a special “Battle Arena.” Wizards may sign up and play as many Hunts as they like while the Beastmoon Hunt is running.
How Do I Sign Up?
Your can sign up for the Beastmoon Hunt from anywhere in the Spiral! You must be at least level 10 to participate.
Sign Up Individually
If you want to play individually, click on the Gamma icon in the top right corner of your screen and select the Beastmoon Hunt. Then click “Join Match.” When enough players have signed up, you’ll get a final confirmation that you’re ready to start. After a brief pause, you’ll be whisked away to the Hunt automatically!
 Sign Up with Friends
If you want to play with a group of friends, simply follow these steps:
- create a group with your fellow Wizards;
- have you or one of the Wizards join the Hunt, like they would as an individual;
- when prompted, select “Join as a Group“;
- have all Wizards in the group confirm they are ready and off you go!
What am I Supposed to Do in this Room of Statues?
When you first join the Hunt, you’ll be placed in your team’s base (which will be either Red or Blue), along with your other five teammates.
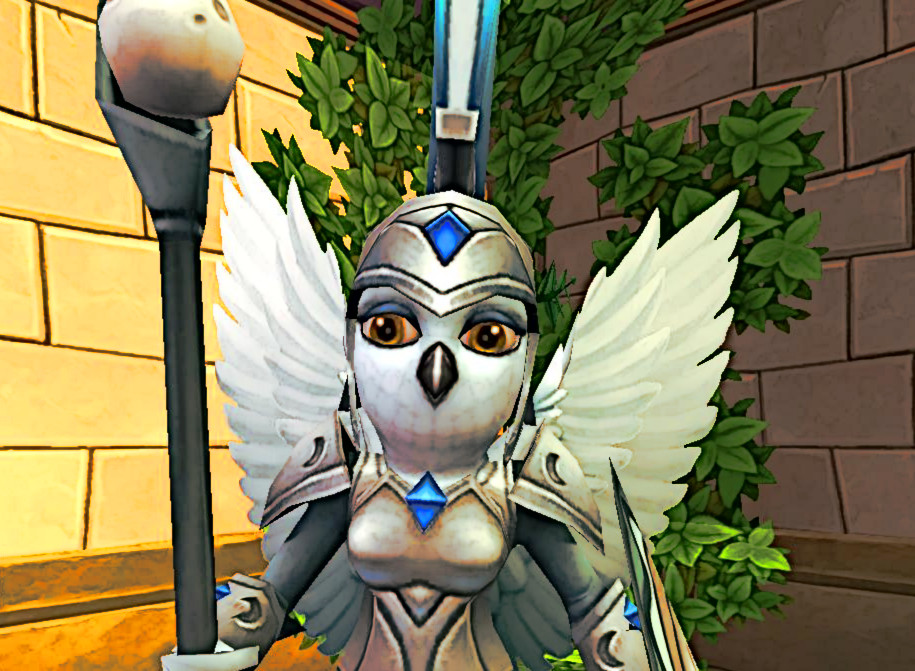
Your first task is to to pick the “Beastform” that you will polymorph into during this Hunt. You can pick any form that is sparkling. Each team may only have one of each Beastform, so it will stop sparkling once a Wizard picks it.
 Which form to pick? For your first few games, it’s doesn’t really matter, since we’re going to be learning how the game works. I’d suggest just picking whichever one looks coolest to you.
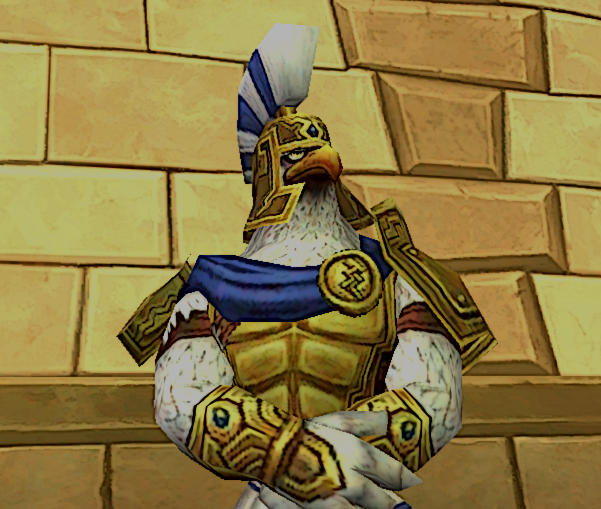
There’s also an Eagle dude named Actaeon in the base with you. We’ll talk about him a bit later, so don’t worry about him for the moment.
There will be a countdown of 60 seconds. As soon as it’s done, run through the teleporter to enter the Battle Arena.
 What’s in the Battle Arena?
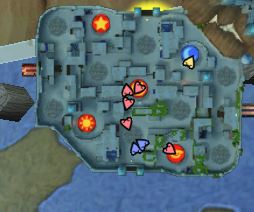
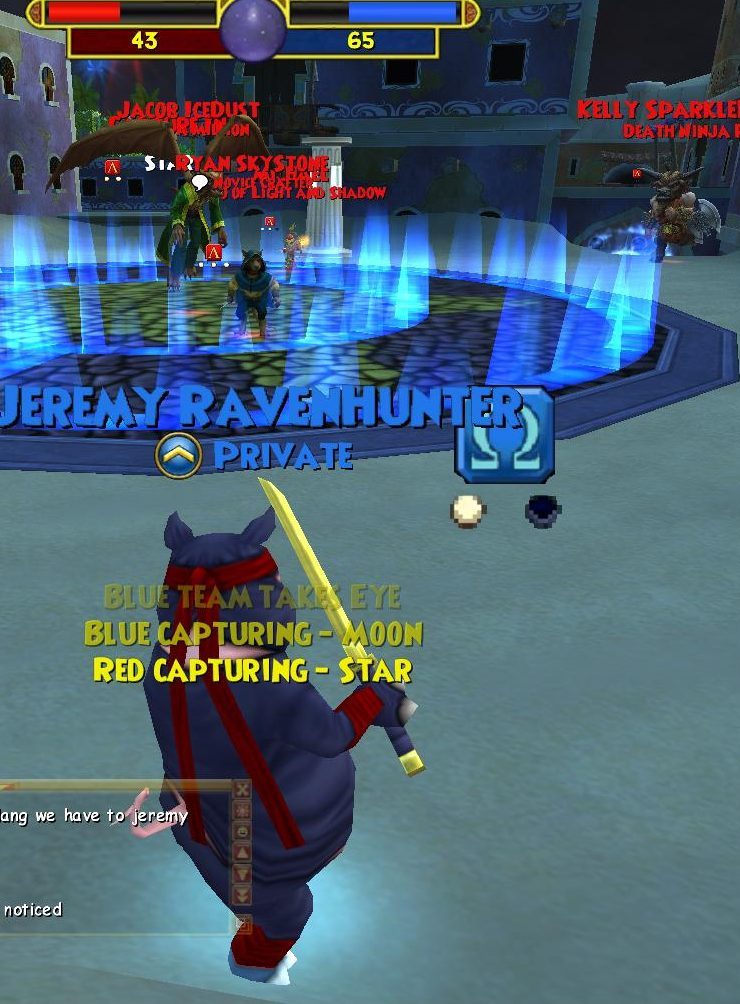
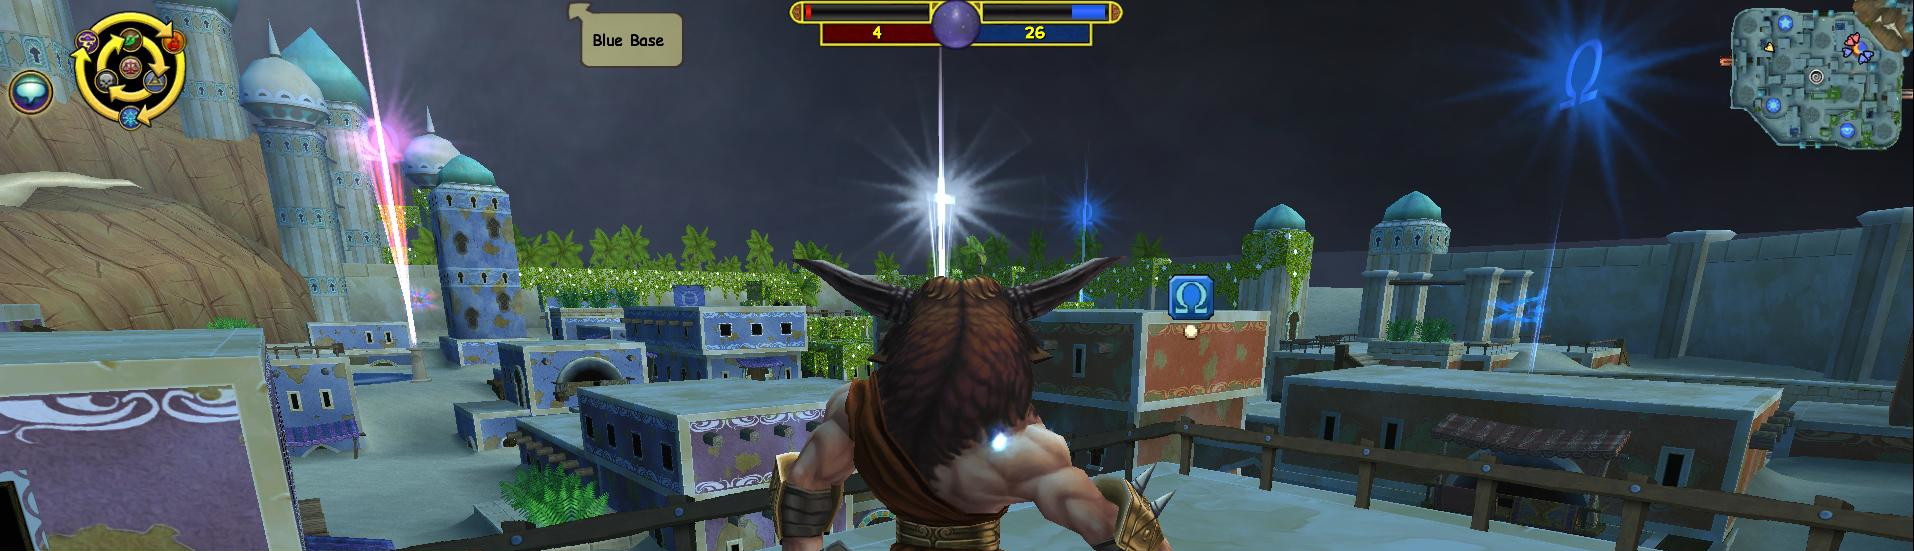
While in a Hunt, you can see a map of the Battle Arena in the top right corner. The most important feature is the 5 Battle Rings since they are the main way you get points:
- There are 4 outer rings, each with a different symbol:
- The “Sun” and “Moon” rings allow up to 2 Beasts from each team to engage in PvP
- The “Star” and “Eye” rings allow up to 3 Beasts from each team
- The center ring (known as the Spiral) becomes available midway through the match (it’s initially locked). It allows up to 4 Beasts from each team to engage in PvP and awards more points when you win it.
There are 4 other features to note in the Battle Arena, which don’t show up on the map:
- Pip Wisps – If your Beastform can have additional starting pips (up to 3), you can collect Pip Wisps for more starting pips when you engage in PvP at a Battle Ring
- Almost all Pip Wisps will be floating around the Battle Arena
- Some Arenas (e.g., Celestia) will have a stationary Pip Wisp
- Unfortunately there’s currently a bug where some Pip Wisps can’t be picked up (please fix this KI!)
- Health Wisp – If your Beastform emerges from a battle with lower health, you can collect these to increase it.
- There’s a few stationary Health Wisps in the Battle Arena. They disappear when collected and then come back 30 seconds later
- There’s always several floating Heath Wisps in your base
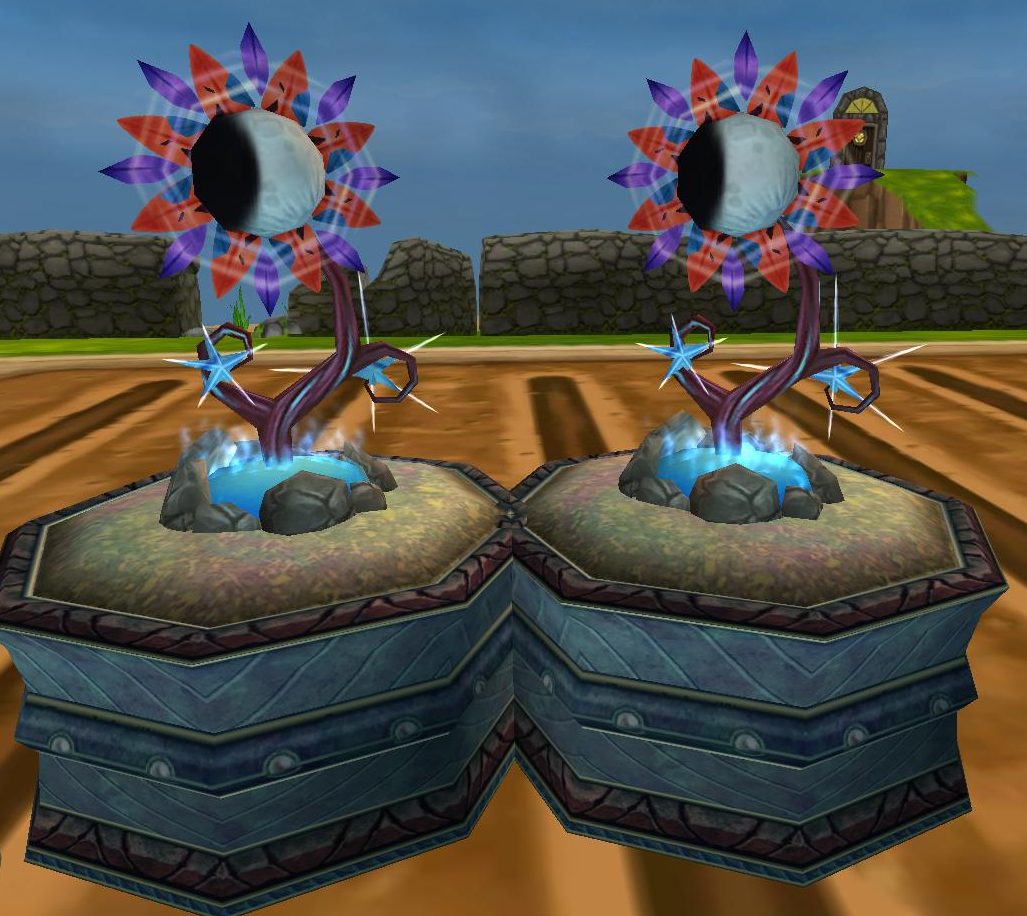
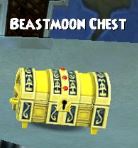 Beastmoon Chests – These show up randomly in different spots. You can open these to get Battle Coins and Battle Cards. We’ll talk more about these later
- Speed Boosts – Some Battle Arenas have ways for you to get a temporary speed boost. You’ll hear a sound when you get it.
- It can be a portal you walk through (usually your team’s color)
- Or some Battle Rings in some Arenas will give you a speed when you enter them
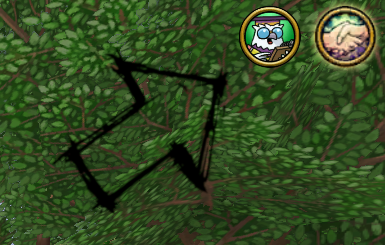
Speaking of the map, you’ll always be able to see yourself (as a yellow arrow) and your teammates (as red or blue arrows). You’ll also be able to see opponents when they are in a Battle Ring.
Try to remember your team color! 🙂
How Do I Get Points?
Capture a Battle Ring
You can capture a Battle Ring by standing in it for a short time:
- Unclaimed Battle Rings (gray/white color) take 10 seconds to capture (5 seconds if any teammate is in the Battle Ring too)
- Enemy Battle Rings (enemy team color) take 30 seconds to capture (15 seconds if any teammate is in the Battle Ring too)
When you capture a Battle Ring, you get 1 point plus 1 point for each Battle Ring your team already controls (so between 1-5 points total per capture).
Win a Battle in a Battle Ring
If you and an enemy Beast are in a Battle Ring at the same time, the Battle Ring will become contested. Your team will now PvP against the other team to try to win the circle. More Beasts can join the Battle Ring, up to the maximum for that Ring (between 2-4).
Contested Battle Rings are very important, because you get the most points when your team wins:
- 20 points when you win the Spiral Battle Ring, plus 1 point for each Battle Ring your team already controls at that time
- 10 points when you win other Battle Rings, plus 1 point for each Battle Ring your team already controls at that time
You also get points when you are in a contested Battle Ring and an enemy is defeated or flees:
- 2 points immediately when an enemy flees
- When an enemy is defeated and still there at the end of a battle:
- If your team won the battle, you get 2 points
- Or if your team lost, you get 2 points if the enemy was defeated 3 rounds ago
How Do The Battles Work?
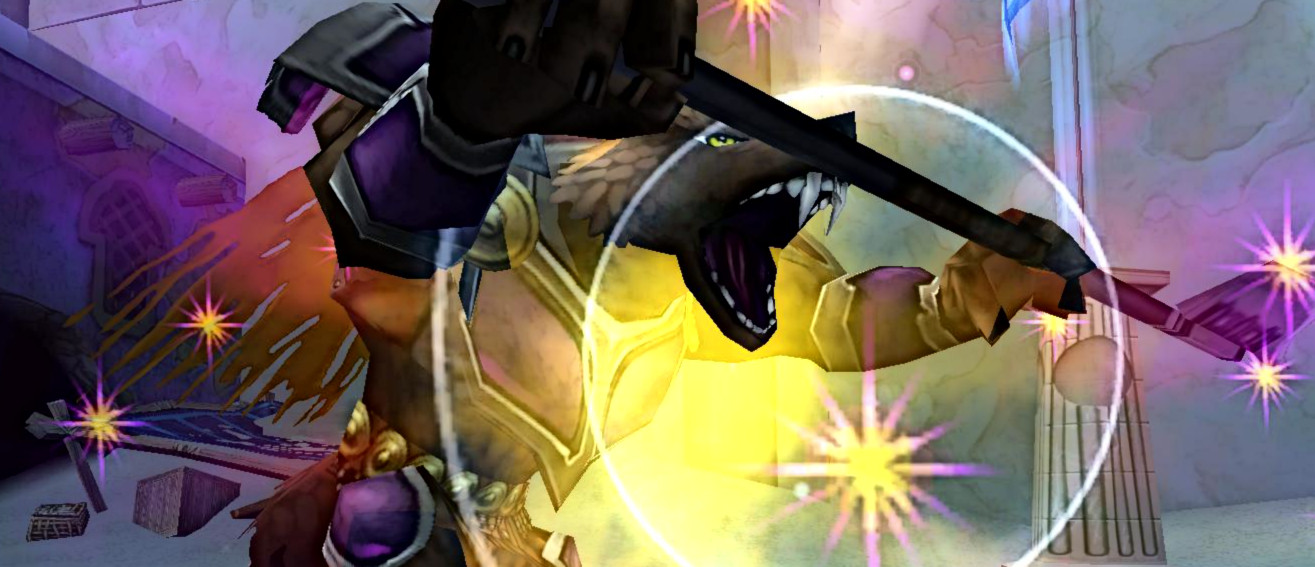
Your Beastform is similar to a polymorph — each one has it’s own pre-set cards, which you can see when you pick it at the base. The Beastmoon Hunt battles are similar to traditional battles in Wizard101, except for 4 key differences to note:
- You only have 3 cards available to pick from at a time (vs 7 in a traditional battle)
- There is no sideboard. Think of it as all of your cards are in your regular deck, so when you discard you don’t get a replacement until next turn
- All damage is flat damage — there’s no percentages
- The turn order is a bit different. The Beast in the first position for one team goes first, then the first Beast for the second team, then second Beast for the first team, second Beast for second team, etc. In the next round, the other team starts things.
B. Getting Started in a Hunt
Three quick tips when you’re getting started:
What to Do In Your Base
Your first task is to pick a Beastform.
Then remember that Actaeon dude? Your optional second task before the Hunt starts can be to buy Battle Cards. You buy them from Actaeon.
You pay for Battle Cards with Battle Coins. You can get Battle Coins 2 ways (up to a maximum of 100 at a time):
- By opening Beastmoon Chests during a Hunt
- By growing Beastmoon Plants (we talk about them more in the last section)
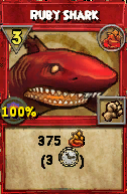
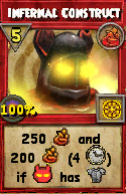
When you buy a Battle Card, remember that it gets added to your regular deck (there is no “side deck” in Beastmoon). Usually you pick Battle Cards of the spells you use more often, which you’ll get to know as you play a Beastform more.
Learn the Battle Arena Over Time
If you’re not familiar with a Battle Arena map, try to learn these things over time:
- Where do the Pip Wisps usually show up?
- Where are the stationary Health Wisps?
- Where do the teleporters take you?
- What’s the fastest routes between Battle Rings (sometimes it may be a teleporter)?
- Where do the Beastmoon Chests usually show up? You’ll want to grab these when you’re not in battles (usually when you’re looking for Pip Wisps), so you can buy Battle Cards if you want to the next time you’re in your team’s base
There will be times during a Hunt where you’re not needed at a Battle Ring (e.g., maybe they are full). In your first few Hunts, use these times to explore the Battle Arena a bit.
C. How to Help Your Team Win a Hunt
We’ll cover 10 simple strategy tips to make you helpful teammate right away. After you’ve played a few times, feel free to check out our Beastmoon Hunt Strategy Guide to learn even more helpful tips.
Tips #1-2 PICK. YOUR. BATTLES.
Winning or losing a contested Battle Rings can make a huge difference:
- A 20 point swing for an outer Battle Ring (10 points if you win vs 10 if the other team wins)
- A 40 point swing for the Spiral Ring (20 points if you win vs 20 if the other team wins)
There are two smart and easy guidelines that a new player can follow to increase the chances of winning a battle in a Battle Ring:
Tips #3-4 Be Smart with Your Captures (“Caps”)
During the Hunt there will be times where you are at a Battle Ring and there are no enemies around, so you have an opportunity to capture it (commonly referred to as a “cap”).
Keep in mind two suggestions:
Tips #5-8 Battle Smart
Four guidelines on battling smart:
- Understand the Symbols and Descriptions
- Prioritize Your Enemies
- Prioritize Your Defense
- Know When to Stall or Flee
#5. Understand the Symbols and Descriptions
One cool thing about the Beastmoon spell cards is that many of them get a benefit if certain conditional are met (e.g., if you have an absorb, you do more damage).
The symbols can be different than the traditional Wizard101 spell cards. When you start playing, study this helpful symbol guide so you can take advantage of these benefits!
Comprehensive Beastmoon Hunt Symbol Guide (opens in a new window)
Note that sometimes the description may not specify if a spell applies to one or all enemies/allies. Pay attention to the spell type icon in the middle-right, which will be a yellow-ringy-thingy if the spell affects all enemies/allies.
Attacks one enemy (notice fist icon)
Attacks all enemies (notice yellow-ring icon)
Tips #9-10 Communicate
When you play the Beastmoon Hunt, your messages the regular tab go to your entire team (and not the enemy team). The team that coordinates the best often wins, so you’ll want to take advantage of this “team chat.”
When you start in your base, it can be helpful to start off with something like “Hello”, “Let’s go team” or maybe “I like to coordinate”. You can even feel free to be corny like me say other less helpful things (“This is Sparta”, “Freedoooooommmmmm”, and “Anyone know when the McRib is coming back?”). We’re supposed to be having fun with this, right?
Once the Hunt begins, two helpful suggestions for messaging:
D. What Should I Do After My First Hunt?
When you finish your first battle, you’ll receive two Beastmoon Planters. These are the only type of planter or plot that can hold a Beastmoon seed, so be careful not to trash them. You’ll also receive a Beastmoon seed.
 After your first Hunt, we suggest going to your main house and putting the planters down close to where you first arrive, and planting the Beastmoon seed in one of them.
This tends to work well since:
- Beastmoon seeds don’t develop any needs or pests
- You’ll want to visit them often because they grow fast (between 1-8 hours).
This will get you started. To learn more about possible upgrades, rewards, and the best ways to get them, check out our guide on How to Get Beastmoon Hunt Upgrades & Rewards.
E. Where Can I Get More Information?
Once you’ve played the Beastmoon Hunt a few times and want to get more information and understand things a bit better, we’d suggest the following resources:
Overviews
Check out Eric’s Comprehensive Guide to the Beastmoon Hunt. It’s very thorough, going over a few things not mentioned here and also providing several helpful tips too.
If things are still be a bit fuzzy, it may be helpful to scan some other helpful overviews:
Strategy
We have two strategy articles for you:
- Our Beastmoon Hunt Strategy Guide goes more in depth into strategy during a Hunt
- And our How to Rock the Beastmoon Hunt article discusses tips for in-Hunt strategy and upgrades/rewards
Upgrades and Rewards
We also have two articles on Beastmoon Hunt upgrades & rewards:
- An overview of Beastmoon Hunt Rewards
- And a guide on the Best Ways to Obtain Beastmoon Hunt Upgrades & Rewards