February 19, 2016 June 20, 2023
So you want to build a 3 layer stacked garden? You’re in luck, we have a guide just for you!
Beginners’ Guide
to Gardens With 3 Layers
Step one: getting the things you will need
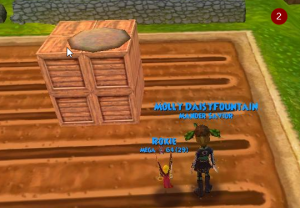
You will need 8 crates of some kind.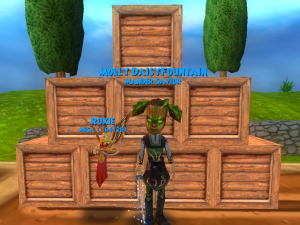 You can get any of the following:
- Crate of Hotdogs
- Crate of Ice Cream
- Crate of Jellybeans
- Crate of Pies
- Crate of Pumpkins
- Dark Wood Crate
Don’t get the Crate of Chickens. I know, I know, that one is super funny, but the chicken heads poking out of the top make what we’re trying to do impossible. If you don’t feel like going to the Bazaar, check the Crowns Shop and rejoice! You can buy Crates of Ice Cream for GOLD from the Crowns Shop under the “furniture” tab.
The second thing you will need is a house. We recommend the Red Barn Farm, because it’s a like for any plant you choose to plant. “Likes” make your plants happy, so they grow faster!
You will also need energy. The construction of a garden with 69 regular medium plots plots will cost you 69 energy (1 energy per plot). I recommend spreading the process over multiple days, because it can be frustrating and you will save your sanity if you don’t stress about getting it all done in one go.
You should also make sure you have enough energy to take care of your garden once it’s been planted! Planting one seed will cost you 2 energy, so a plot of 69 takes 138 energy (look Mommy, I’m doing math!). Taking care of the needs once your plants have been planted will not be as energy expensive, don’t worry about that. So 138 energy. At level 110, you have a base of 110 energy. So 138 energy is achieved by getting some items that give you energy. There is a lot available. Here’s what I did to get the extra 28 energy:
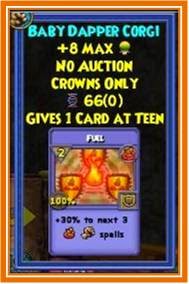
- Hatch to get a Dapper Corgi. It gives 8 energy at baby!
- Farm the Spiral Cup to get Greenwarden’s gear. I got the hat, which gives 18 energy. You don’t need to do the whole thing, just fight your way through the first fight. Rusty TinderSpark drops Greenwarden’s Energetic Mask.
- Craft the Wintertusk Ring of Courage for 4 additional energy. Ingulf the Grower in Wintertusk, Grizzleheim has the recipe.
Step two: Know your limitations
- Don’t put too many plants! The large circles that take care of plants’ needs can only cover 69 plants. If you put 70, one plant will not get pollinated. Don’t be greedy, be thankful for the 69 that are covered! A garden with 4 layers is technically possible, but with the circle only covering the needs of 69 plants, there is really no point in going for that.
- Don’t space out your plants too much! You will only be able to fit in 69 plants if you position your plots exactly like they should be.
- Don’t try to start with the second layer before you’re completely done with the first! You won’t be able to add more plots to a layer once you start to add plots to a layer below it. From top to bottom, please!
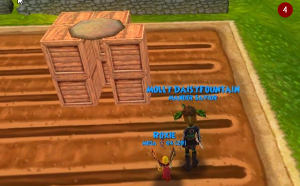
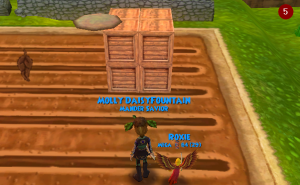
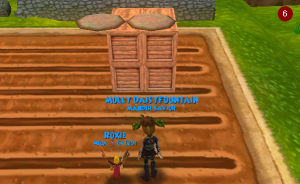
Step three: Building your top layer

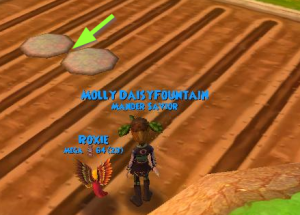
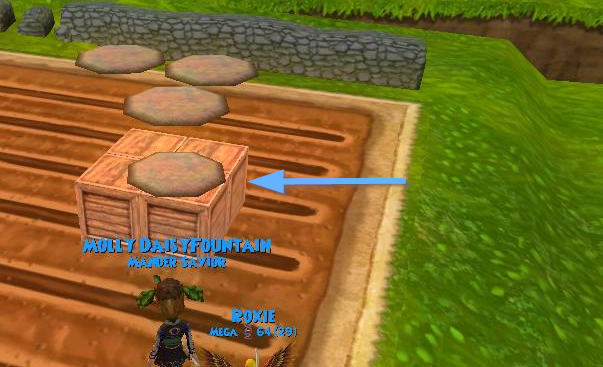
Notice how the plot doesn’t fit right in the middle of the 4 boxes. It’s situated on the edge. Sometimes it helps to remember which edges touch the side of the box when you’re repositioning them.
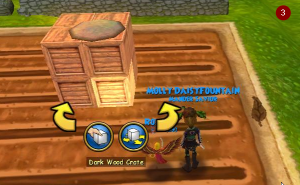
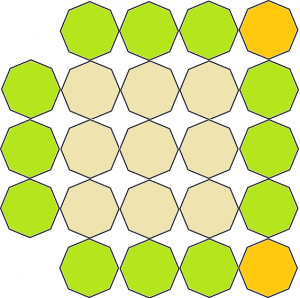
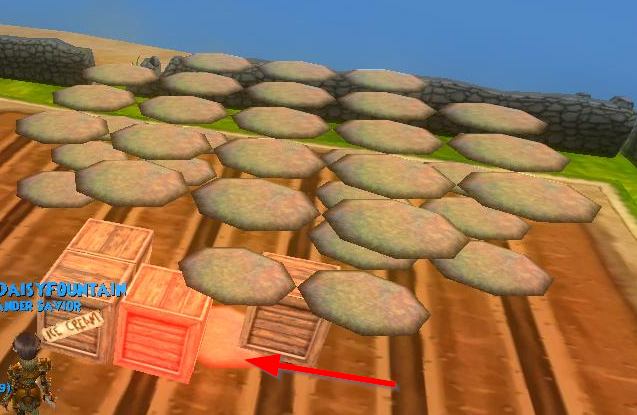
After that, move the crates yet again for the length of HALF crate. Keep going like this until your top layer is done. What we’re looking for is a layer of 23 plots. This can be achieved by first putting a 3×3 square of plots in the middle (the beige ones in the picture below). Then, add 3 at each side of our square (the green plots), making the total of squares 21. You can add 2 more (the yellow ones) in any of the corners left open. Don’t bother placing one in each corner, as your plot count will go above 69, which is beyond what a large gardening circle can cover. The next layers you place under the top one will look exactly the same as this first layer.
Troubleshooting tip 1:
“Help! My plots don’t line up perfectly next to one another!”
Step four: Building your middle layer
This one is the most annoying and time consuming layer, because the top layer keeps us from seeing what we are doing. It also makes placing the plots hard. My game doesn’t like this layer very much and sometimes doesn’t allow me to put gardening plots down even when I’m 100% sure I have my crates in the right position. Just keep going, keep trying (just keep swimming, just keep swimming, just keep swimming, swimming, swimming). It will work eventually. Take breaks! Vent your frustration!
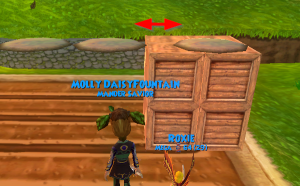
For the second layer, remove the 4 top layer boxes, so you’re only left with 4 crates. Plant plots on that layer. Once again, to find the right location for the next plot, move the crates half a crate length to whichever side.
Troubleshooting tip 2:
“There is a red plot showing where I would like to put my crate! It won’t go away!”
Solution: Yes, this is a really annoying problem. On my computer, it helps when I close the housing tab and open the gardening tab, and then switch back to the housing tab (so I press “H”, then “G” and then “H” again on my keyboard). For some people, this is not enough, and if you’re one of them, you will have to go to the character selection screen, sign back in and port back to your home.
Troubleshooting tip 3:
“I can’t place a plot on the boxes. The red plot will just not move into the right area.”
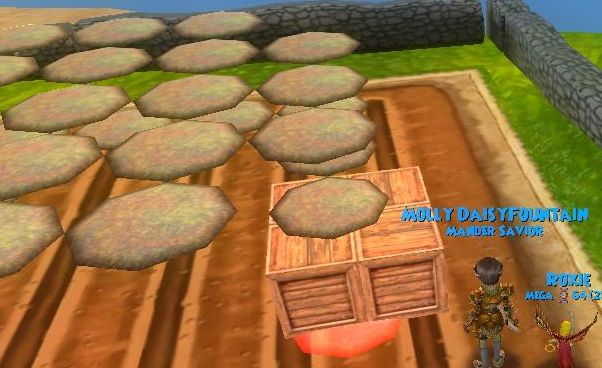
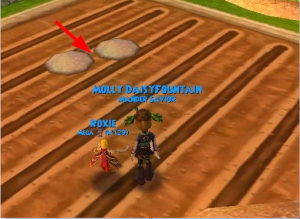
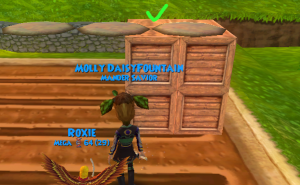
Solution: When this happens, move the boxes half a crate length (towards my wizard, in the picture above). It may take some trial and error to get it right! You’ll find the right position eventually.
Troubleshooting tip 4:
“I can’t see what’s happening on the second layer.”
Solution: I hear ya! Not much can be done about this. One tip is to go a bit further away from the plots. The field in the Red Barn Farm is placed on a slope, so you can usually get a little lower by backing up a bit. Another thing you could try is to “fall” between the cracks of the top layer. It will give you a different perspective, which helps occasionally.
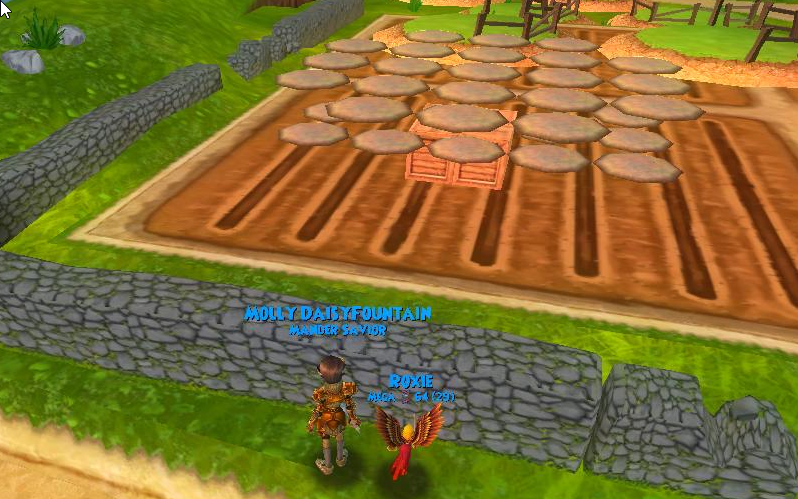
Step five: Building the ground level layer
Yay, the hardest part is over! Now you can move all the crates out of the way and place the plots on the ground level. Placing the first ground-level plot is usually a little difficult. Be prepared to have to plow the plots you place in the wrong place a couple of times. You just did the hard middle layer though, you’ll get the bottom one right through trial and error.
Step six: Wait! Don’t stop reading yet!
There is one more thing to take care of. In order to be able to reach all three layers with your gardening spell, you will need to have something to aim your gardening spells at. We used to use a floating garden gnome for that, but this seems to have stopped working. As such, here’s the new solution:
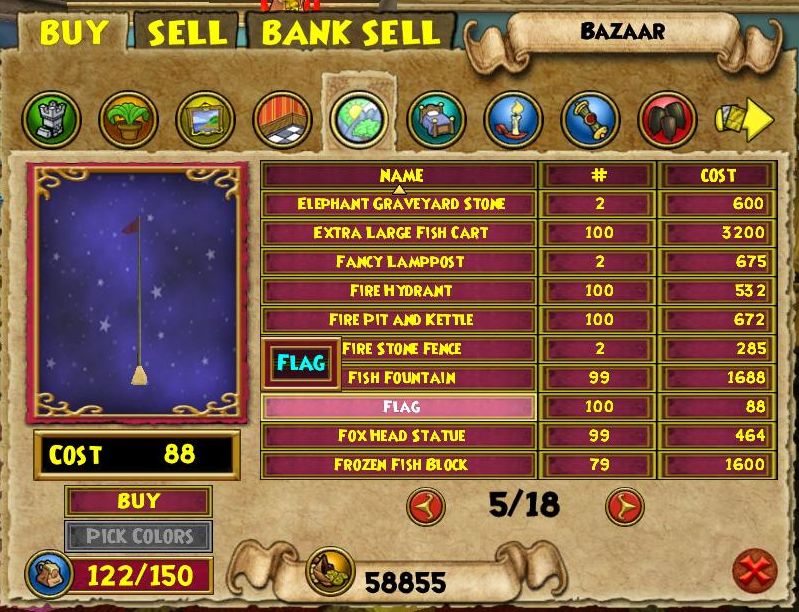
On the bottom layer of your garden, you should not plant a plot in the very middle. The very center of your lowest layer will stay empty. In that space, put a “Flag” housing item. It’s just called “flag” and you can find it in the Bazaar under “Outdoor” housing.
In order to “reach” all three layers with your large gardening circles, you will need to aim at the flag. Don’t just put the gardening circle where you usually put it, down on the ground! If you do that, you will not be able to take care of the plants on the top layer.
When you aim at the flag, and move your cursor up and down, you will see the gardening circle move as well. You should cast your spell when the border of the gardening circle seems to hit the border of the middle layer of plants. When that happens, you can safely cast the circle and be sure your plants will be affected.