August 16, 2019 March 28, 2023
Beastmoon Hunt
How to Rock the Battlegrounds
The first round of Beastmoon hunt has finished, so it’s only appropriate to share some advanced tips and tricks that will help you win in upcoming Beastmoon battles. This article won’t be an in-depth strategy guide as there are simply too many variables in the event to account for. Furthermore, it’s rather hard to reach a high level of team synergy right off the bat when you’re paired with 5 other random players.
Instead we’ll focus on small tips and tricks that everyone should know. Even if you follow these as an individual, you’ll increase the chance of winning for your team. But first, make sure to check out our Beginners’ Guide to the Beastmoon Hunt to learn the basics, as well as Beastmoon Hunt Rewards to see what rewards you can earn.
Spending Lunari
Lunari is the currency that’s required to either upgrade your Beast Forms’ levels/tiers or buy new recipes for robes, seeds, and reagents. How you spend Lunari should vary, depending on your goals. If you’re only after a robe, focus on buying the required seed and robe recipes; you can spend the rest leveling up your Beast. However, this strategy isn’t very sustainable long-term. If you plan to participate in future Beastmoon Hunts, you should probably choose a different route.
Tiers
One of your first priorities should be unlocking Tiers. Tiers are very expensive, but they’re good investments in the long run. They can increase your deck and hand size, which gives you more flexibility in fights. Personally, I’d suggest focusing on Tiers for 2-3 beasts. Eventually, you’ll want to have every beastform’s tier on at least level 1, since KI will rotate which beastforms are initially locked each hunt.
For example, in the first Beastmoon Hunt event, you couldn’t play as the Death Ninja Pig or Balance Cyclops unless you had unlocked Tier 1 for those creatures. Next time, they’ll probably unlock these two and lock another two beasts. Personally, I’d purchase tier 1 on any locked beasts, while simultaneously working toward higher tiers on a couple of your favorite ones.
Seeds
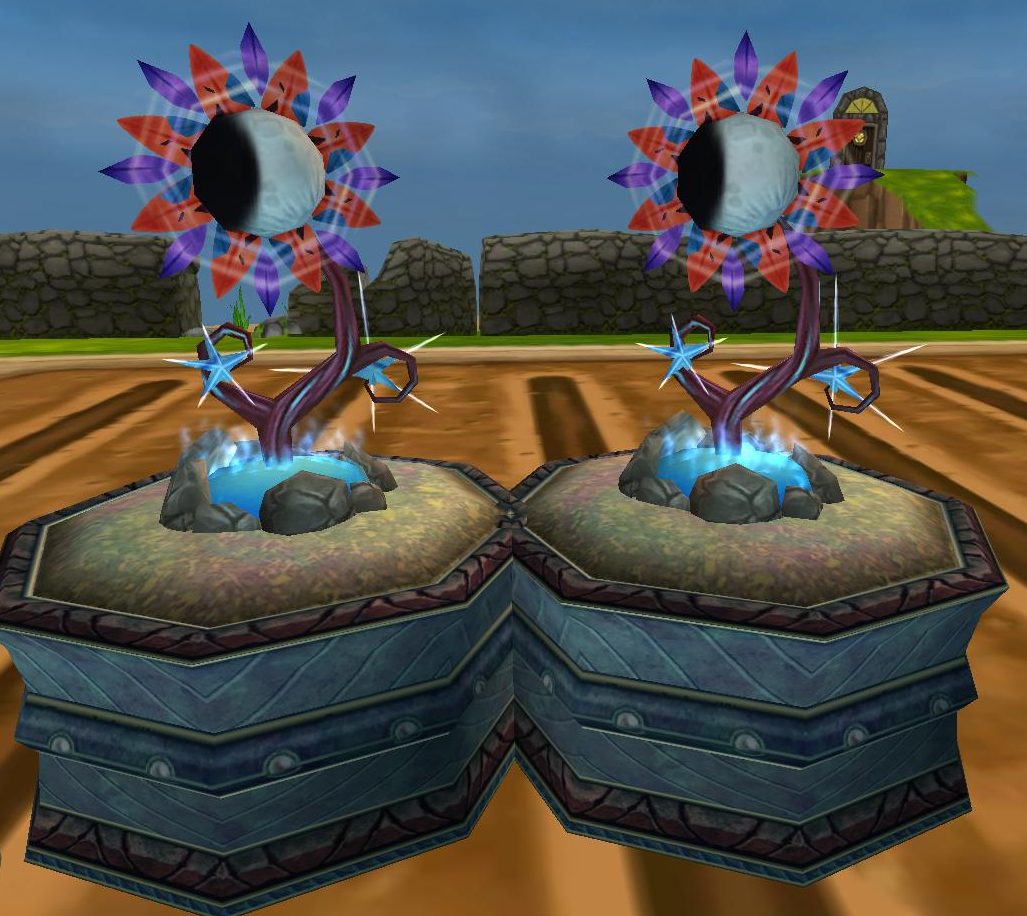
In order to start working on Tier upgrades, you’ll need rare reagents – idols for specific beasts. The best way to obtain these is through cultivating and harvesting Beastmoon Seeds. Buy all of the recipes as soon as possible. You can simultaneously upgrade a Tier or Level, but don’t overdo that. The sooner you get yourself all the seeds, the easier Beastmoon life will be.
Levels
Levels are, in my opinion, the least important thing to spend your Lunari on… at least in the early stages. They do provide you a temporary advantage, but people will eventually catch up with/beat you due to having higher tiers and similar levels on their Beast Forms. There is a point when it’s worth investing in a few levels, as Tier upgrade prices are inherently – and, perhaps more importantly, prohibitively – expensive, but that hasn’t happened yet.
Remember: Levels reset when every event ends, while tiers remain permanently unlocked. Furthermore, you can often still be competitive with level 1 or 2 Beast Forms as long as you carefully choose your cards and discard at the right moment. A great example of this is the Fire Elf, a form that has access to all his vital spells at Level 1.
That being said, we can still find situations where leveling up first can be a better choice than immediately increasing tiers. Let’s take the example of the Storm Wolf Warrior Beastform. By leveling up you unlock Voltaic Phoenix, a powerful attacking spell. With this spell, you can one-shot low health beasts by turn 2 after a single +50 blade. Even the Life Draconian can be killed with no blades on turn 2 if you use this spell with a Heal over Time on yourself.
Gardening
Like it or not, gardening plays a vital role in Wizard101; the Beastmoon Hunt is no exception. As we’ve already mentioned, Beastmoon Seeds are a great source for Beastmoon Idols., which are necessary for upgrading your Beast Forms’ Tiers. But that’s not all: These seeds also provide you with a nice amount of Battle coins, reducing the need to run around the map in search of Beastmoon Chests.
 Teamwork
The Beastmoon Hunt puts heavy emphasis on team play. You can help to some degree by being a lone wolf, but often you won’t do anyone any favors by running off all by yourself. Stay with your teammates! If you’re alone and outnumbered, don’t engage in combat, especially at the spiral. Stay near the battle circle and call for help.
Take your time and don’t rush are the best pieces of advice I’d give at the moment. Walk around, gain extra pips, and refill your Health. Wait for teammates, then attack the circle together. Letting opponents capture the circle outside of combat isn’t a big problem, since they don’t gain as many points; on the other hand, losing it in a combat costs you more points – and charging alone is the fastest way to do that.
Of course, you can capture the rings by yourself, but be very careful while you’re doing so. Spin around and move your mouse to check your surroundings. That way, you can quickly spot any approaching enemy and escape before a battle starts.
Communication
As with any team-oriented game, communication is key. The Beastmoon Hunt has the great feature of automatically applied Team Chat; in other words, only your teammates can see what you’re typing. On top of that, its range is across the entire battleground!
Don’t hesitate to say something or ask for anything. For example, if you see an enemy at the ring, back away and call for your friends to come and help you.
If you really want to up your communication game, try the following trick. Hold the ctrl button while running forward (holding W or the Up arrow). Then, release the W key first and ctrl second. Your wizard will automatically run forward. Thus, you can use this to type a message while running. It comes in handy when you’re approaching the circle and need to quickly say something without stopping.
Strategy Tips & Tricks
Attacking vs. Defending
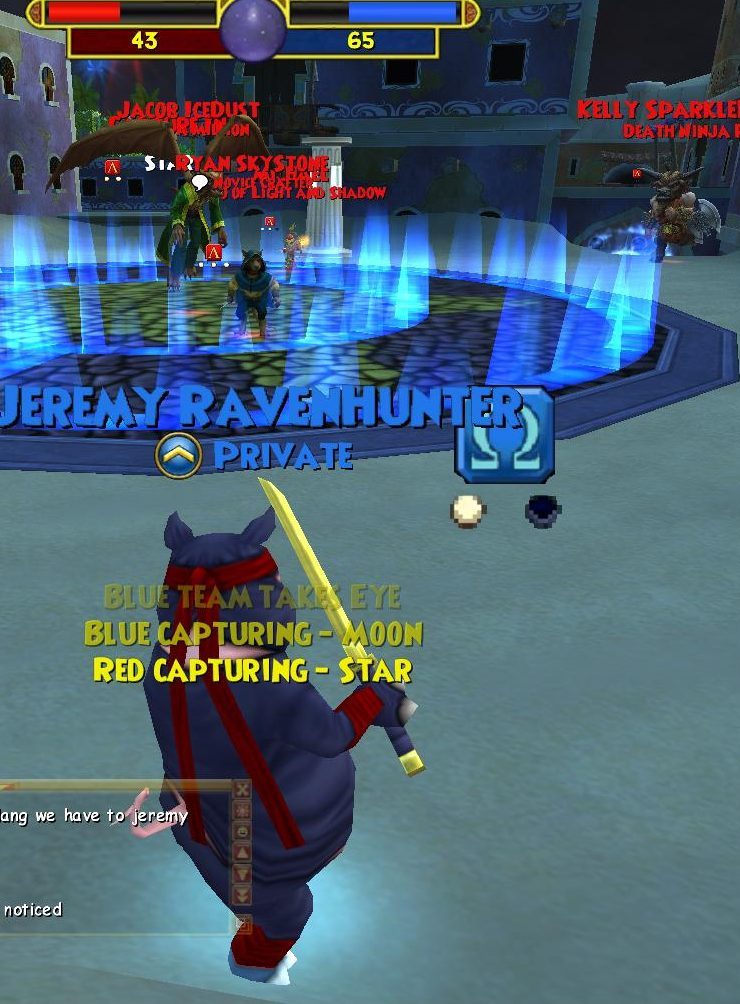
I’ve noticed two major ways battles often play out in my runs of the event. Players either engage in every single battle, or they just capture the circles without fighting at all. Both approaches are viable, but its important to know when to use one over the other. During the first 75% (give or take) of the hunt it doesn’t really matter too much. However, correctly choosing between these two approaches becomes more important in the final stages of the hunt.
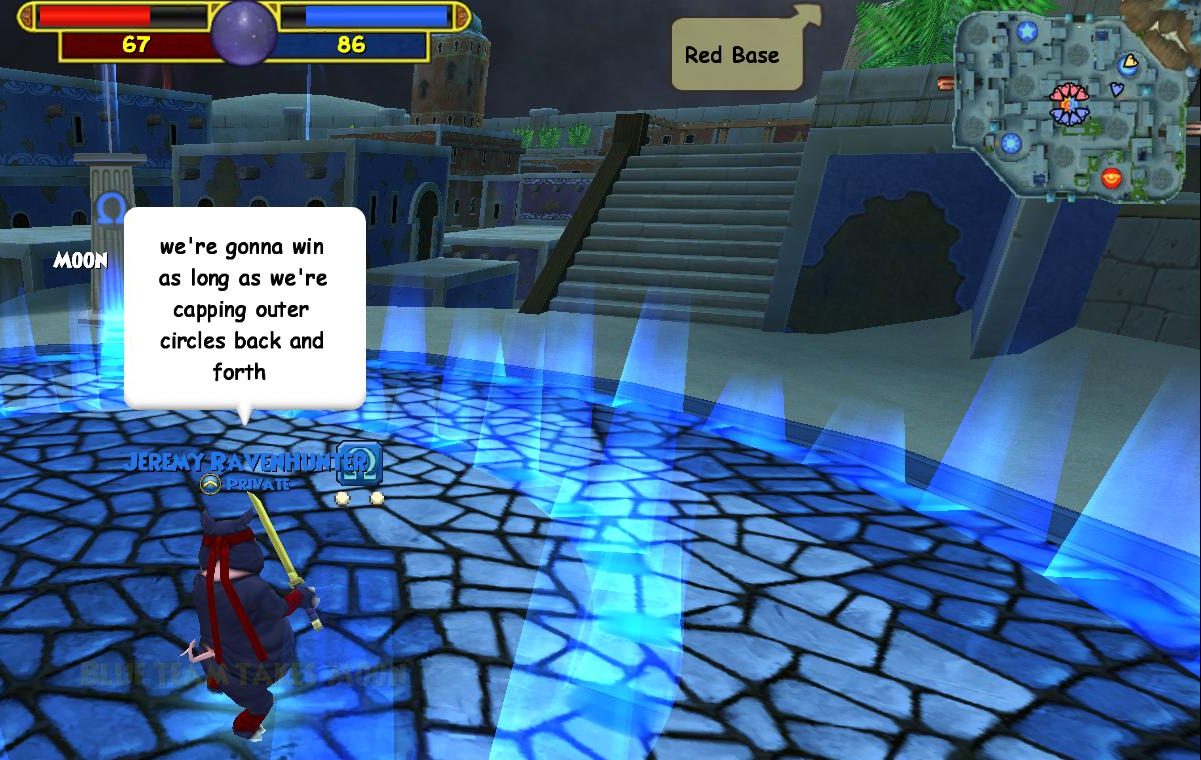
If you’re winning, you want to avoid fighting – especially at the spiral. When you fight over the spiral and lose, you’ll give a huge point boost to the opposing team. If you can, play the capturing game. Let the opposing team capture a circle and then capture it back. That way both teams will gather points at an equal rate, thereby guaranteeing that you will emerge victorious.
It’s quite the opposite if you’re behind on points. Try to engage the spiral and leave the other circles to the opponents. Let’s say the current score is 80-98, in their favor. Your best option is to attack and win the spiral. If you capture any other circle, you’ll just be giving the opposing team an opportunity to re-capture it and win the game.
Stalling
Stalling can be a wonderful strategy if properly executed. There are two main reasons to stall. The first is stalling an inevitable battle loss that would give the opponent enough points to reach 100 and win. By running down the timer and choosing a spell at the last second, you can buy your teammates in other circles enough time to win their fights and potentially reach 100 before the opposing team.
The second reason is when you are involved in what I like to call “uneven fights.” In either 1v2 or 1v3 fights, your chances of winning are small, even if a friend joins to help later on. Just by staying in the fight, picking a card last second, and playing defensively, you give your teammates the edge in other fights. Yes, eventually you’ll lose this circle, but you’re likely to earn your team 2 or 3 circles in return.
Synergies and Boost
Effectively utilizing synergies is an essential part of the hunt that is a bit tricky to master. Some Beasts have cards that work well with others, allowing for powerful combos. Mastering these synergies can give you a clear edge in battle. The problem is that there isn’t much time to discuss strategy and card choices in the fight itself. In addition, you won’t always get a partner whose cards align well with yours.
Start paying attention to conditions on the cards an ally is using and try to match it with your own cards. You’ll quickly get a rough idea of how to play and perform various combos.
 Last but not least – keep in mind the school boosts. Your attacks will deal 25 more damage on a school you have an advantage over. This boost can be especially effective with DoTs, since the 25 extra damage is applied to every single tick rather than the attack as a whole.
Overkill or No?
I’ve noticed this dilemma quite often while playing the Beastmoon Hunt. An enemy has 200 HP left, 100 damage over time and your friend is hitting for 100. Or, an over time is dealing 50 damage per turn and has 2 rounds remaining, killing the opponent in two rounds. Should you hit and waste your pips on a possible overkill or not?
The answer depends on your opponents’ team. If they have a healer or tank in the battle (or if you’re attacking a death who has drains), then go for an overkill. There is a high chance that if you don’t, they’re going to heal or shield. One extra round can quickly get out of control and keep an enemy alive for far longer than anticipated. CONFIRM YOUR KILLS!
Another reason to go for the overkill would be in a situation where you can’t wait an extra round due to your enemy’s high pip count. Sure, there may be no healers or tanks on their team and they’ll die in two rounds. However, if they have lot of available pips you’ll need to kill them right away before they’re able to unleash a lethal AoE attack.
To AoE or not to AoE?
 Should you save pips for an AoE or use several smaller attacks instead? This decision mainly depends on your pip situation. If you start with one pip then you should really consider whether it’s worth saving up pips for an AoE. At low pips there is a good chance that you’ll die before you gather enough to AoE and you’ll only disadvantage your team.
On the other hand, if you only need a pip or two and you’re in no danger of dying, then by all means – go for the AoE! For example, when you have a Life Draconian on a team, everyone often targets them first, allowing you to accumulate pips. Similarly, if you have started with extra pips you can often hit in a round or two with little risk of dying. This is the ideal opportunity to utilize an AoE so don’t miss your chance. Just make sure that you don’t pass too much while building up pips or searching for your AoE.
Speaking of the Life Draconian, this Beast Form is another good example of why skipping an AoE, despite having the resources to use it, is sometimes a good idea. Single hits are stronger and cheaper than AoEs, so you’ll have an easier time getting rid of an enemy Draconian with these. (Not to mention you’ll often need some extra pips anyway to kill the Draconian after it revives)
Never give up
The final tip is a bit cheesy, but you should really never give up. Especially not after the first two minutes. The spiral battle circle can be a big game changer and the opposing team can make some mistakes. The Beastmoon Hunt mechanics are designed in a way that allows for comebacks. Stay focused on your game and think about the comeback rather than the loss!