August 21, 2019 August 26, 2019
Top 5 Gold Farming
Locations in Pirate101
Gold is one of the most precious commodities in Pirate101, so having a quick and efficient way of farming gold is key to making the most of your time in game. This article will feature the 5 most efficient locations to farm gold. Other factors, such as desired gear drops or accessibility will play a small part in the ranking, but raw gold output is the main trait I investigate. However, before we get started, I have a couple of honorable mentions.
Honorable Mention #1: Hidden Group Chests
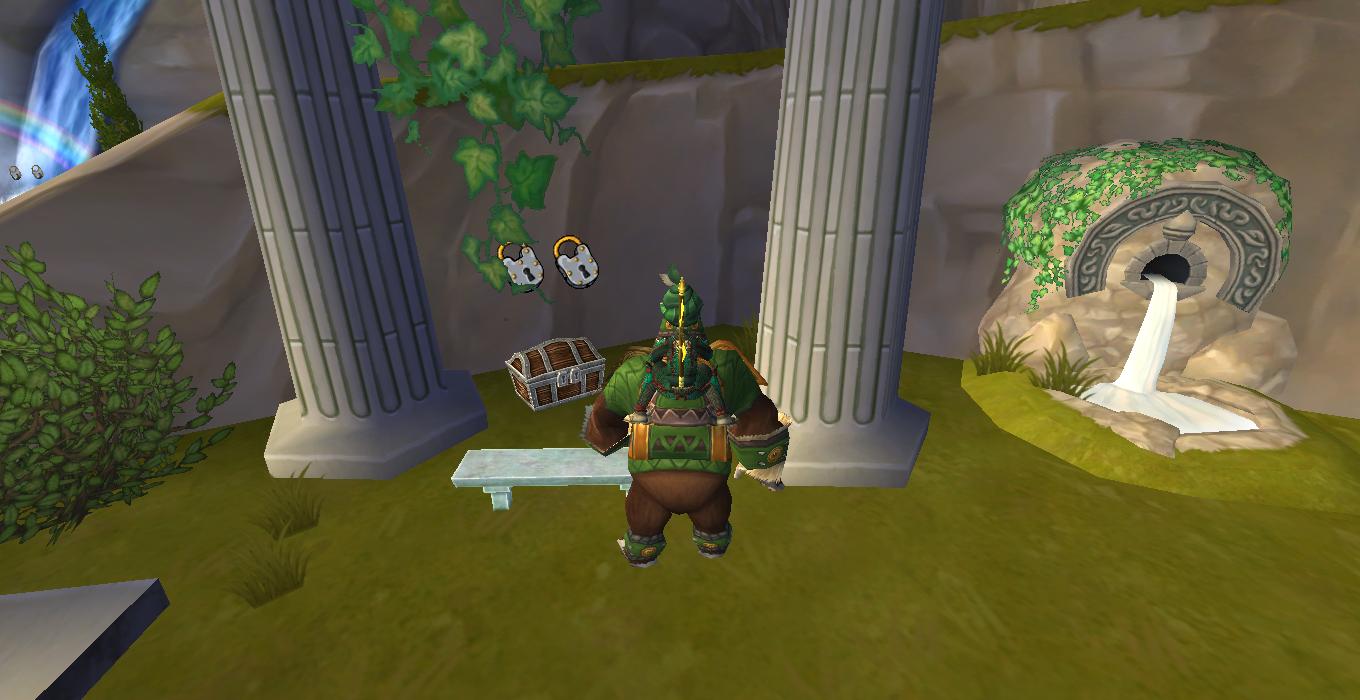
In the May 2014 update, Kingsisle added hidden group chests throughout each world, which require 2 or 4 people to unlock. These chests drop a couple of world/level appropriate doubloons, as well as a solid haul of gold. Although these chests aren’t a particularly great way for max levels to obtain gold, low levels can get great use from them. A single chest in Aquila can provide over 10,000 gold, a massive injection for a low level pirate. This will make upgrading ships and ship parts, often the priciest part of questing, much easier. This same 10,000 gold is merely a drop in the barrel for a max level pirate. Obviously, another player must first teleport the lower level into the world, so this method requires cooperative friends.
Honorable Mention #2: Friar Sand
 At the level 50 cap, Friar Sand was the best method of farming gold. You only had to defeat him, often allowing the fight to end in a single round. As an added bonus, he dropped desirable endgame gear that, if not used, could be sold for a nice haul of gold. However, as expected, Friar Sand has been outclassed. Although the gear he drops is still useful (mainly for swashes), and he still gives good amounts of gold, other methods are far more efficient. Friar Sand is a viable option for characters around his level or for ones that need his gear, but the other options on this list are better for pure gold efficiency.
#5: Companion Orders
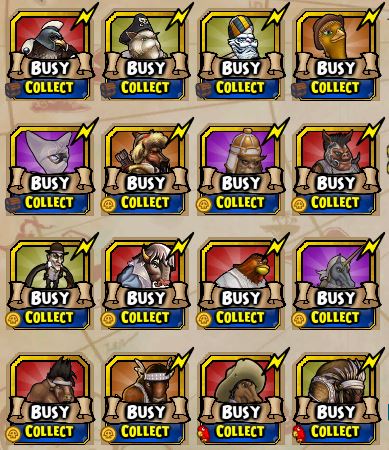 The #5 item on this list may be a bit unexpected, but companion orders are a great way of obtaining gold. There are 2 orders that reward gold in some way: Scavengin’ and Plunderin’. Plunderin’ rewards somewhere around 600-700 gold per order at max level, with a small chance of getting much more. Scavengin’ gives bazaar gear pieces that sell for around 1000 gold a piece. Rarely, you’ll get a piece of no auction gear from the order as well. Although this isn’t much, this method requires almost no effort from the player.
Thus, with enough companions, you can easily get 10,000 gold every couple of days for “free” (because let’s be real, you weren’t using those side quest companions for anything else). This is very helpful if you’re someone who gets a lot of morph requests. You’ll be able to largely fund your morphs without having to spend time farming the gold. As an added bonus, this method is free-to-play!
#4: The Dreadnaught
 The Dreadnaught is one of the premiere places to farm for powerful endgame weapons. However, this isn’t the Dreadnaught’s only use. Like most level 65+ content, the Dreadnaught has boutiful gold drops. Each chest can drop thousands of gold and the gear you get sells for a pretty penny. What makes the Dreadnaught more worthy of mention than other high level fights? It’s in a Free to Play zone! Unlike the top 3 locations on this list, the Dreadnaught doesn’t require membership or zone purchase. If you’re someone who is still invested in, say, making pets, the Dreadnaught is the best way to get gold without having to purchase a membership.
However, the Dreadnaught isn’t without its downsides, mainly the time required to find and defeat one. Furthermore, defeating the nautical portion of the Dreadnaught requires 4+ players and finding enough can be a tall task. Finally, you only get one mob fight before you have to repeat the process all over again. This isn’t ideal if you need to completely refill your gold. Thus, the Dreadnaught is only ideal for players with no other good options or ones that need a quick injection of gold.
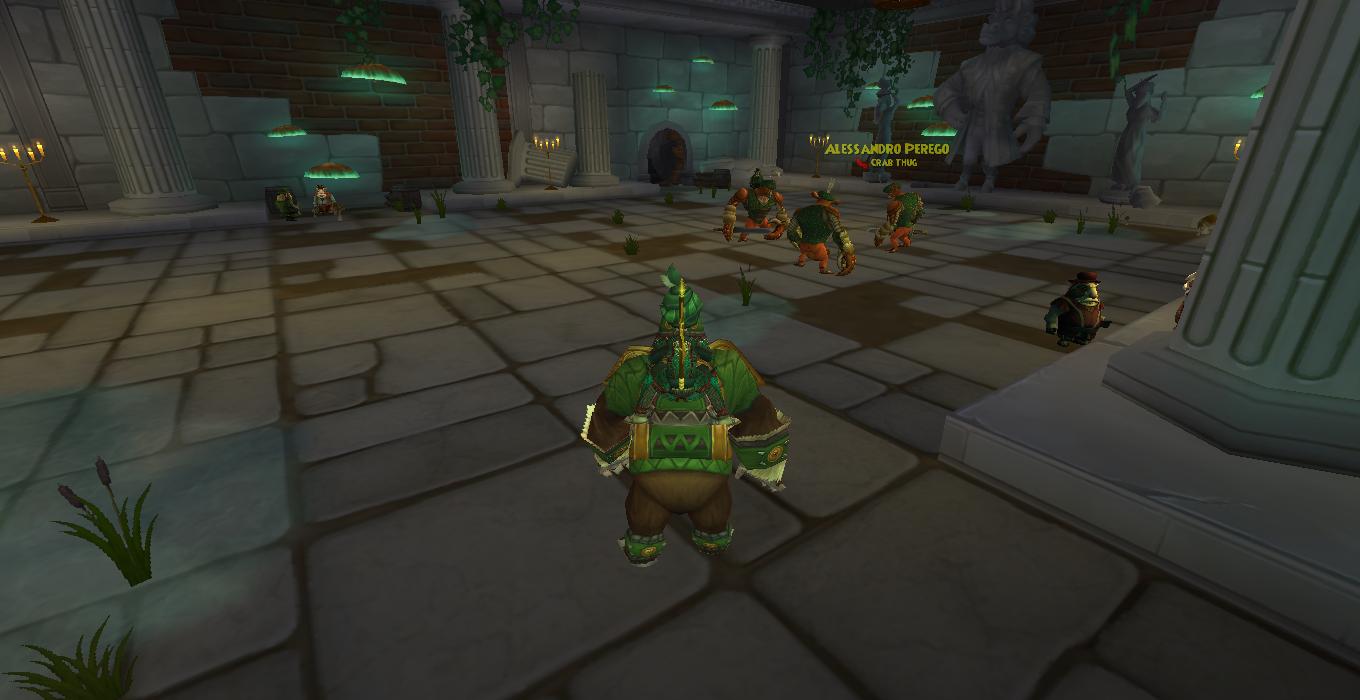
#3: Crab Tunnels
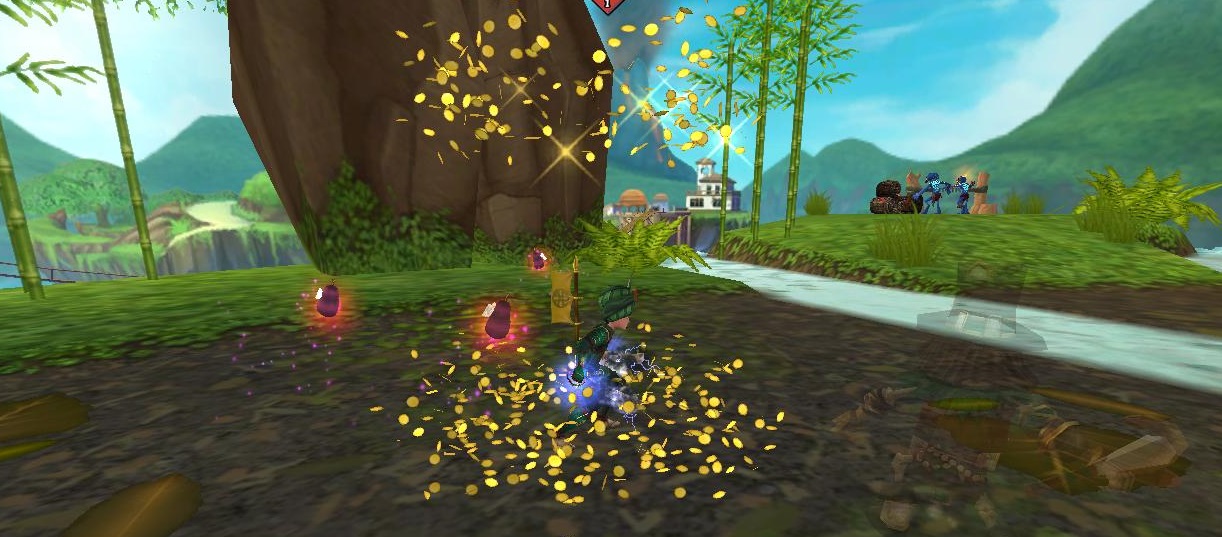
The Crab Tunnels, located in Valencia Part 2, can be accessed by heading right and down the hill after entering Florenza via its largest entrance. The crab mobs directly inside are your target. Like many Valencia 2 mobs, the crabs drop amazing quantities of gold, both directly and from dropped gear. A solo player can net upwards of 15,000 gold after a single fight!
The crabs are particularly good for farming since they are among the easiest of Valencia 2’s mobs. They don’t have any nasty guaranteed attacks (many other foes have Vicious Charges or Assassin’s Stirke), they lack First Strike 3 and Relentless, and they are fairly low level. Simply stack a couple of mojo buffs or accuracy/dodge buffs and go to town! The low difficulty of this fight makes it particularly desirable for solo players (imo, it’s the best solo gold farming location). It can also be farmed extremely quickly in larger groups, giving it great versatility. As for other gear drops, the crabs once dropped Aquila no auction gear, but it seems this gear has been removed from their drop tables.
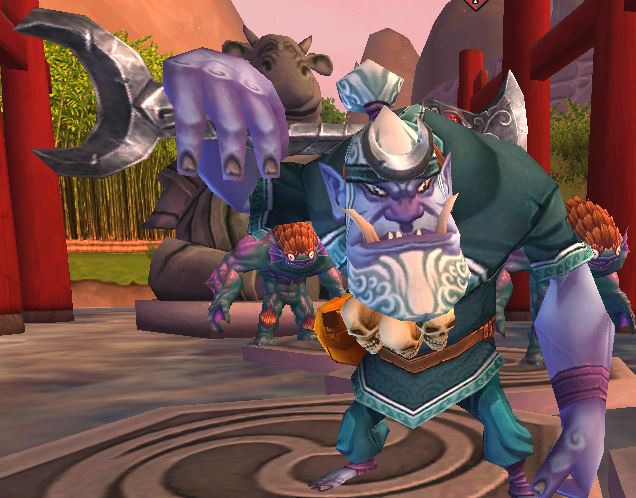
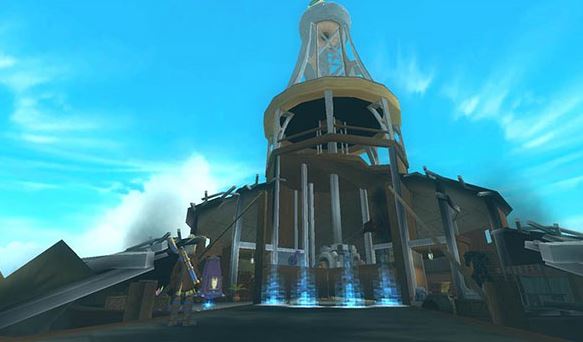
#2: Tower of Moo Manchu
 I had a hard time differentiating between first and second place on this list. Both locations drop inordinate quantities of gold and are pretty easy to farm in a well-oiled group. However, I think Moo Tower belongs in the #2 spot. Why? For starters, each individual fight drops less gold. Unlike Valencia 2 and Dreadnaught fights, you rarely get single chests with nearly 10,000 gold. Group chests may reward this much, but that’s no guarantee. Furthermore, much of the gold you can get is tied up in the 4-person lock chests found after completing the 4th and 8th floors. Thus, you need a full team of 4 players to get full value from a Moo run. Finally, the dungeon is 10 floors and has 9 fights, potentially making it a slower farm.
This isn’t to say, however, that Moo tower is bad. A good 4-person run will still easily fill up your gold and most of the fights are simple mob battles. Furthermore, Moo tower drops some of the most powerful gear in the game (for PvE and PvP alike), something worth considering when choosing a farming location. Therefore, you’ll hit two birds with one stone by using Moo Tower as your gold farming hotspot. You can further maximize your gold output by having team members use Treasure Bath doubloons every floor. This will net you an extra 3,000 or so gold per floor, for a total of 25,000-30,000 over the course of the dungeon.
#1: The Machine (Kane)
 The final boss and big baddie of Pirate101 unsurprisingly takes the #1 slot on this list! Although the Tower of Moo Manchu drops much higher quality gear, Kane utterly dominates in raw gold efficiency. A single mob chest in this dungeon can drop nearly 10,000 gold, and each fight will give you many gear pieces that sell for 1000+ gold each. Furthermore, there are only 3 fights in this dungeon, with 2 of them being extremely simple. Even the “hardest” fight can be easily conquered with the power of stacked mojo buffs. A good team can complete a Kane run in well under a half hour, all while netting between 150,000 and 200,000 gold. It’s also worth noting that, unlike Moo, you do not need a full team to get the greatest impact from a Kane run.
Does Kane have any noteworthy downsides? As I briefly mentioned before, the gear he drops isn’t particularly noteworthy. Sure, Privateers might want to pick up one copy of Firstmate’s Boon, and Musket/Buck/Witch may want to pick up a piece of Kane gear for occasional use, but Kane isn’t a long-term gear farming hotspot. His best drop, his mask, is merely a cosmetic. So, if your team’s only goal is picking up as much gold as possible, Kane is the place for you!