October 10, 2016 January 2, 2019
Melee Musketeer Series Part 2:
Game Plan and Match Breakdown
In case you missed it or need to refresh your memory, you can read the first installment here.
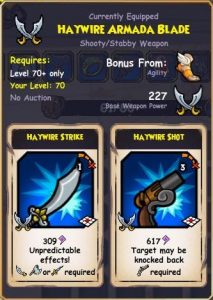
Before I go any further I should note a noteworthy change to my gear.
I was simply too lazy to farm for this weapon before (happens to all of us). Haywire shot is comparable to assassin’s strike in terms of damage and it’s knockback is another huge plus. This weapon change was a no brainer.
Companions
Chantal Livingstone
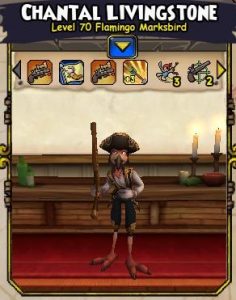
- Burst Fire 2
- Doubletap 2
- Overwatch 2
- Quick Adjust
This companion choice shouldn’t come as a surprise to anyone. Chantal is a staple for every musketeer team. Her sniper shots are EXCELLENT to spike damage early game. Together they can do upwards of 1300 damage without an agility buff. In addition, her cloud spirit provides the pirate with some much needed chaining potential. It’s the backbone of melee musketeer, and the super strike is a nice cherry on top.
Some might argue that overwatch 3 would be a better choice instead of quick adjust due to musketeer’s high accuracy. However, in Chantal’s case, I disagree. Aside from your pirate, she is your primary offense and can be viewed as a “win condition” if left around too long. Quick Adjust is more fitting in this case to maximize her chances of chaining when she does miss (which would be more common than one might think).
Contessa Argento
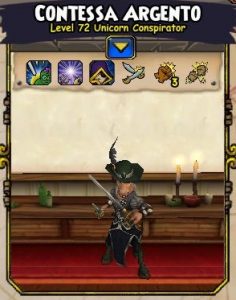
- Riposte
- First Strike 3
- Relentless
What makes Contessa so great is gallant defense. Her hide and backstab make her ideal to use already, but gallant defense is MASSIVE in your arsenal. This gives cornering in the spar chamber insane efficiency. When used in combo with a fort, she can tank out enemy hits for your team while they focus on reducing opposing units to rubble.
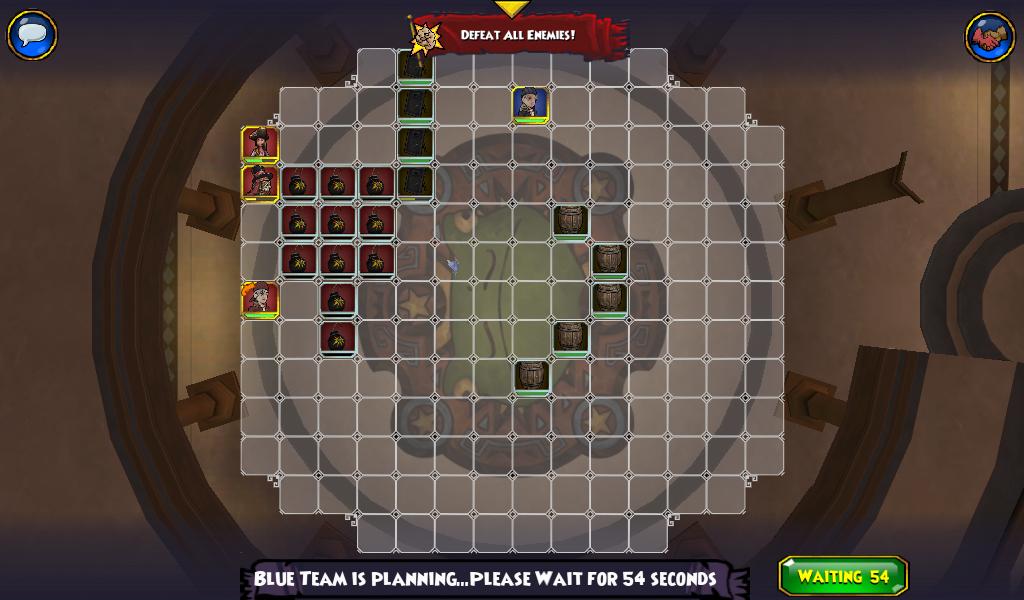
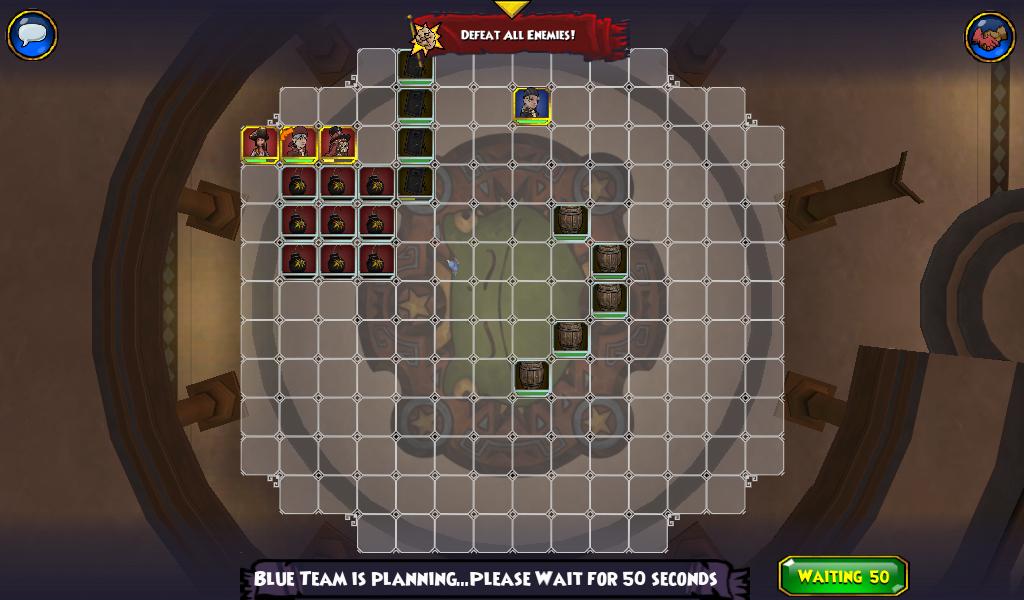
Gallant defense is also an ideal utility to buy yourself a round or simply move into range, as shown above. Opposing ranged units will be completely prevented from hitting guarded. However, melee units can still target you as long as they are not adjacent to Contessa. As such, one should be mindful of proper companion placement.
 *Contessa Gallant Defense Example*
For the last spots there are a two routes you can take:
Ratbeard
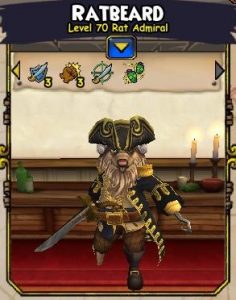
- Hold the Line 3
- First Strike 3
- BladeStorm 2
In my opinion, Ratbeard is the best defensive companion in the entire game. He is ideal for protecting your team early game with his Hold the Line 3. He’s also used to reduce enemies’ dodge for our pirate. As with Contessa, First Strike 3 gives him a break from hidden swashbuckler units that would want him down asap. BladeStorm 2 is really only ideal because his other epics can get him into unnecessary trouble with epic exchanges.
Aside from being a much needed wall, Ratbeard can provide some nice damage spikes. He can use his clear the decks power to knock enemies into traps (most ideally) and bombs. He is preferable to me as the last companion, but that is not to discount…
Old Scratch
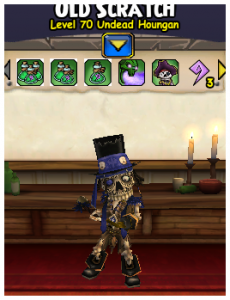
- Enhanced Mojo Blast 3
- Mojo Echo 3
- Witch Hunter
Old Scratch is an ideal choice for one reason and one reason only: his mojo buffs. Using a valor’s armor with his biggest mojo buff makes your health bar almost untouchable for a decent while, especially if used with a fort. A 100% mojo buffed critical super hit hail of cannonballs is almost guaranteed to drop any unit under it’s line of fire.
His skeletal corsair can also be summoned as another line of defense. If it isn’t dealt with asap you can bet on it to be a wingman to slowly chip away at the enemie’s health. Scratch is always a safe choice but he can make it difficult for your pirate to make some necessary plays since his buffs are only useful when next to the pirate.
Game Plan: Divide & Conquer
General
First of all, the less units alive, the easier the rest of the match will be. Singling out units and ensuring the kill on them allows us the breathing room to spike damage and get to our “late game” plans a lot sooner than our opponent. Also note, this is with Scratch or Ratbeard. The gameplay will exclude either one.
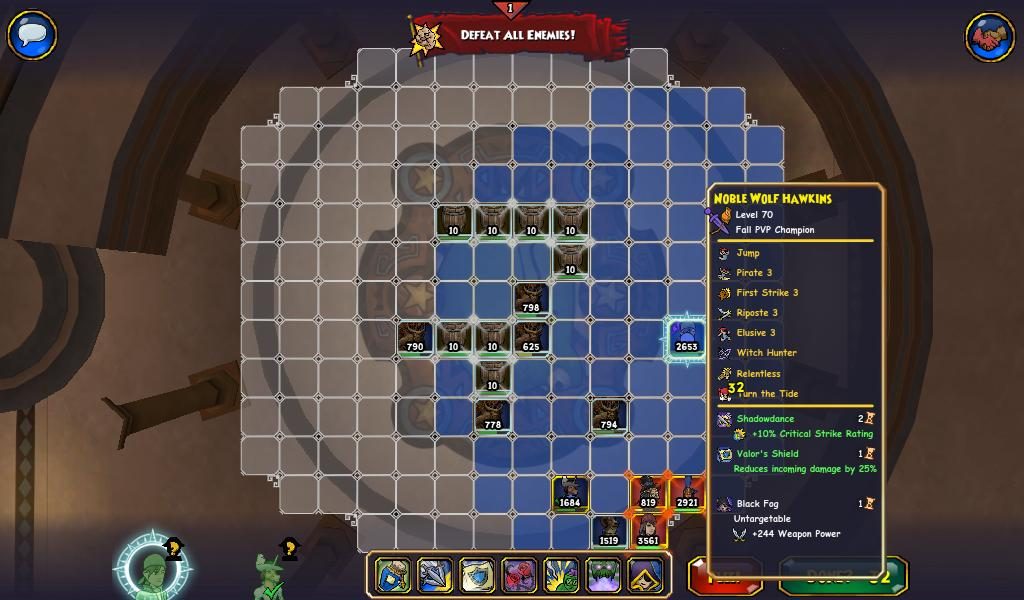
Early Game
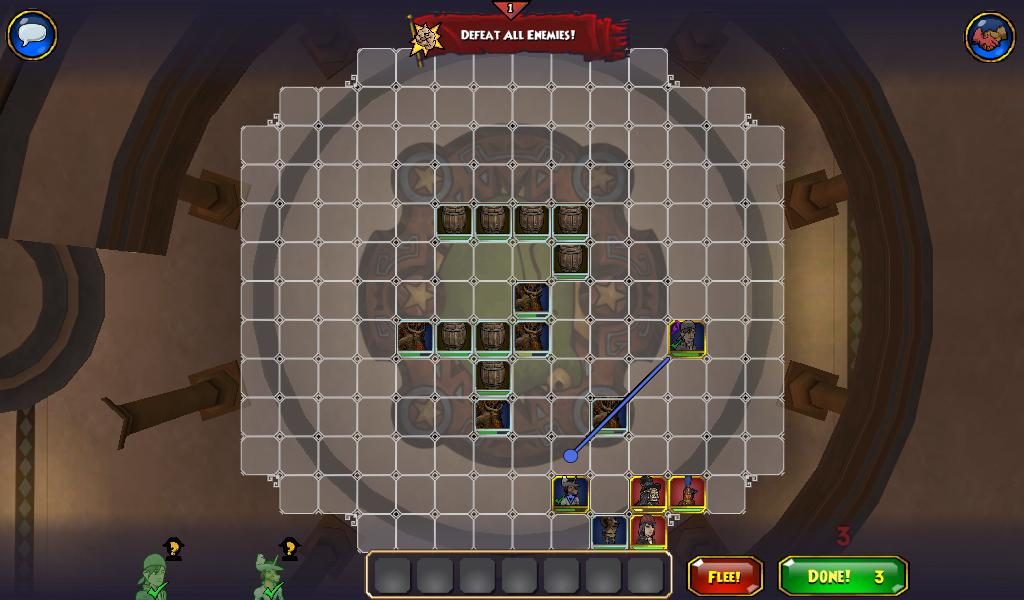
In the opening rounds, you will want to embrace your roots as a musketeer and stay back. Use Chantal’s sniper shots to damage the most threatning enemy and let the opponent come to you. This is when you want to use your biggest scratch buff and throw down some bombs when an enemy is in range. Don’t forget to set up your barricade! Use Chantal’s agility buff and hide Contessa while keeping Ratbeard as a post. Depending on the immediacy of your danger, you can choose to…
A) Use a bear/claw trap and knock the opponent into it with Ratbeard,
use gallant defense with Contessa
-or-
B) Shield up your pirate to rush in next round
and have your companions single out one unit.
In both scenarios you will gain the upper hand on the following turn since your opponent has to prioritize a target to gain any ground. You can also follow Ratbeard’s example and use a knockback of your own: haywire shot from the dreadnaught weapon.
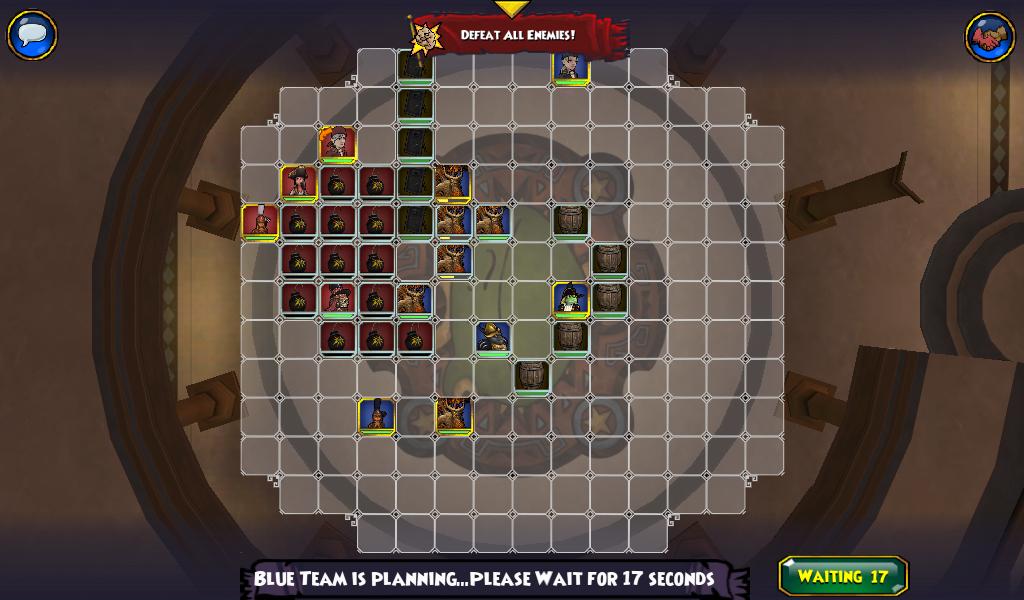
Mid Game
This is the messiest time in the match. It will set you up for an endgame that can be very much in your favor. On the other hand, it can also be the bane of this entire build. This is where you want to throw on an agility buff, a shield, and chain everything to death.
Unless you are confident that you can get a full chain and take out the pirate, the companions should always be your primary target. Once companions are out of the picture, your opponent is at the mercy of rng that is very much in your favor. This is a great place to use a mighty charge and catch your opponent off guard with a likely chain with the help of your agility and an extra jab from glancing blow.
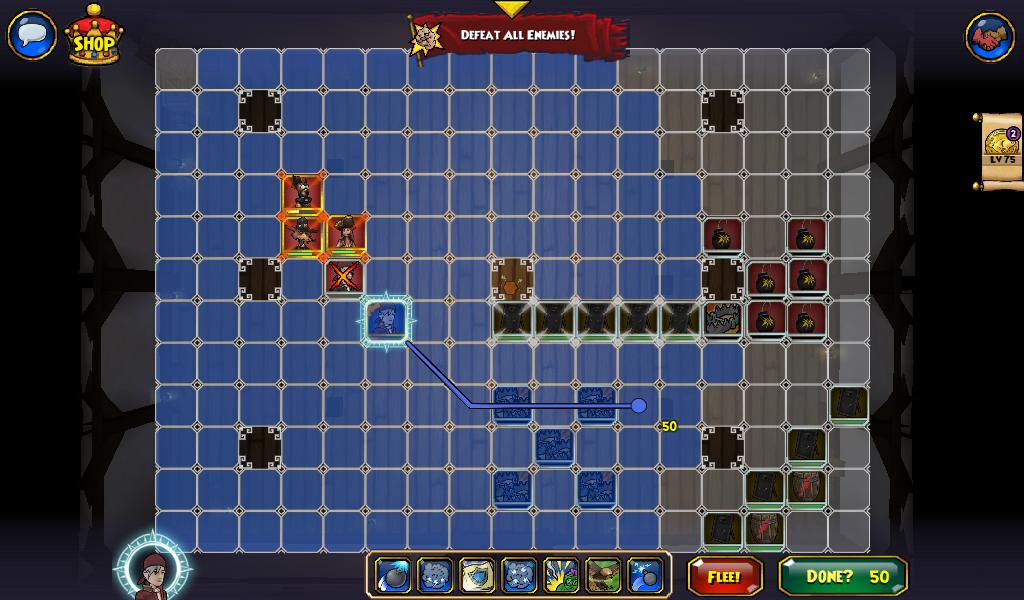
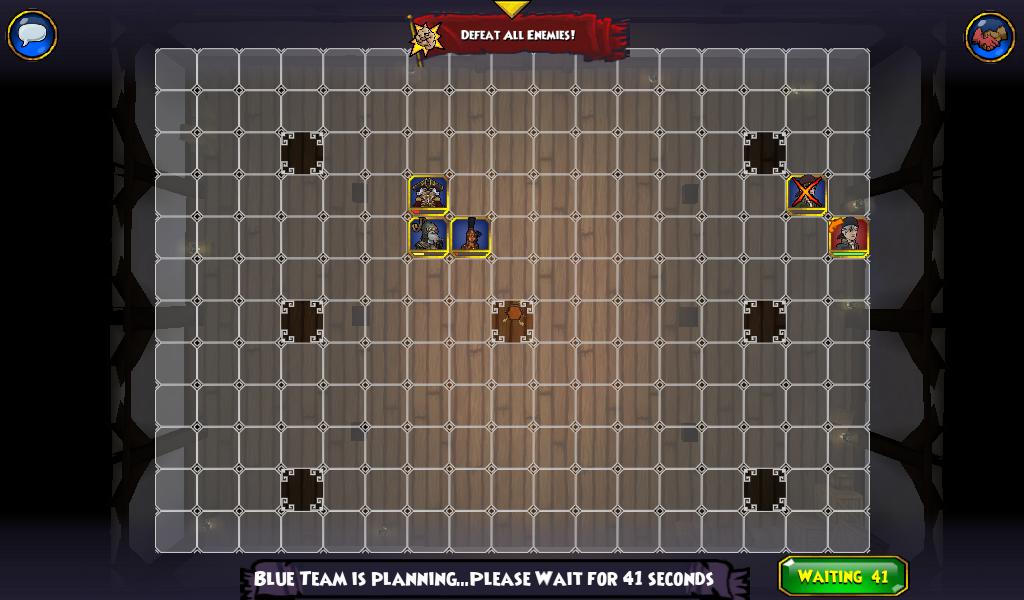
Established a home base. Waiting for the enemy, not vice versa *This is from before I discovered Contessa’s worth in this build.*
Briefly stepping out of the “fortress” to finish off straggling units.
And finally set up for late game!
End Game
Finally, this is where you retreat back into what’s left of your fortress of bombs and traps that you set up at the beginning of the match. Heal up, have uncanny shot at the ready, have on a shield and whatever last agility buff you can squeeze out get ready to throw out your guaranteed critical hit.
Pirate is down, retreating immediately.
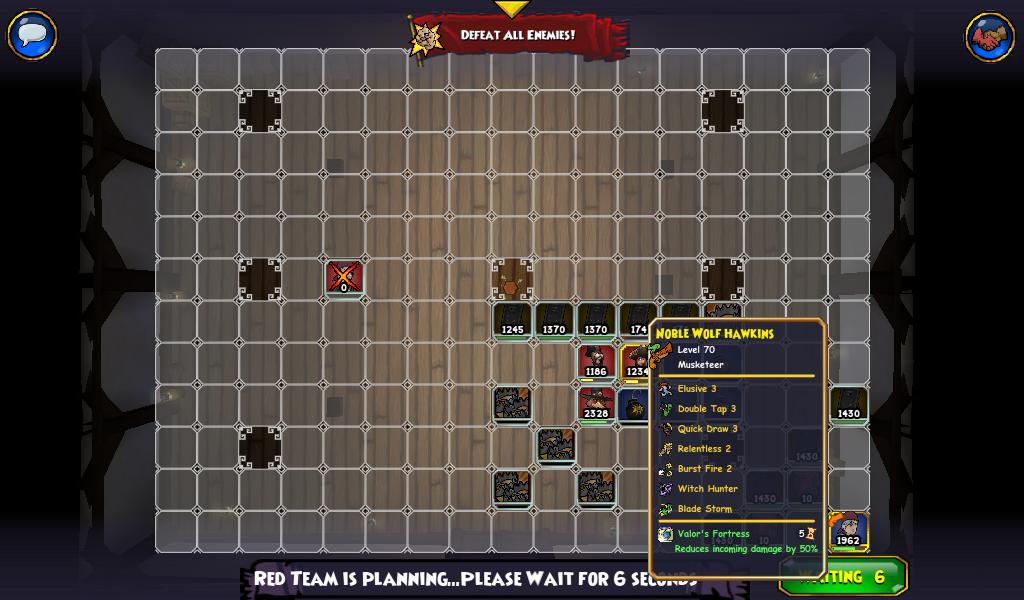
Shielding up for a final push to victory.
Class Specific Tips
Buccaneer
As much as I hate to say it, this is a matchup that you should expect to lose. Between vengeance strike, relentless and bladestorms, the main source of damage output this setup offers is best left as a last resort. The best way to pull out a win here is to repeat the words of wisdom, “they have to be next to me to hurt me”.
Musketeer
The key to beating musketeers is massive damage spikes. A lot of the hard work needed in this matchup is already taken care of with the quickdraw and burst fire exchanges that will happen. Barricades are extremely helpful; they restrict the musket’s lines of sight and allow us to remain a threat. This is a great pressure tool to draw out their bombs, which can then be timed out.
Mighty charge and brutal charge can be used as “surprise” hits with their x2 haste. With an agility buff on you can often times drop a unit from full to red without too much notice. It’s these sort of spikes in tempo and damage that cripple opposing muskets and will find you wins vs them.
Privateer
Privateers will struggle in the matchup. Their naturally low agility will prove to be their bane. Since they are companion oriented in terms of damage output, take advantage of the fact that you can one round the pirate and use it as a key pressure tool.
Swashbuckler
This is my favorite example of a tempo heavy match. Bombs and dodge reducing and other trick shots will be your best friends. Contessa can also help protect you from poisons with gallant defense. Bombs that are set up earlier on in the game can be used as minefields during mid game. It’s ideal to retreat through them to the direction opposite your opponent, forcing them to travel through your bombs again (after surely charging your crew early on). Applying constant pressure and giving them no breathing room is the best approach. Saving brutal charge and uncanny shot can allow you to be a threat later in the game since a single chain will go a long way if they are unable to dodge. Don’t wait to make a move until they can find their assassin strikes.
Witchdoctor
For witch you want to use the same approach as the privateer matchup. Hide > agility buff > shield > charge > chains + witch hunter threat. Opposing companions can wait when you have the capability to take out the pirate in a single round. Note that a simple purge magic play on their part can mean the end for you so charge in only when fully prepared. You might want to bring dispel magic with you to deal with the likely threat of slows.
Conclusion: Experience and Thoughts
Overall I find melee musketeer extremely fun to play and rewarding when used properly. It is an ideal medium between buccaneer and the normal/ranged musketeer. This set is an excellent, hands-on way to learn about tempo and controlling the pace of matches. I can also vouch for how well this can improve one’s adaptation skills.
After seeing the results I was able to pull off, I have definitely fallen in love with the idea of hybrid sets. The only issue of mine however is when it comes to practice points. Unless you have no desire to ever use a ranged shooty weapon, I don’t think that investing into relentless on musketeer is worth it. As you can see from my previous article, I had to choose between spending 2 points on walk in shadows, or on training witch hunter and another x2 haste charge. I could train all of the above and still have 3-4 practice points leftover when swapping between melee/hybrid and ranged weapons. I’d like believe that the popular opinion wouldn’t trade freedom of choice and a few extra practice points all for one measly rank of relentless.