June 1, 2024
Pirate101 Sinbad Part 3: Wheels Within Wheels
During the final storyline update of 2023, the Sinbad storyline comes to a finale with an epic quest to race towards the Eye of the Liger before Klaw gets his…claws on it! This addition is much more immersive than its two preceding chapters, featuring the return of some old friends, new foes, some consequences of our actions, and Skyway Sinusitus.
Since the Tartarus update of Spring 2024, many of the fights in Sinbad Part 3 have received considerable nerfs. This article will be an all-encompassing guide for this expansion, including quest objectives, changes since the original expansion, and all gear that is dropped.
Tunnels of Darkness
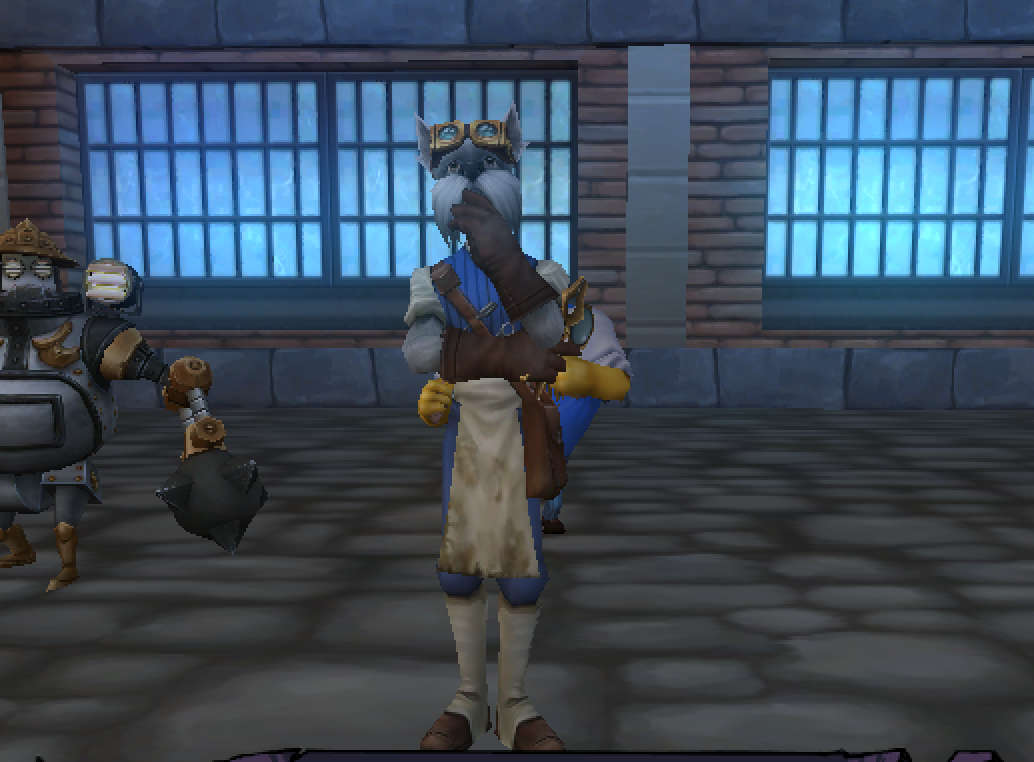
Following the completion of Tamagoyaki Tower, we return to Mr. Gandry in Avery’s Court to obtain the next quest, “The Eye’s Afoot!”, where pirates revisit Xol Akmul to stop Klaw once and for all. For all free to play players, good news! The entirety of the Xol Akmul storyline does not require a membership or any crown purchase to complete.
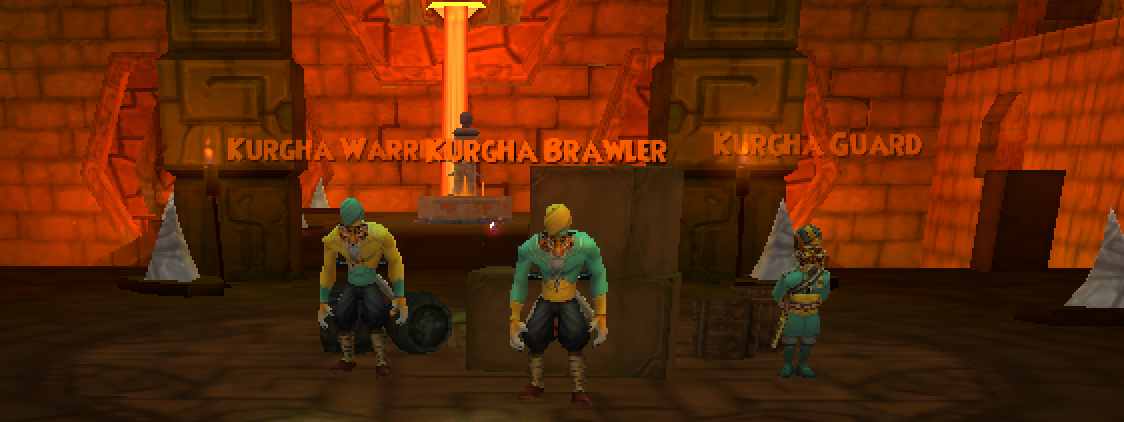
The first fight of the update consists of a mob fight, asking you to defeat 6 Kurgha Brawlers in its new Tunnels of Darkness zone.
Each fight has 4 enemies, consisting of a random amount of Kurgha Brawlers and Kurgha Warriors. For some reason, these mob fights never have more than 4 enemies in a single fight regardless of how many players there are. Compared to previous endgame content, such as Obsidian Key Bosses, and Sinbad Part 2, these guys are pretty easy. In fact, these mobs are just level 69, which closes the gap between the player and pirate.

Original
Current
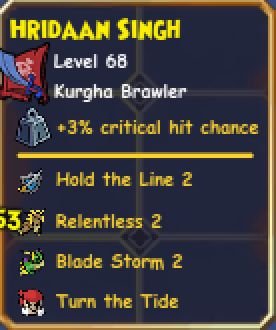
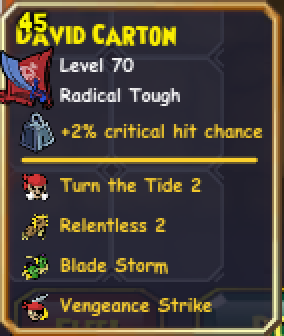
- The Brawlers still have some danger. With Relentless 2 and Blade Storm 2, there is still some danger to these mobs, although not nearly as much as their original counterparts.
- They still have Brutal Charge and Gambit of Steel but their damage output is less.
- Health nerfed to 3,304 health; stats may differ slightly depending on the level of the mobs itself.
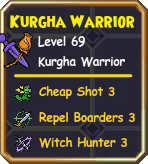
Original
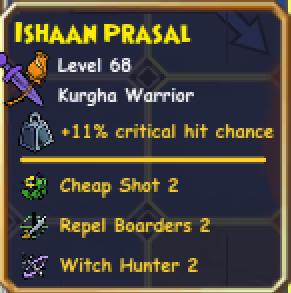
Current
- The Kurgha Warriors can’t really chain, nor do they have Riposte nor Assassin’s Strike. Unlike the original version, it’s fairly inconsequential to activate their epics.
- They still have Dance of Steel.
- Nerfed to 2,633 health; stats may differ slightly depending on the level of the mobs itself.
After clearing this, we have our first instance, the Temple of the Flaming Skull!
Temple of the Flaming Skull
This instance consists of two fights, a mob fight similar to before, and a boss fight. All fights here have the amount of enemies scale according to the number of players there are. Mobs here can have up to level 74 stats, becoming more reminiscent of other endgame content.
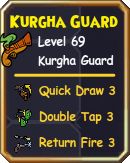
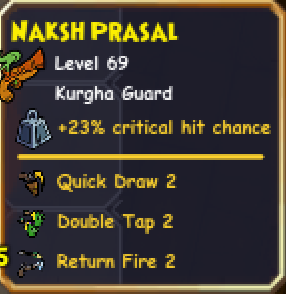
The mob fight is pretty much the same as before but there is a new mob: the Kurgha Guard.
Original
Current
- Apart from being quite tanky, they don’t have a great set of epics.
- Instead of having Tempest of Torpedoes in the original version, they now use Hail of Cannonballs.
- Health considerably nerfed to around 3703 health; maybe a little higher depending on the level.
Now, for Klaw the Merciless!*
*Although the instance quest suggests that this mob fight has to be completed, the main storyline quest’s next objective is just to defeat Klaw. It is possible to walk around the mobs and directly fight Klaw, which will not complete the instance quest, but it does progress the main storyline quest. It is unsure if this is intentional or not.
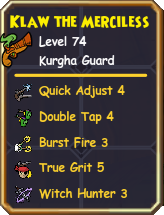
Klaw the Merciless

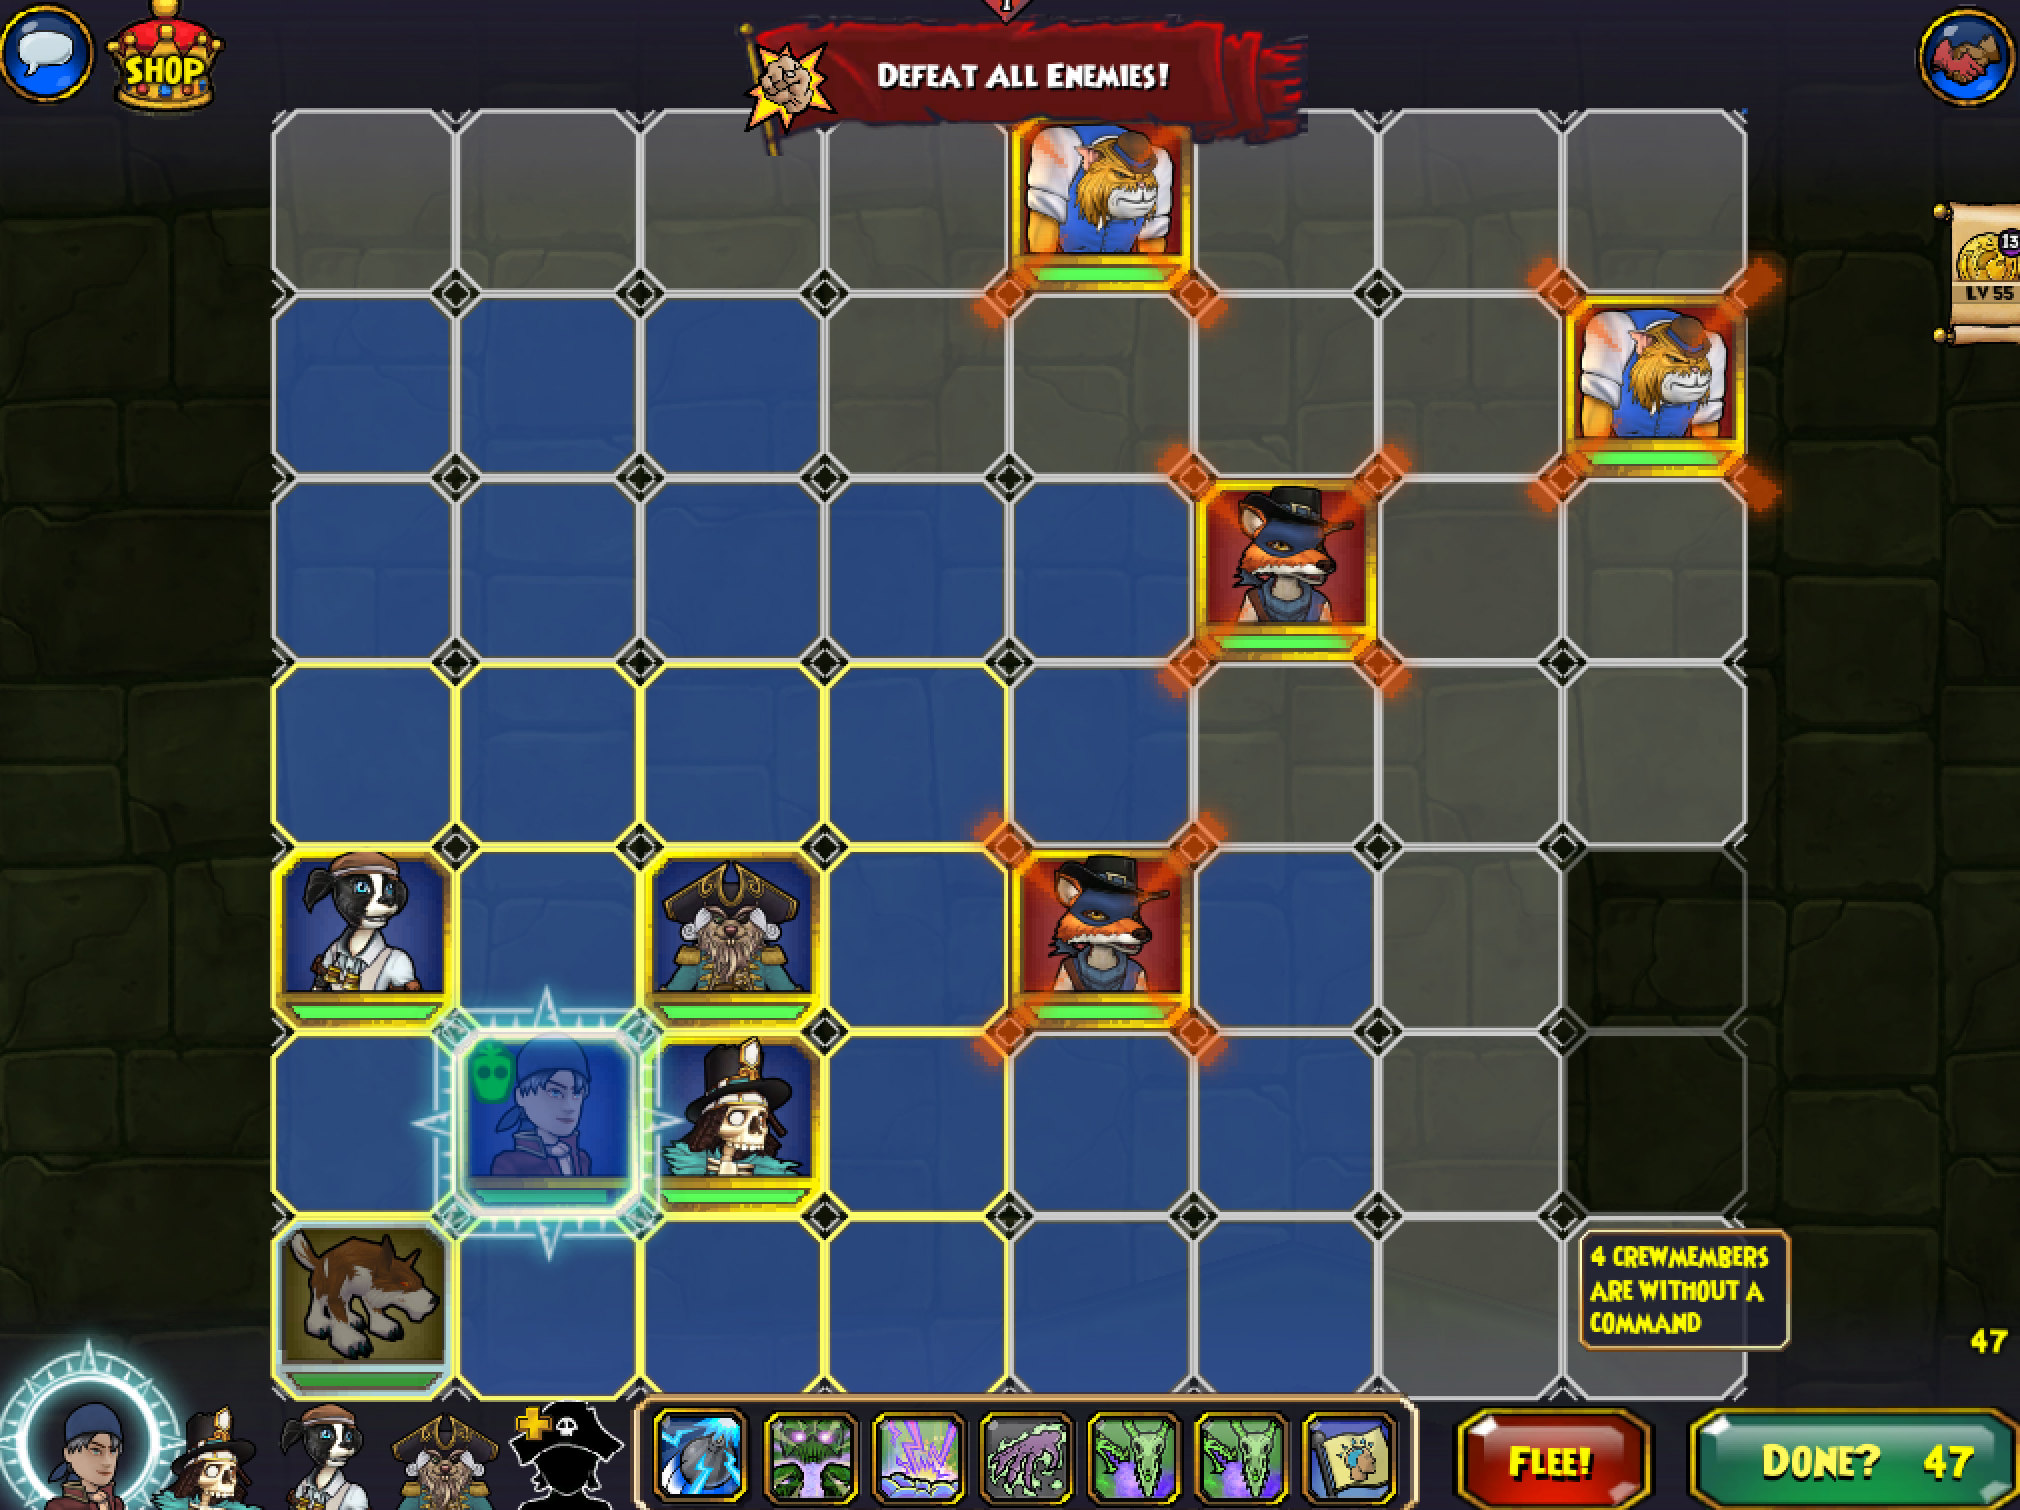
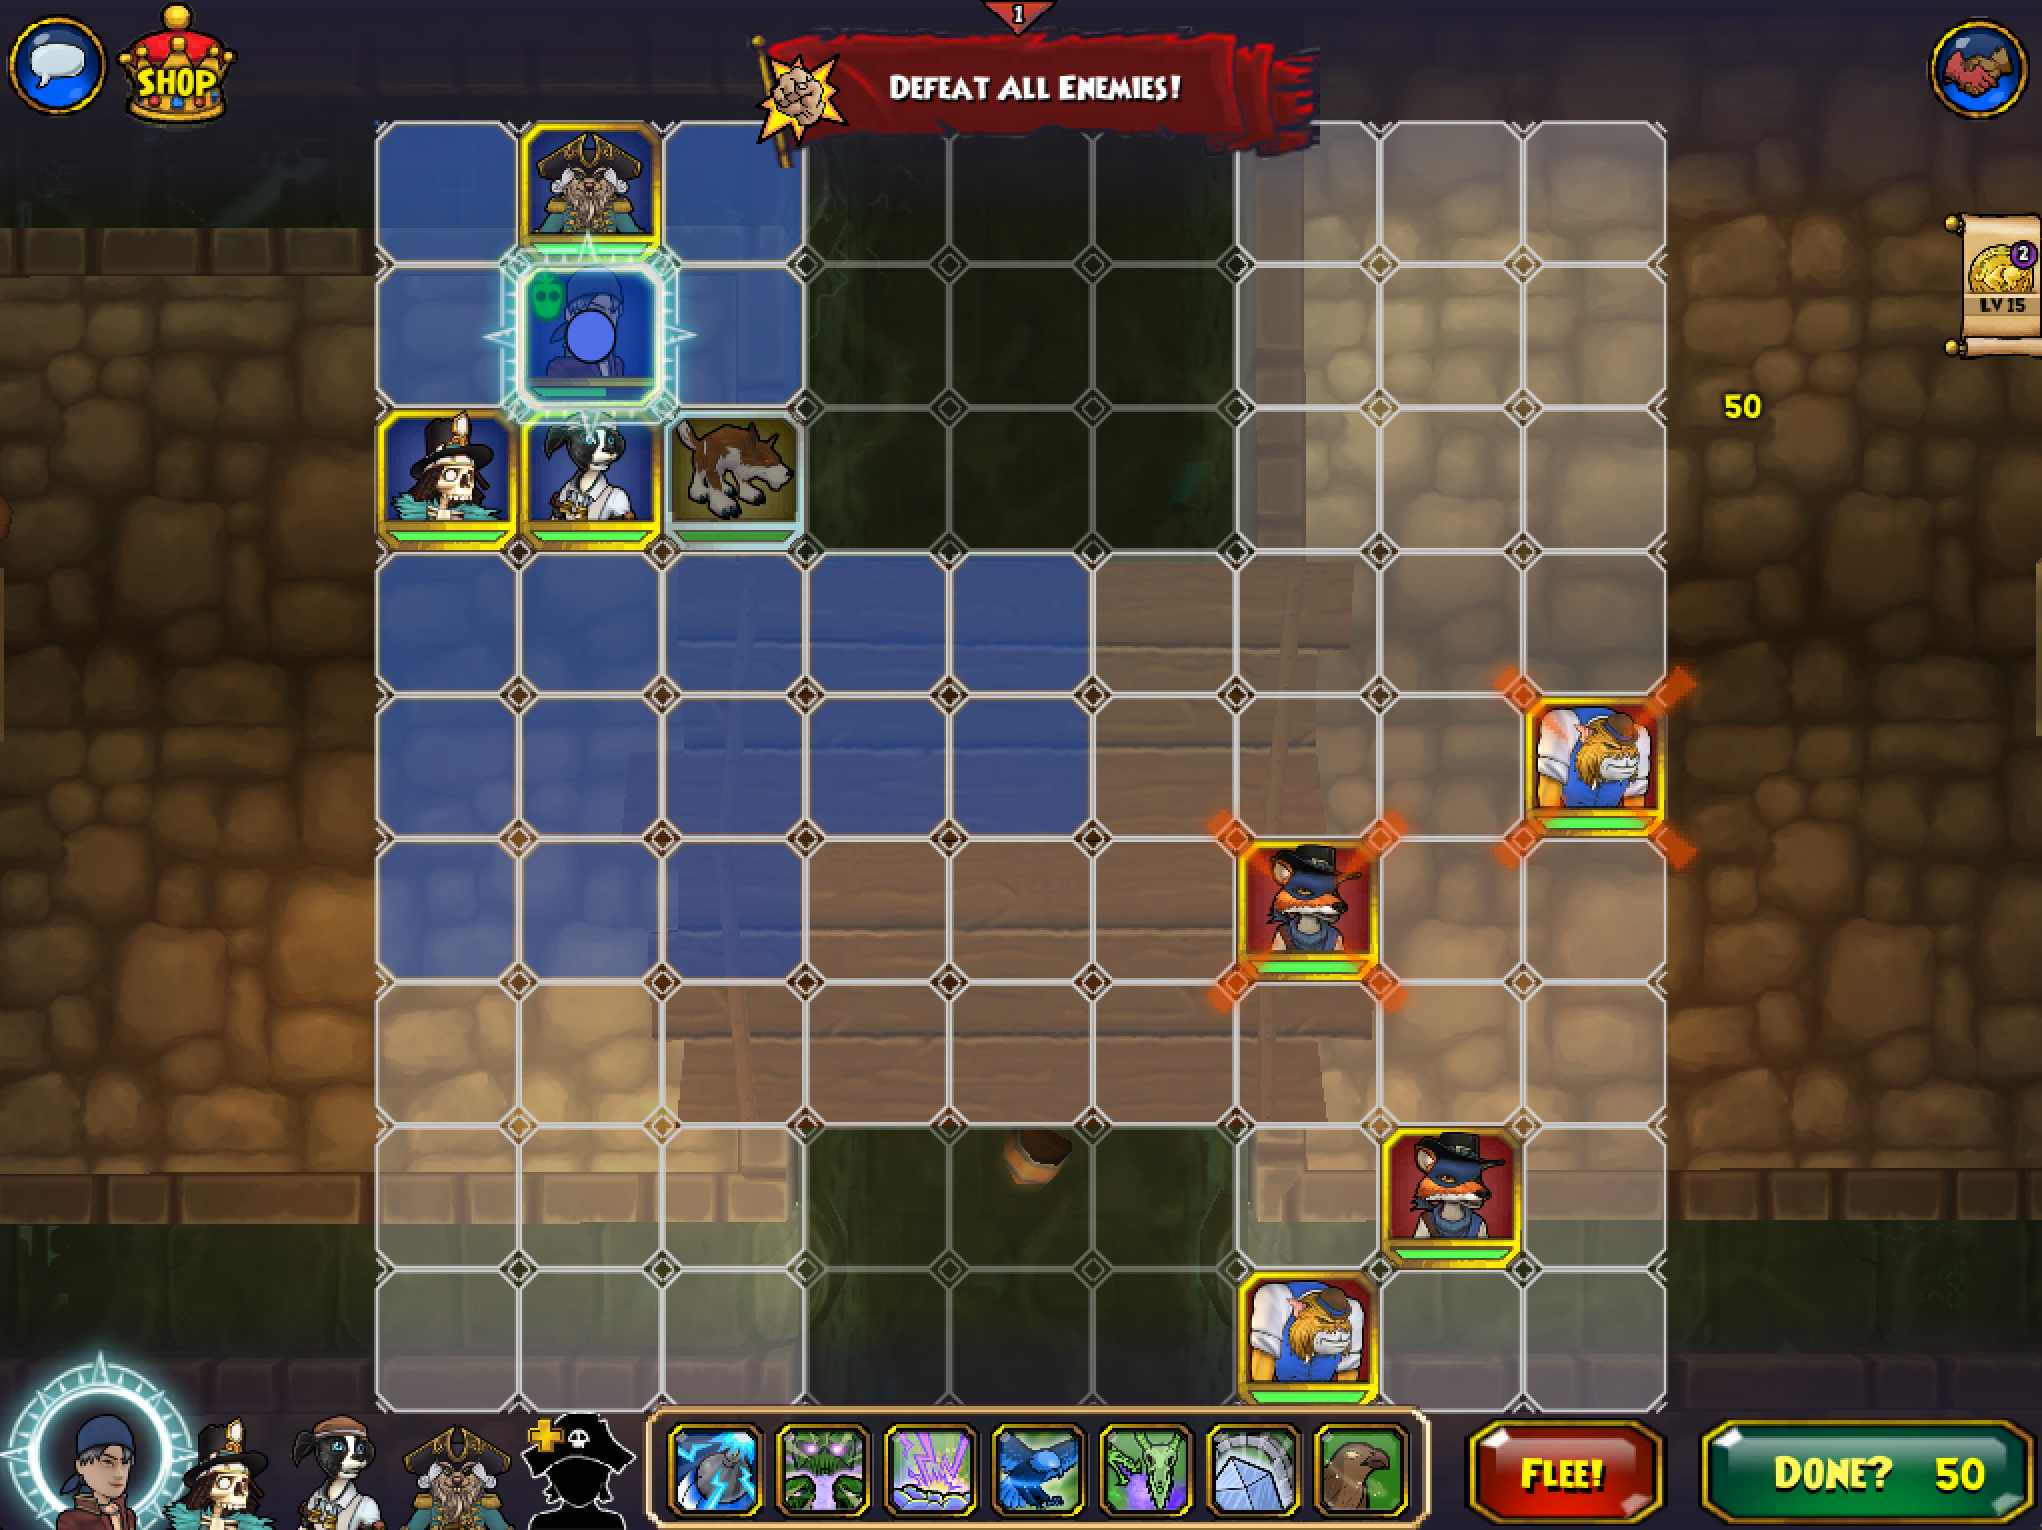
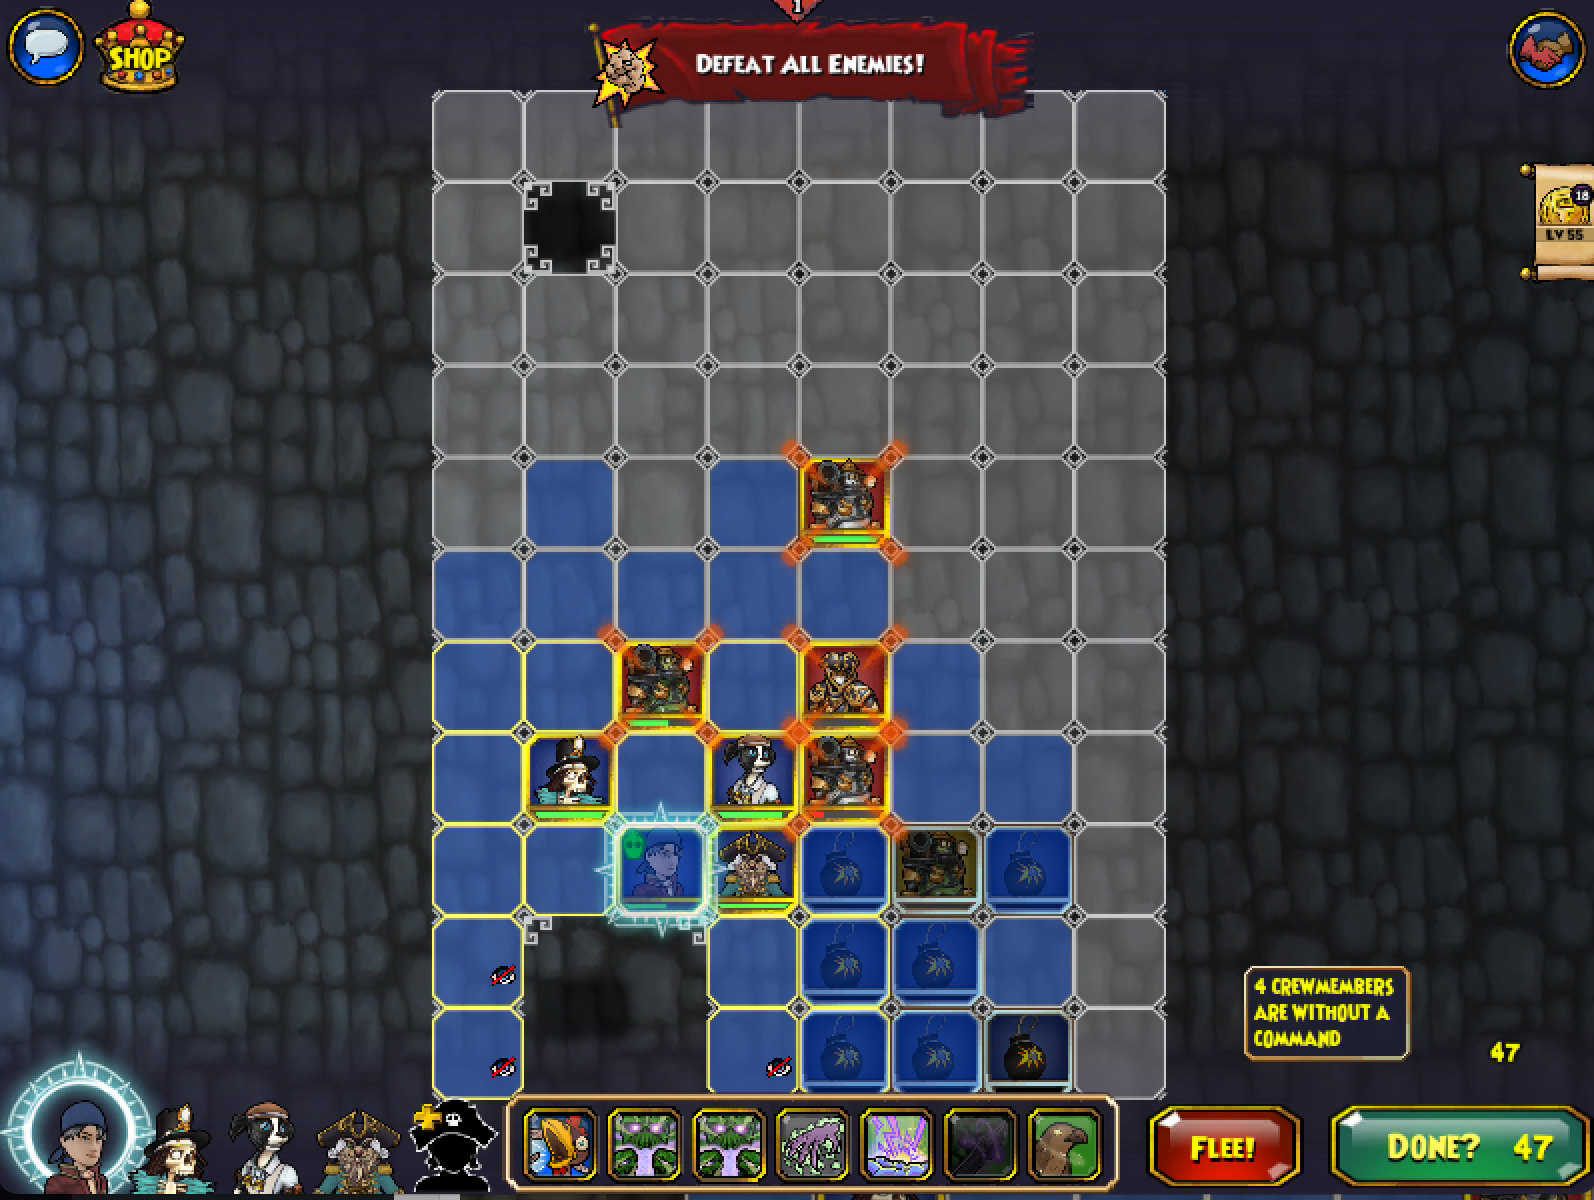
The minions are pretty much the same but this time, you’ll be fighting Klaw himself! Do note that there’s one square in the center of the board where you can place things on or teleport on. I have no idea why this exists but you probably don’t wanna go there as it would cut something off from the rest of the field entirely.
Original

Current
- Unlike his Kurgha Guards, even after the nerf, he still has a deadly set of epics that help him both chain to oblivion and counter many musket-based attack. He still has a copy of Haywire Shot, which can basically do well over 1000 damage.
- Extremely long range, he can target anything in this board as long as his line of sight is unobscured.
- Health nerfed to 5,734; stats may differ depending on the level Klaw spawns as.
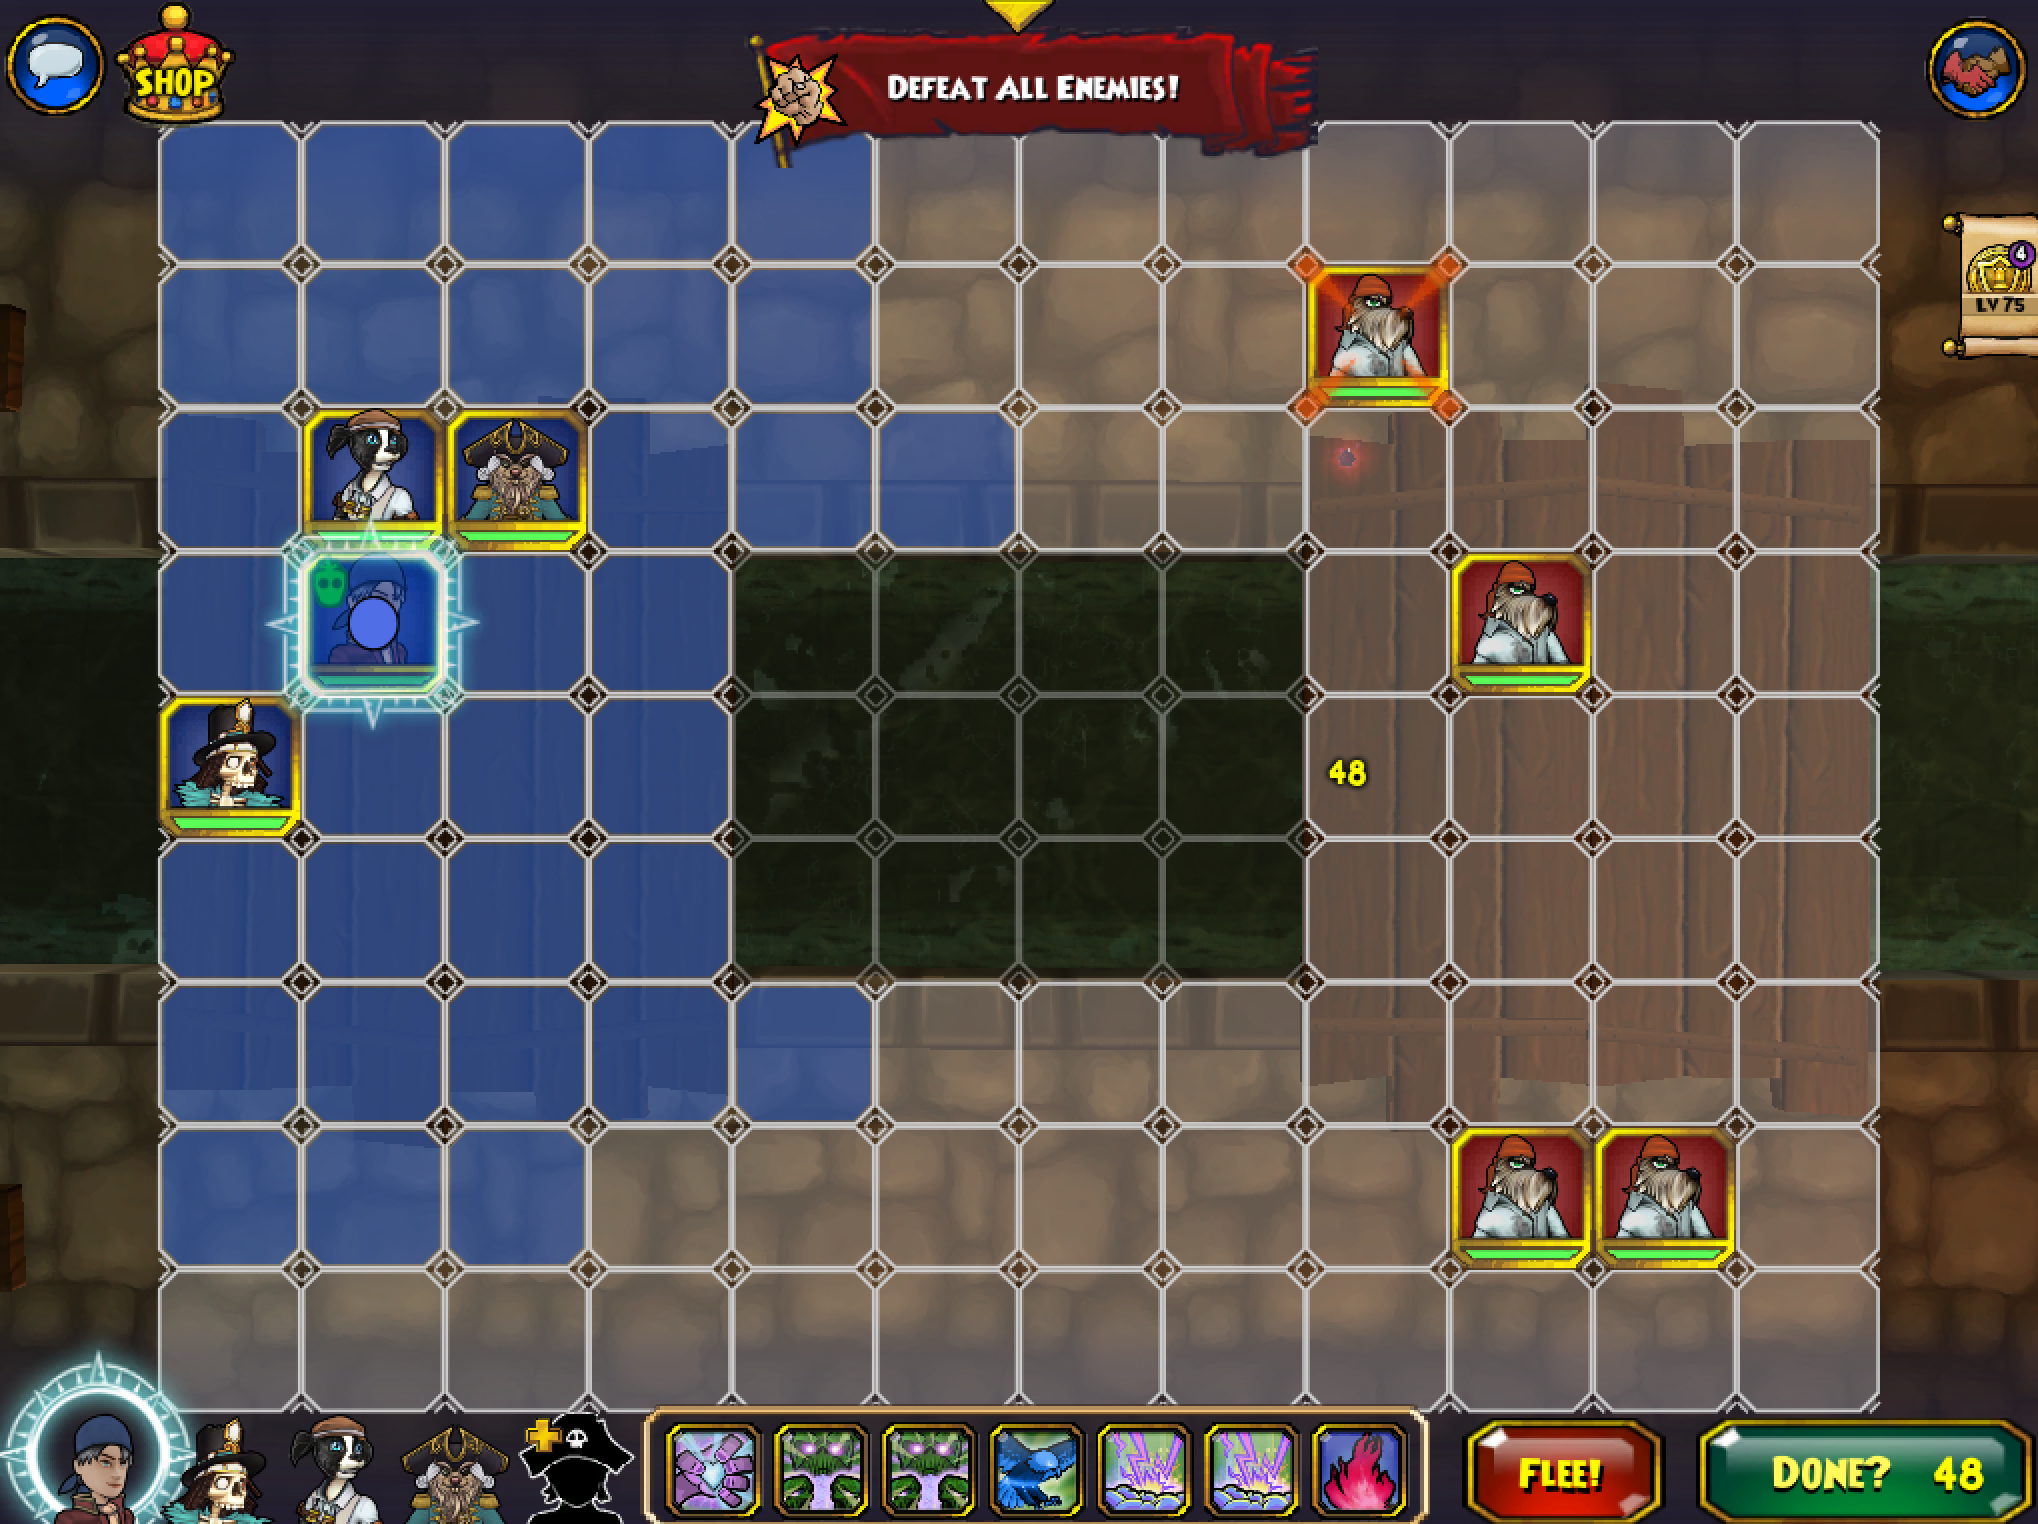
This fight should be pretty easy if you solo on a melee class or in a group. You basically just kill Klaw first then kill minions. However, it’s rather hard if you’re a solo Musket or a solo Witch. In fact, based on the overall kit of all of the enemies from here on, these are probably the two classes that have the worst time soloing the Sinbad 3 expansion. As a result, most of the solo advice in this article will be catered towards ranged/magic users.
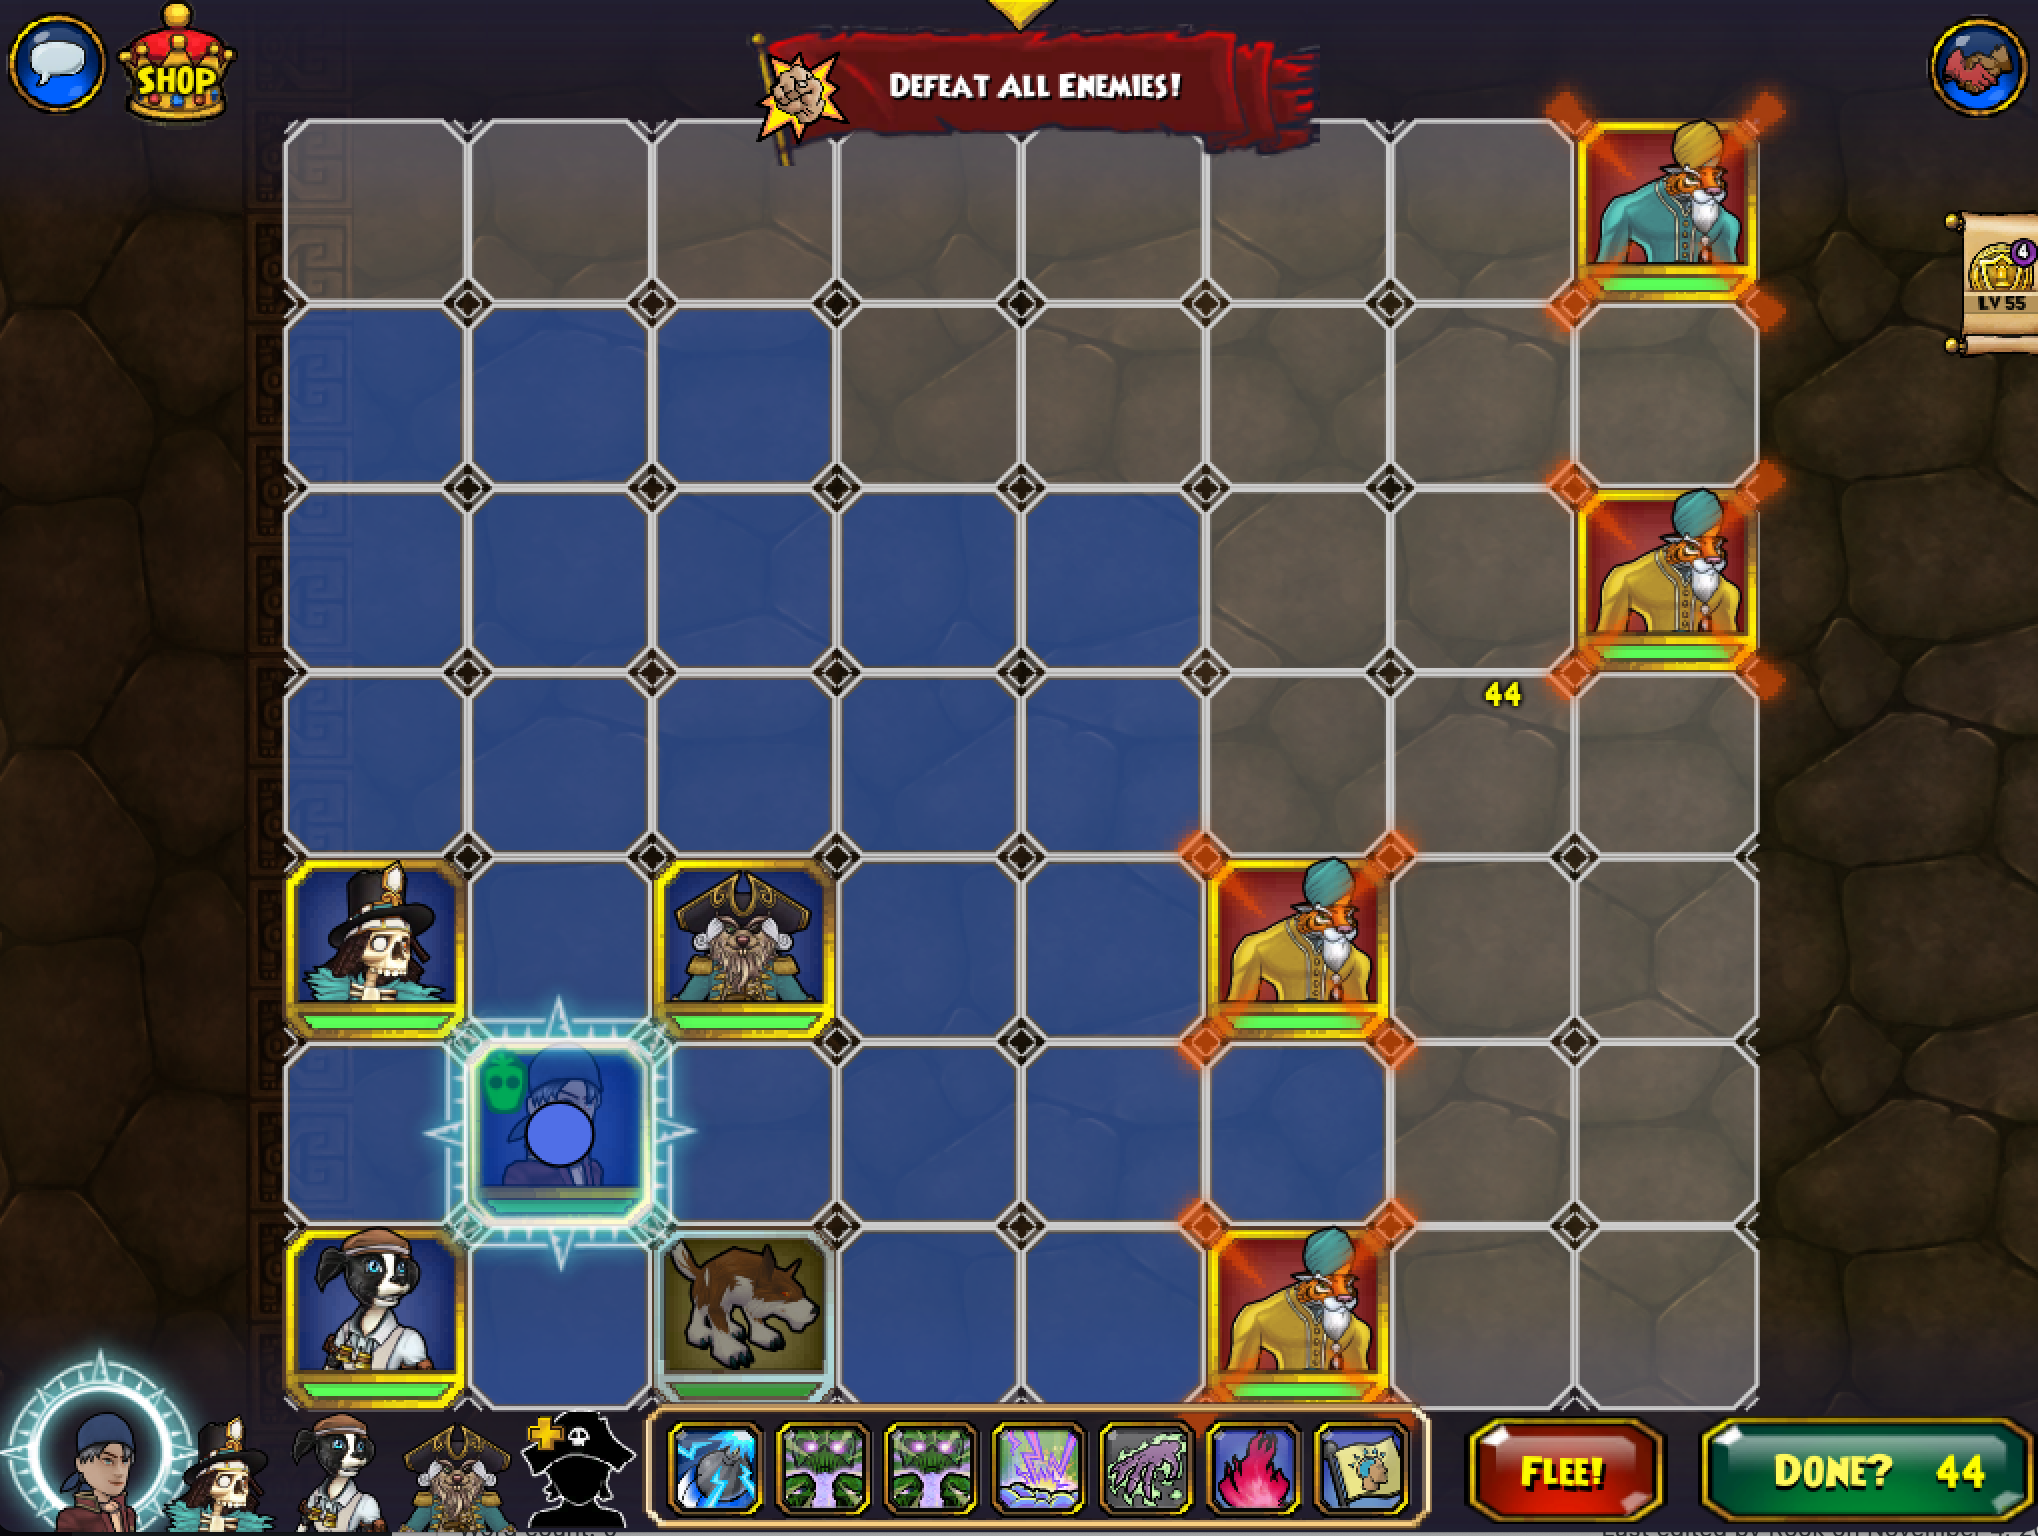
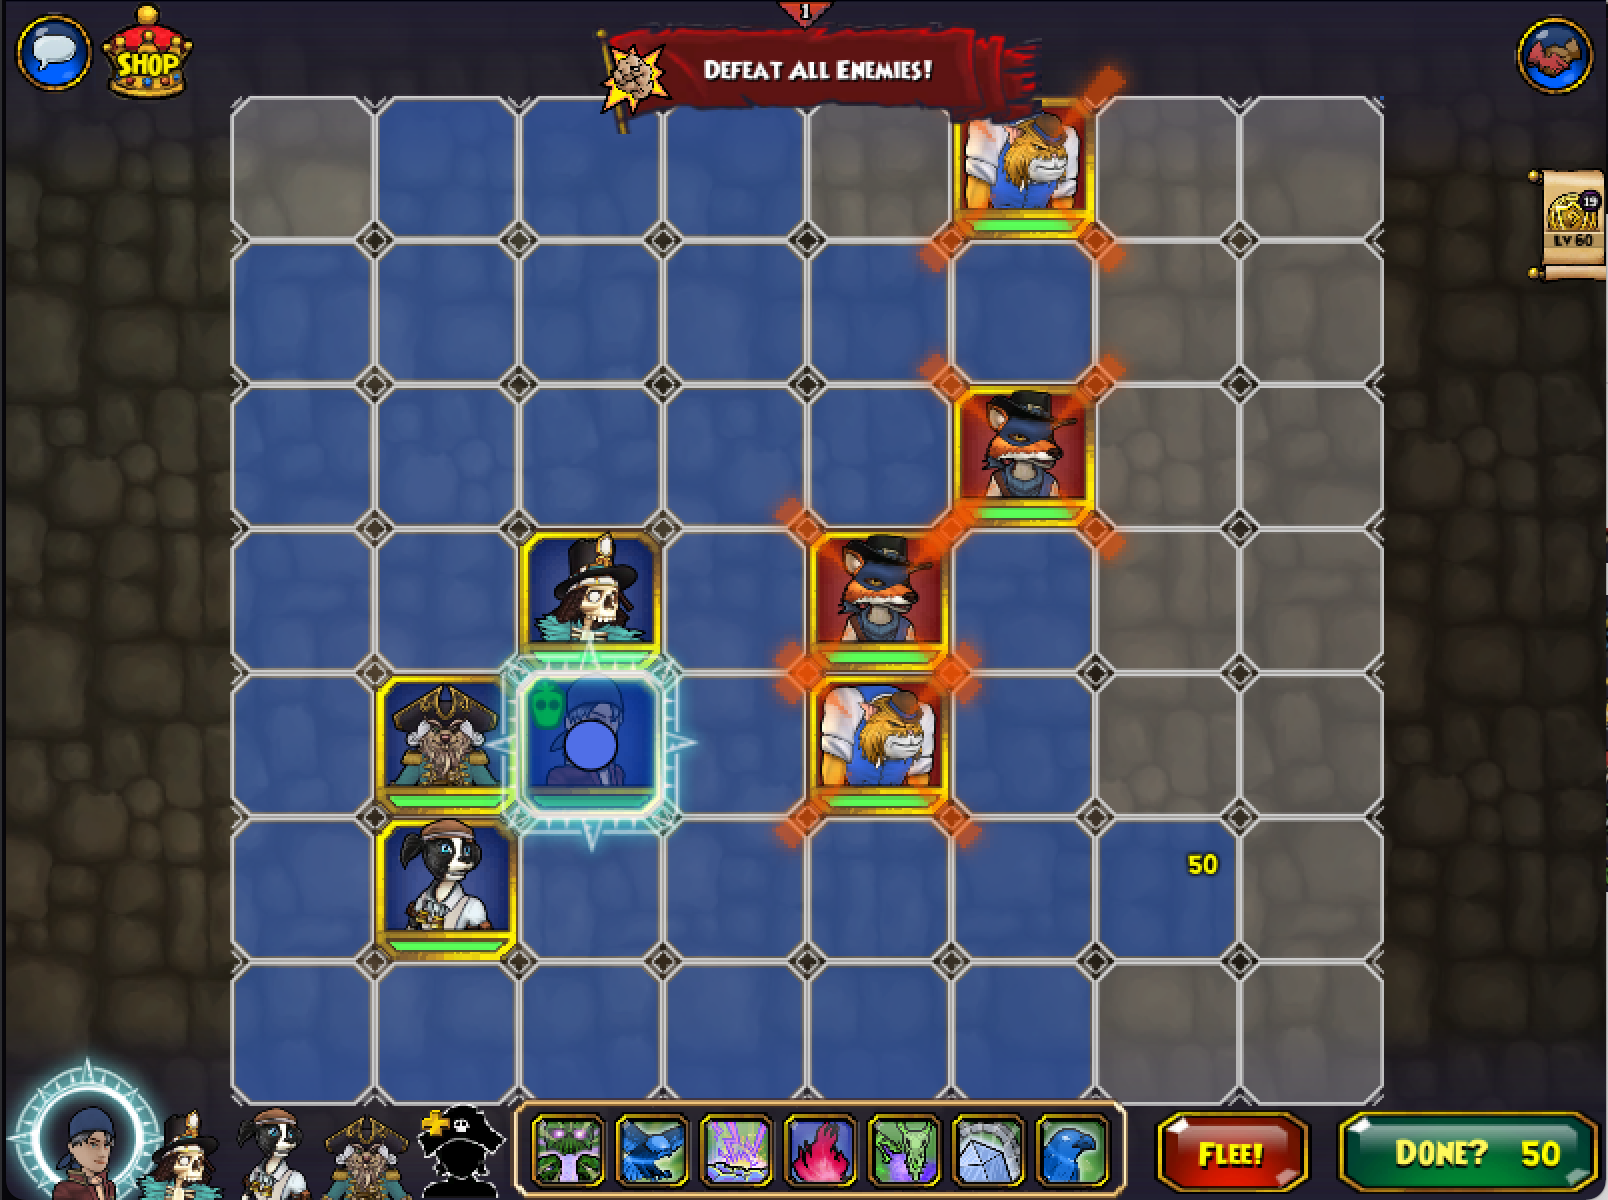
I used a strategy involving Old Scratch, Gracie, and Ratbeard to finish this but you’re more than welcome to try something else out that involves less traps and mojo. The fight should go something like this assuming you get a great starting position like the picture above:
- Use the buffs you deem necessary, such as the 100% Scratch buff. Feel free to use Gracie’s minion, and shield Ratbeard first turn
- Klaw should move up when it’s his turn.
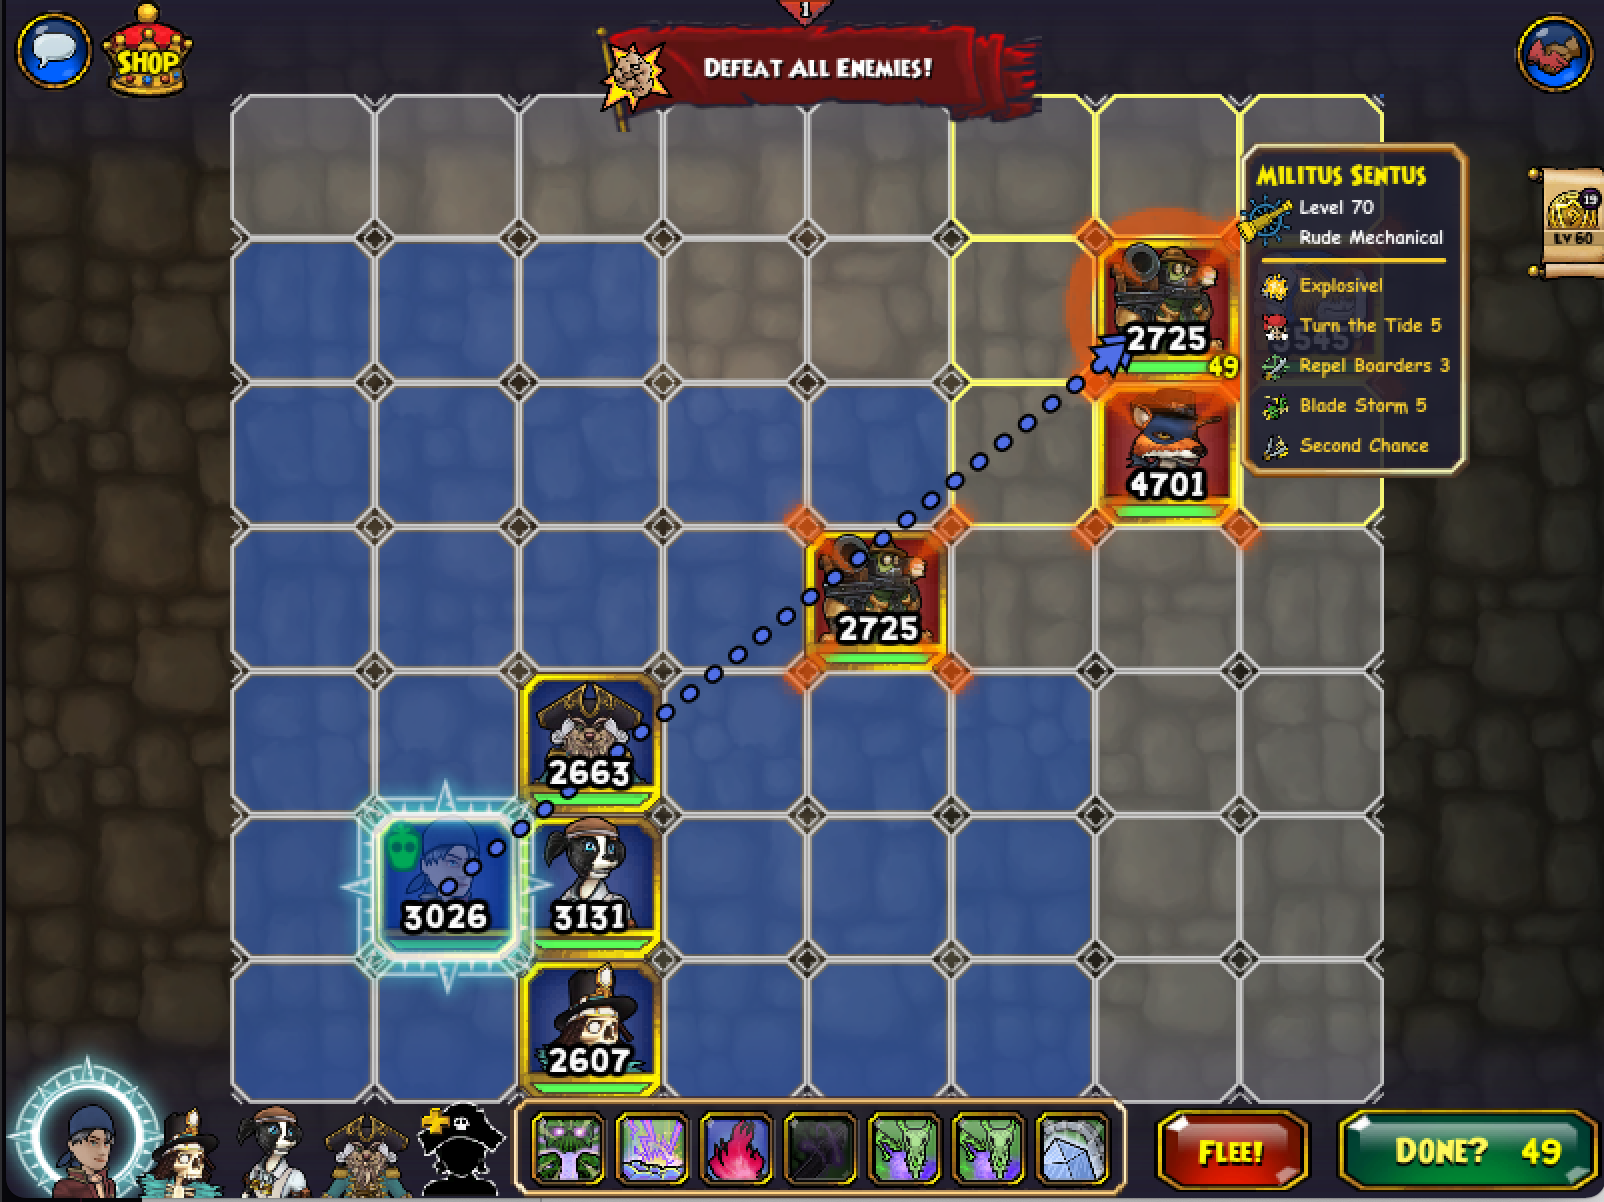
- If you’re out of his line of sight, you may be able to attack him with your pirate by using an AOE such as Mojo Storm. Use the 50% Scratch buff, plant Gracie’s mine a square behind Klaw, and then use Ratbeard’s push to push Klaw in the direction of the mine, which should take off 2000 of his health.
- Being significantly weaker, you should be able to use your normal abilities to take his health down.
- If you’re a Witch, you can bypass his Witch Hunter by aiming your AOEs, such as Mojo Storm, such that the center of the AOE is something without Witch Hunter, such as a blank space or any other enemy in this fight. As long as Klaw is not in the center of your AOE, Witch Hunter should not activate from him.
- This is applicable to many of the mobs later on.
- Do note that this is only really true for ranged Witch Hunter users; melee Witch Hunter users will always activate Witch Hunter as long as they are being targeted by magic.
This was essentially the strategy I used for this entire expansion. Some adaptations may be needed depending on how things go but this should generally be applicable if you decide to do this expansion solo.
Intervention From Marleybone
After defeating Klaw, we get a rather ominous message from Lieutenant Guillam to report to Marleybone immediately. Surely, there’s nothing going on behind our backs, especially not after being the (irregular) Royal Captain who defeated Kane and the Armada, right?
Back to the Sewers

Yep, fun fun stuff here, a sewer in Pirate101! This time, we report to Rikki Tarr, who gives us information on a new sewer system called Basil’s Gate Sewers.
FROZEN TIDE USERS: From this point on, these fights are rather anti-tide…use it at your own discretion.
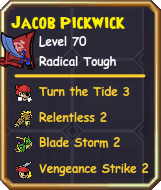
The first fight here is a defeat and collect quest from the Radical Toughs. This fight is overall straightforward, just be mindful of Reckless Frenzy.
style=”border-radius: 5px;”
Original
Current
- They used to be fairly intimidating with epics but they can’t really chain as well anymore.
- These guys also have Reckless Frenzy and Leviathan’s Call, which they rarely use unless Frozen Tide is activated, similar to the Terracottas. Reckless Frenzy can potentially be devastating so be wary of that.
- Nerfed to 3,260 health; stats may differ slightly depending on the level of the mobs.
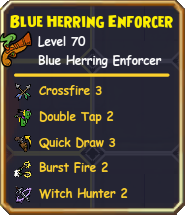
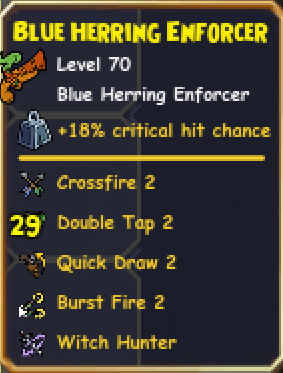
After collecting the information and sharing an exchange of dialogue, your next mob fight, which is also a defeat and collect quest, is to defeat some Blue Herring Anarchists for even more information. They may also be accompanied by Blue Herring Enforcers. It’s worth noting that these boards are rather small, which makes movement debuff abilities, such as Frozen Tide, much less useful, especially as all the enemies are ranged. These fights also always have 4 enemies regardless of the amount of players in the fight.

Original

Current
- Although this mob still has a fair amount of chaining epics, in my experience fighting them, these epics rarely trigger, even Witch Hunter. Oftentimes, they never activate even when the conditions are met so it’s actually quite a surprise if they use one of the epics they’re supposed to have.
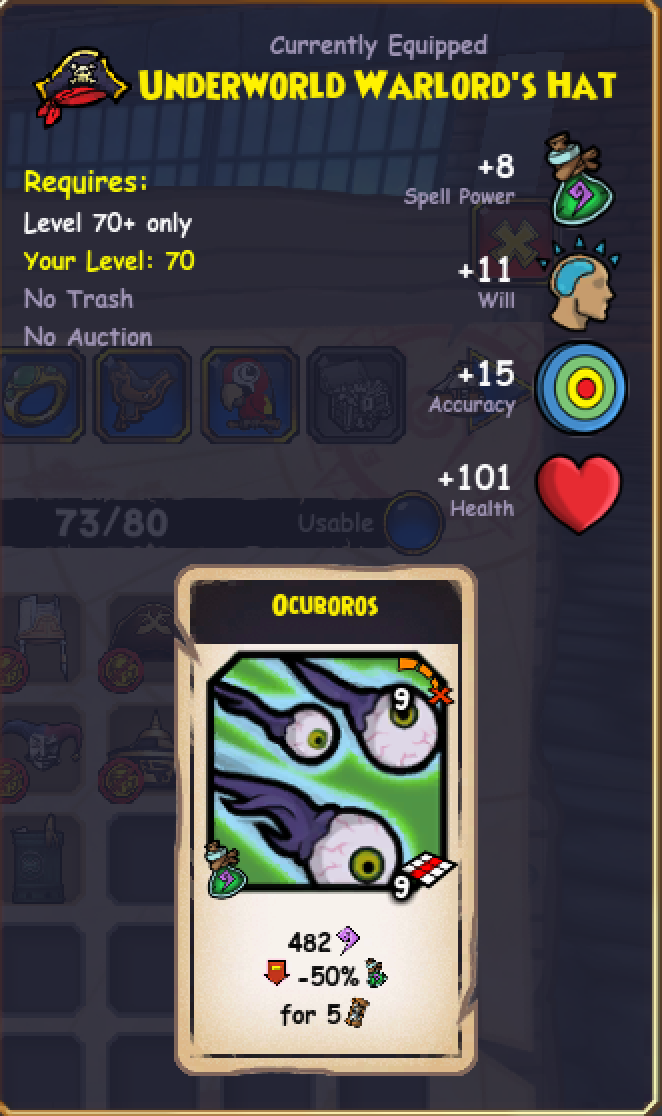
- These guys have Mojo Blade and Ocuboros, which does lower spell power by 50% for all targets standing in a straight line either perpendicular or diagonally to the Anarchist.
- Despite having the exact same design as many melee cat enemies, they do in fact use ‘ranged punches’ for their basic attack animation.
- Nerfed to 3,136 health; stats may differ
Original
Current
- On the other hand, these guys can be quite dangerous. They’re about as tanky as the Kurgha Guards from before but with decent chaining potential.
- Like the Kurgha Guards, they only have Hail of Cannonballs now.
- Health nerfed considerably to 3,918; stats may differ depending on the level of the mobs.
After this, you are taken to a new section of the sewers, where there is yet another mob fight where you have to collect a key to access the final instance of this questline. These mobs are the same as before so if you’re comfortable fighting in small maps, you can go back to the same location as before. Otherwise, you can fight the mobs you see in this new section of the sewers.
And now, time for the final instance!
Wheeler’s Lair
The first fight starts off pretty standard, same mobs as the last 2 defeat and collect quest. It is worth noting that almost all battleboards in this instance are rather small.
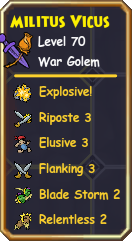
The second fight is where things get a bit interesting. We are introduced to a new mob that’s also an old friend, especially if you’ve used Gracie: the War Golem! These guys are randomly accompanied by the Blue Herring Anarchists and Enforcers as well.
This fight always scales to a solo amount of enemies, regardless of the amount of players present. As 5 Golem kills are needed, each Golem that is killed per match will count as 1-4 kills depending on the amount of players present. For example, if it’s solo, then each Golem killed counts only as 1; if it’s with two people, then each Golem killed counts as 2 and so on.

Original
Current
- These guys used to be insane both offensively AND defensively. Now? Not so much.
- Much like the Radical Toughs, these guys ALSO have Reckless Frenzy, which should add some caution. These guys are probably the last mob you’d wanna use Frozen Tide on because they will use Valor’s Fortress, an even STRONGER Leviathan’s Call as it’s not just a 50% damage reduction to melee and guns, but it’s a 50% UNIVERSAL damage reduction that can be applied to ANYONE. Unlike the Radical Toughs, if multiple golems are present when Frozen Tide is used, they will stack Valor’s Fortress on a single target on their team, making that particular enemy very difficult to take down unless you’re willing to purge buffs.
- Nerfed to 1,363 health; stats may differ slightly depending on the level of the mobs.
After that, we have ourselves the first boss fight!
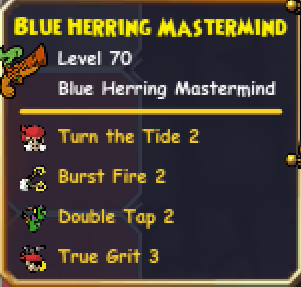
Blue Herring Mastermind
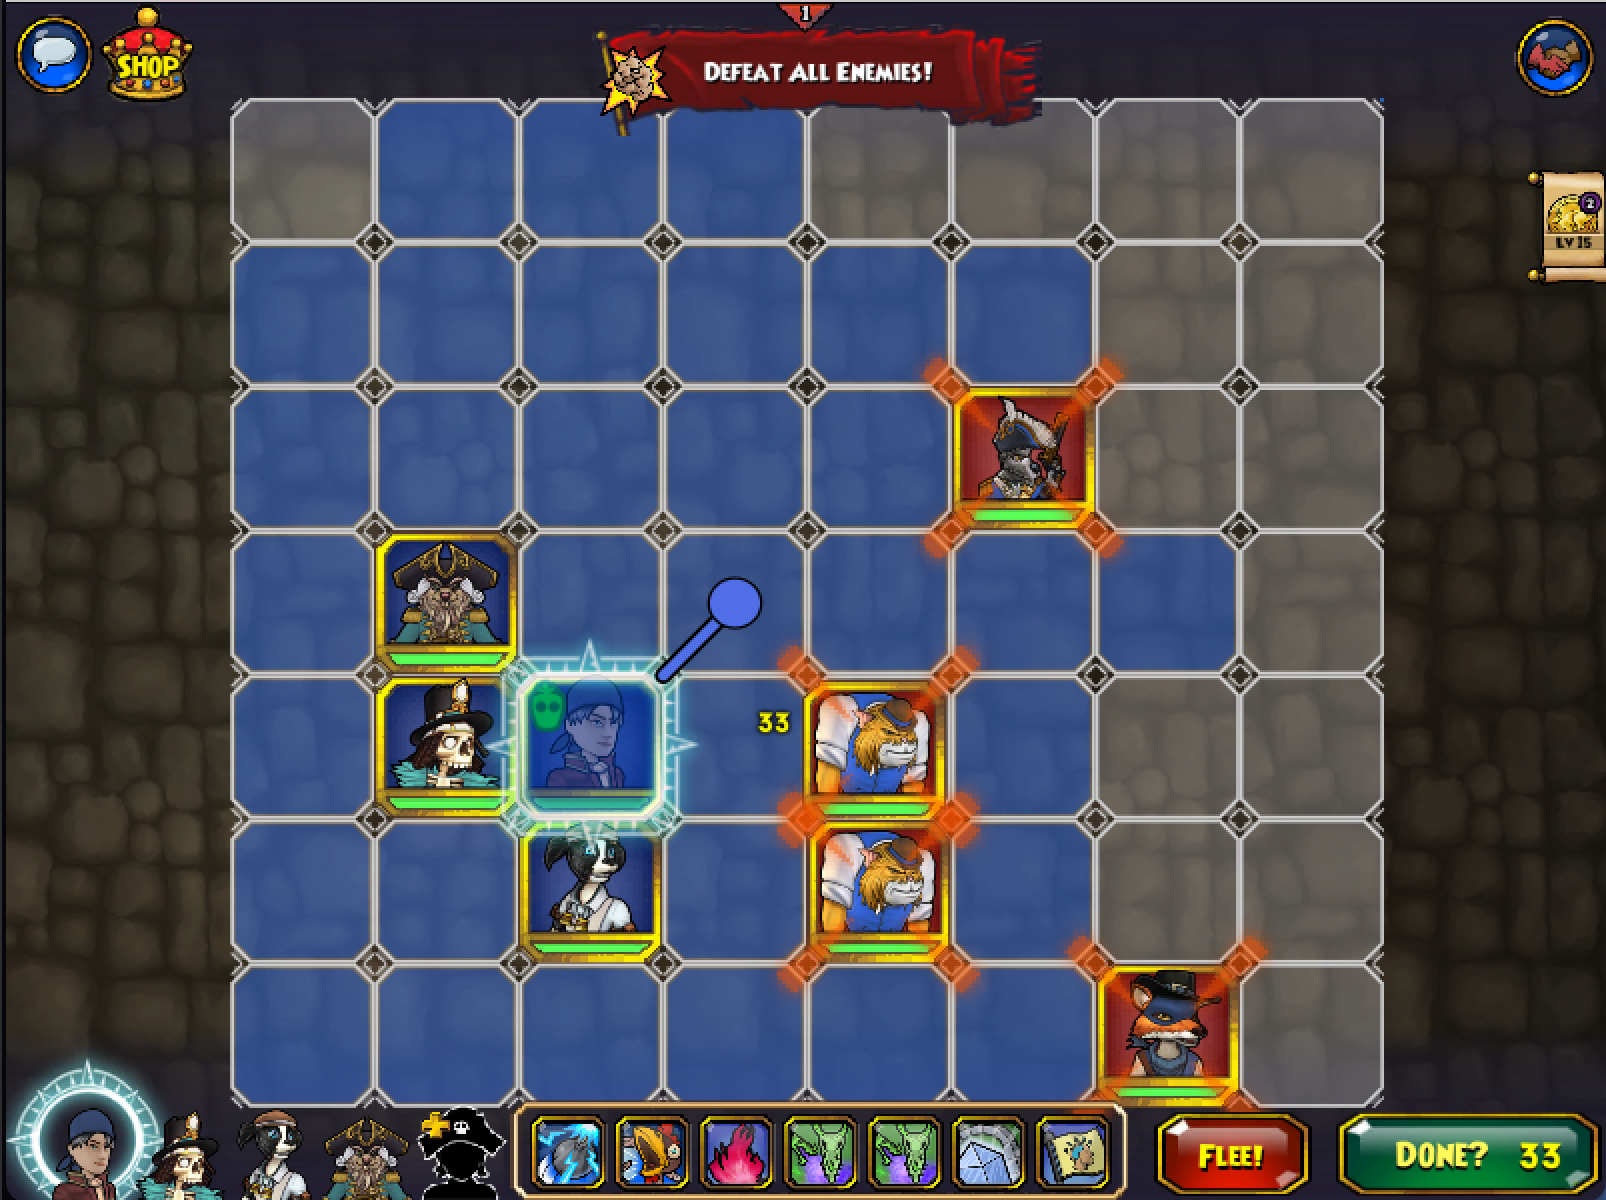
This board is incredibly small with many ranged enemies. This battle also does not have an ‘Epic Battle!’ message when you enter the fight, so it’s based entirely on whatever your companion setting is. You’ll REALLY want to kill the Blue Herring Mastermind himself off ASAP. I would go as far as to say that even after all the nerfs, this is still the HARDEST fight of the entire expansion.
Original
Current
- He can still deliver some strong chains, but he’s now less anti-musket.
- His main gimmick is still spamming an AOE trickshot but it does less damage now.
- Nerfed down to 5,202 health; no longer the highest for any enemy for this expansion.
It might be helpful to use some summons, such as Blood Flames, minions, or the Barricade ability of Musketeers/Earth Guardian’s Helm. The Mastermind’s AOE may seem like it’s on the full enemy team, but it’s not; it’s more of a trick shot similar to something such as Bonnie Anne’s Scattershot. By using these extra summons, you may be able to buy yourself some time by having the Mastermind (and potentially some of the other enemies) be distracted and aim for your summons rather than your actual team.
Overall, as long as you kill the Mastermind fast, the rest of the fight is like everything from before. He has the most unrewarding loot of the entire expansion so don’t worry if you don’t feel like farming him.
After some exploration, the next fight involves killing War Golems…again! This time, you’ll need 8 of these dead! You could go back to the Privy War Golems OR you could stay in your new room to fight the Swashbucklers!
It’s worth noting that as far as number of enemies in each fight and quest progress gained from defeating a golem, it’s the same rules as the Privy Golems.

Original

Current
- Pretty minimal difference, close to 200 dodge even without Elusive.
- Although they do not have Assassin’s Strike, they do have Walk in Darkness, the 5 round hide. This is their ‘anti-tide’ power, similar in idea to the Privy Golems.
- Health actually stayed the same at 1,363.
After these minions are taken care of, it’s time to meet the main baddie himself!
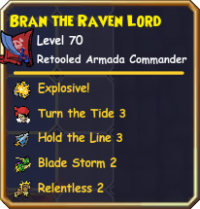
Bran the Raven Lord
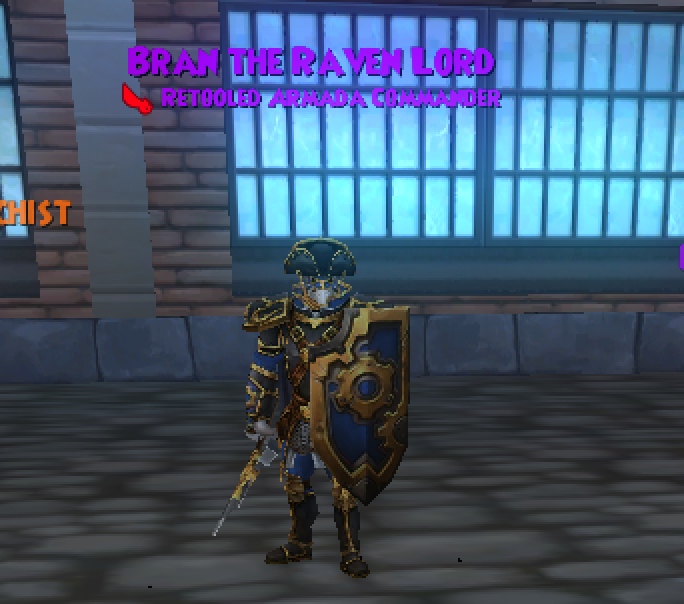
Why yes! He DOES look familiar!
Surrounded by a random assortment of minions encountered in this dungeon, PLUS a large board, Bran serves as quite a reintroduction to the Armada. Much like the Blue Herring Mastermind, he also does not have an ‘Epic Battle’ message so companions are chosen based on your settings.
Original
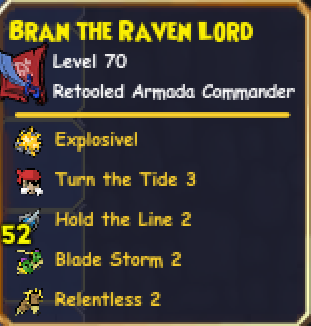
Current
- On paper, he’s basically one of those Kurgha Brawlers from all the way back in the Tunnels of Darkness. That’s not all though, he has all the same cheats of the original Rooke back in Trafalgar’s Vortex and Kane as his Rookochet reflects almost any normal musket-based attack, his Overprotection knocks an adjacent enemy back a square, and his Swift Retribution is similar to Intuition. Overall, his changes were fairly minimal; he can still do a lot of damage.
- Has a copy of Vicious Charge and will use Whale’s Might if Frozen Tide is used.
- Health actually stayed the same at 3,878.
Revelations
After Bran is defeated, some new information is gathered. I could say what it is but that would be telling…
Drops
If you were dreading the drop rates of Sinbad Part 1 and 2, I’ve got good news for you! Sinbad Part 3 has pretty decent drop rates all around! If you’re lucky, you can get everything you need in just a day!
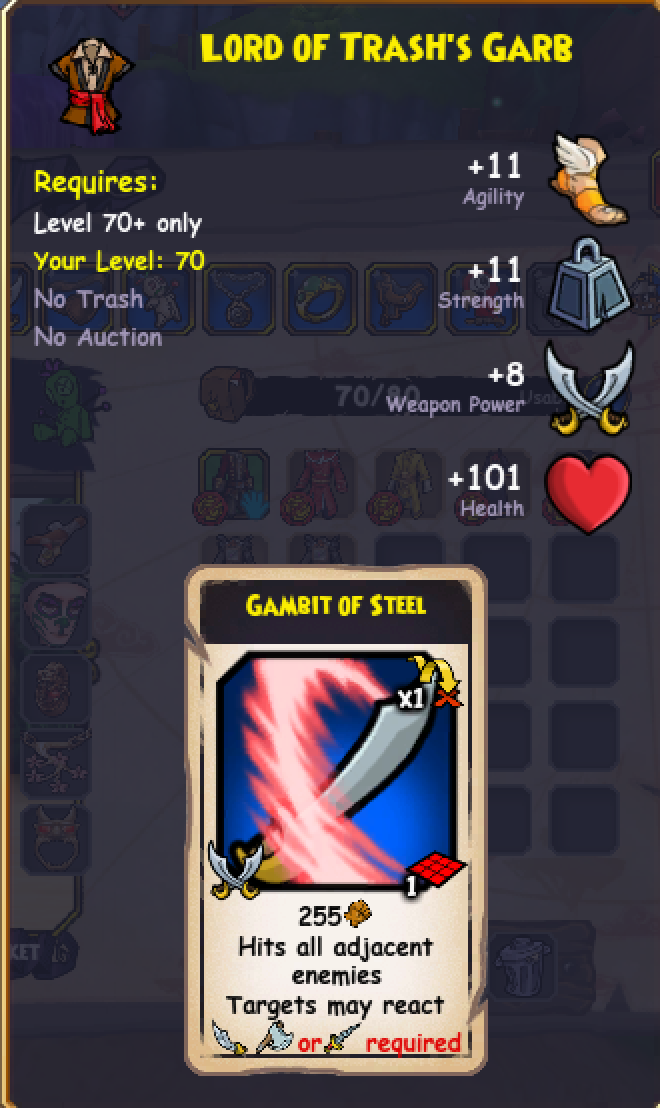
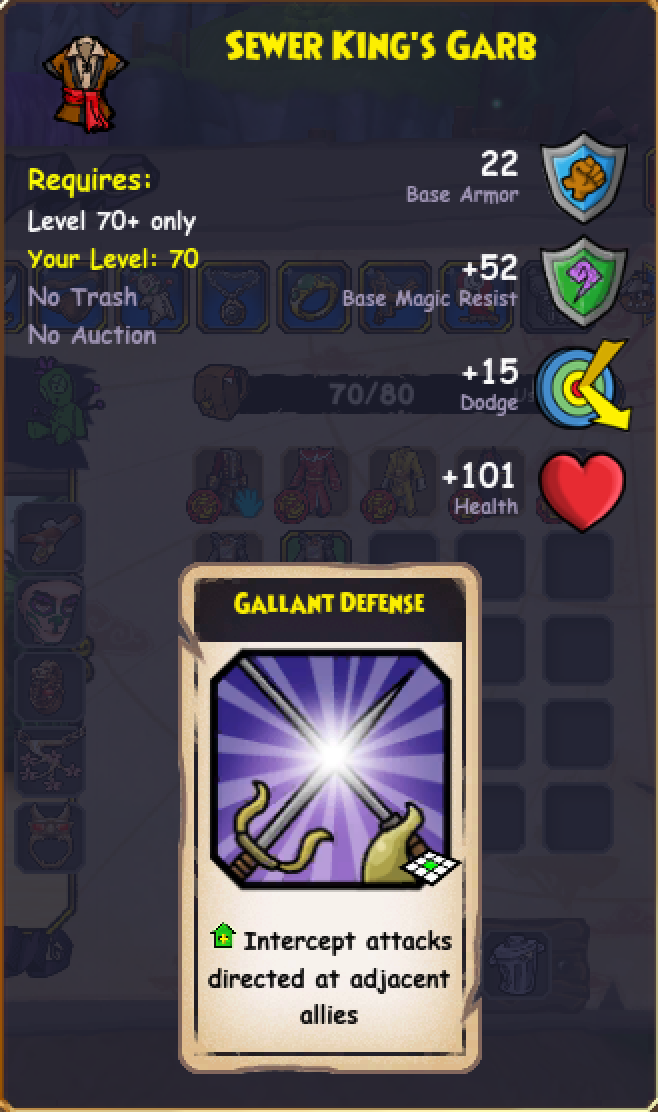
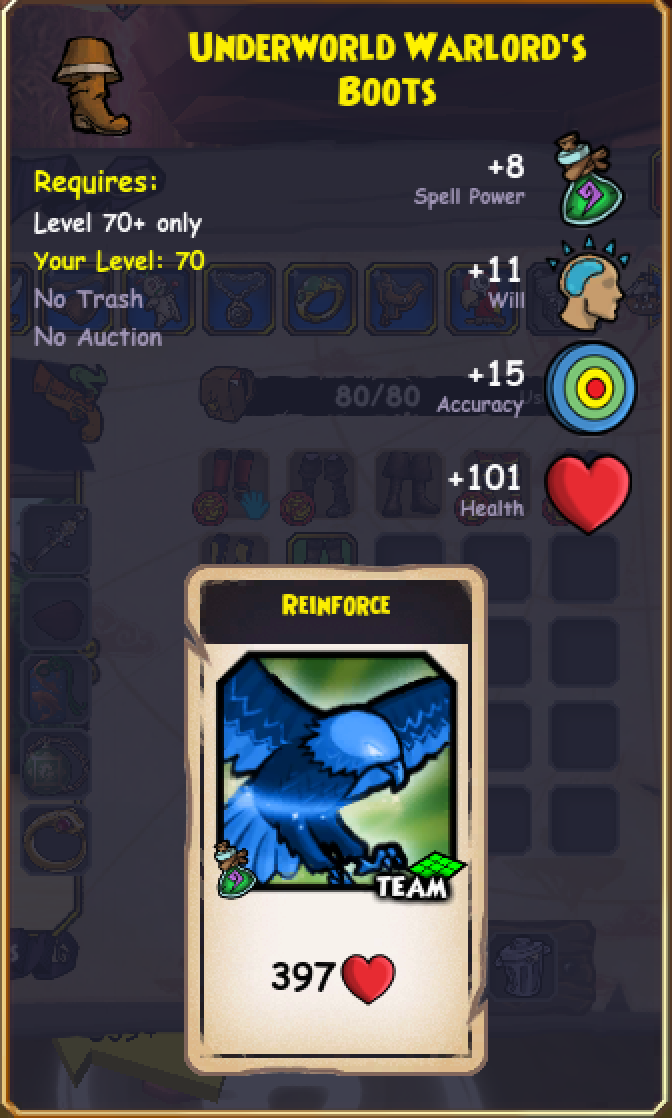
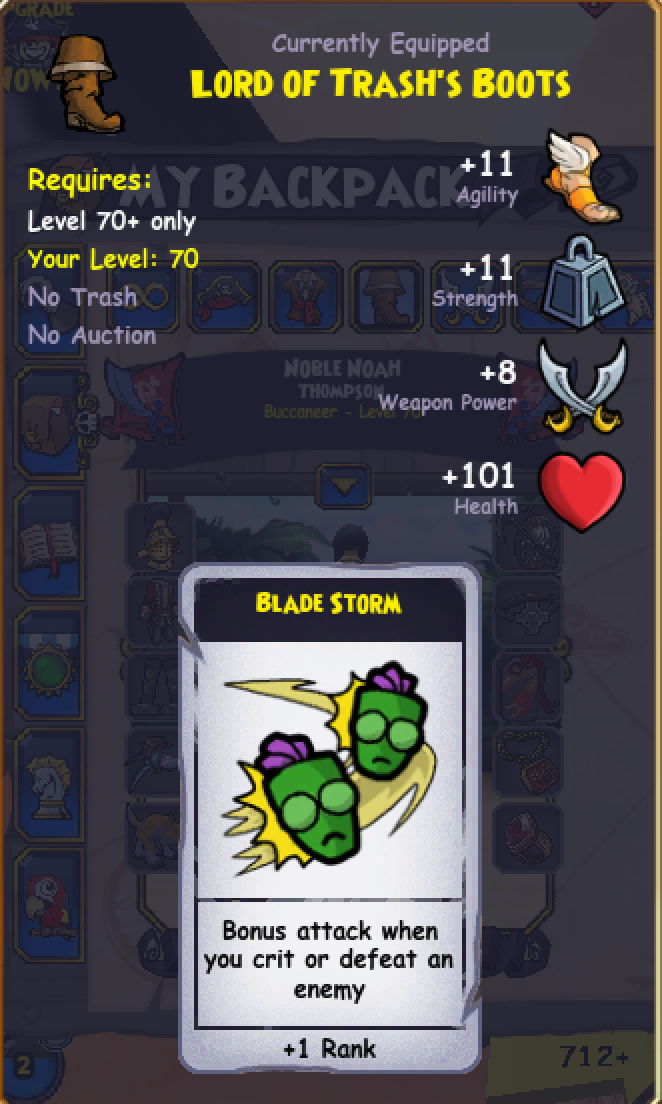
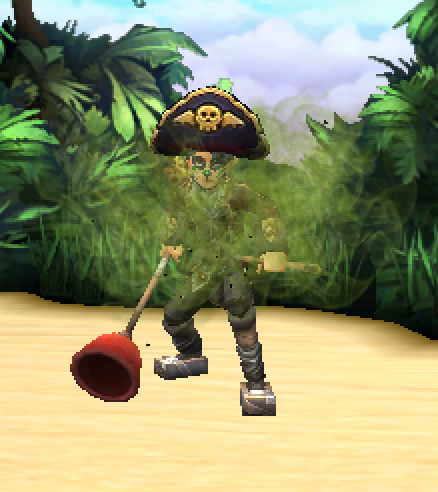
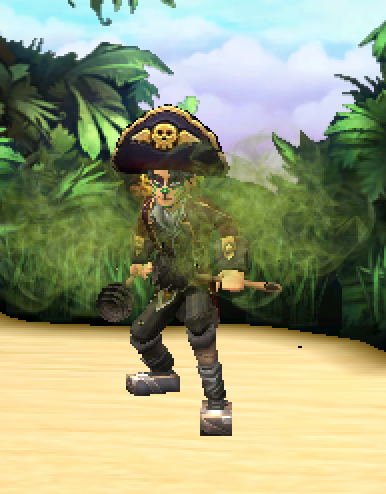
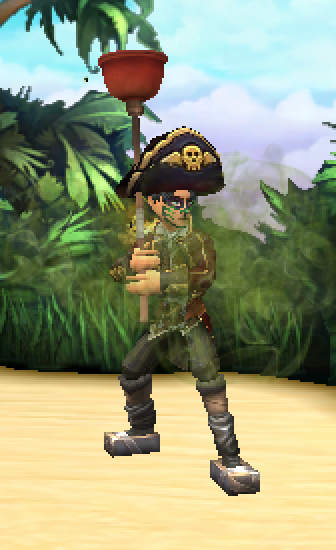
Appearance same for all gear
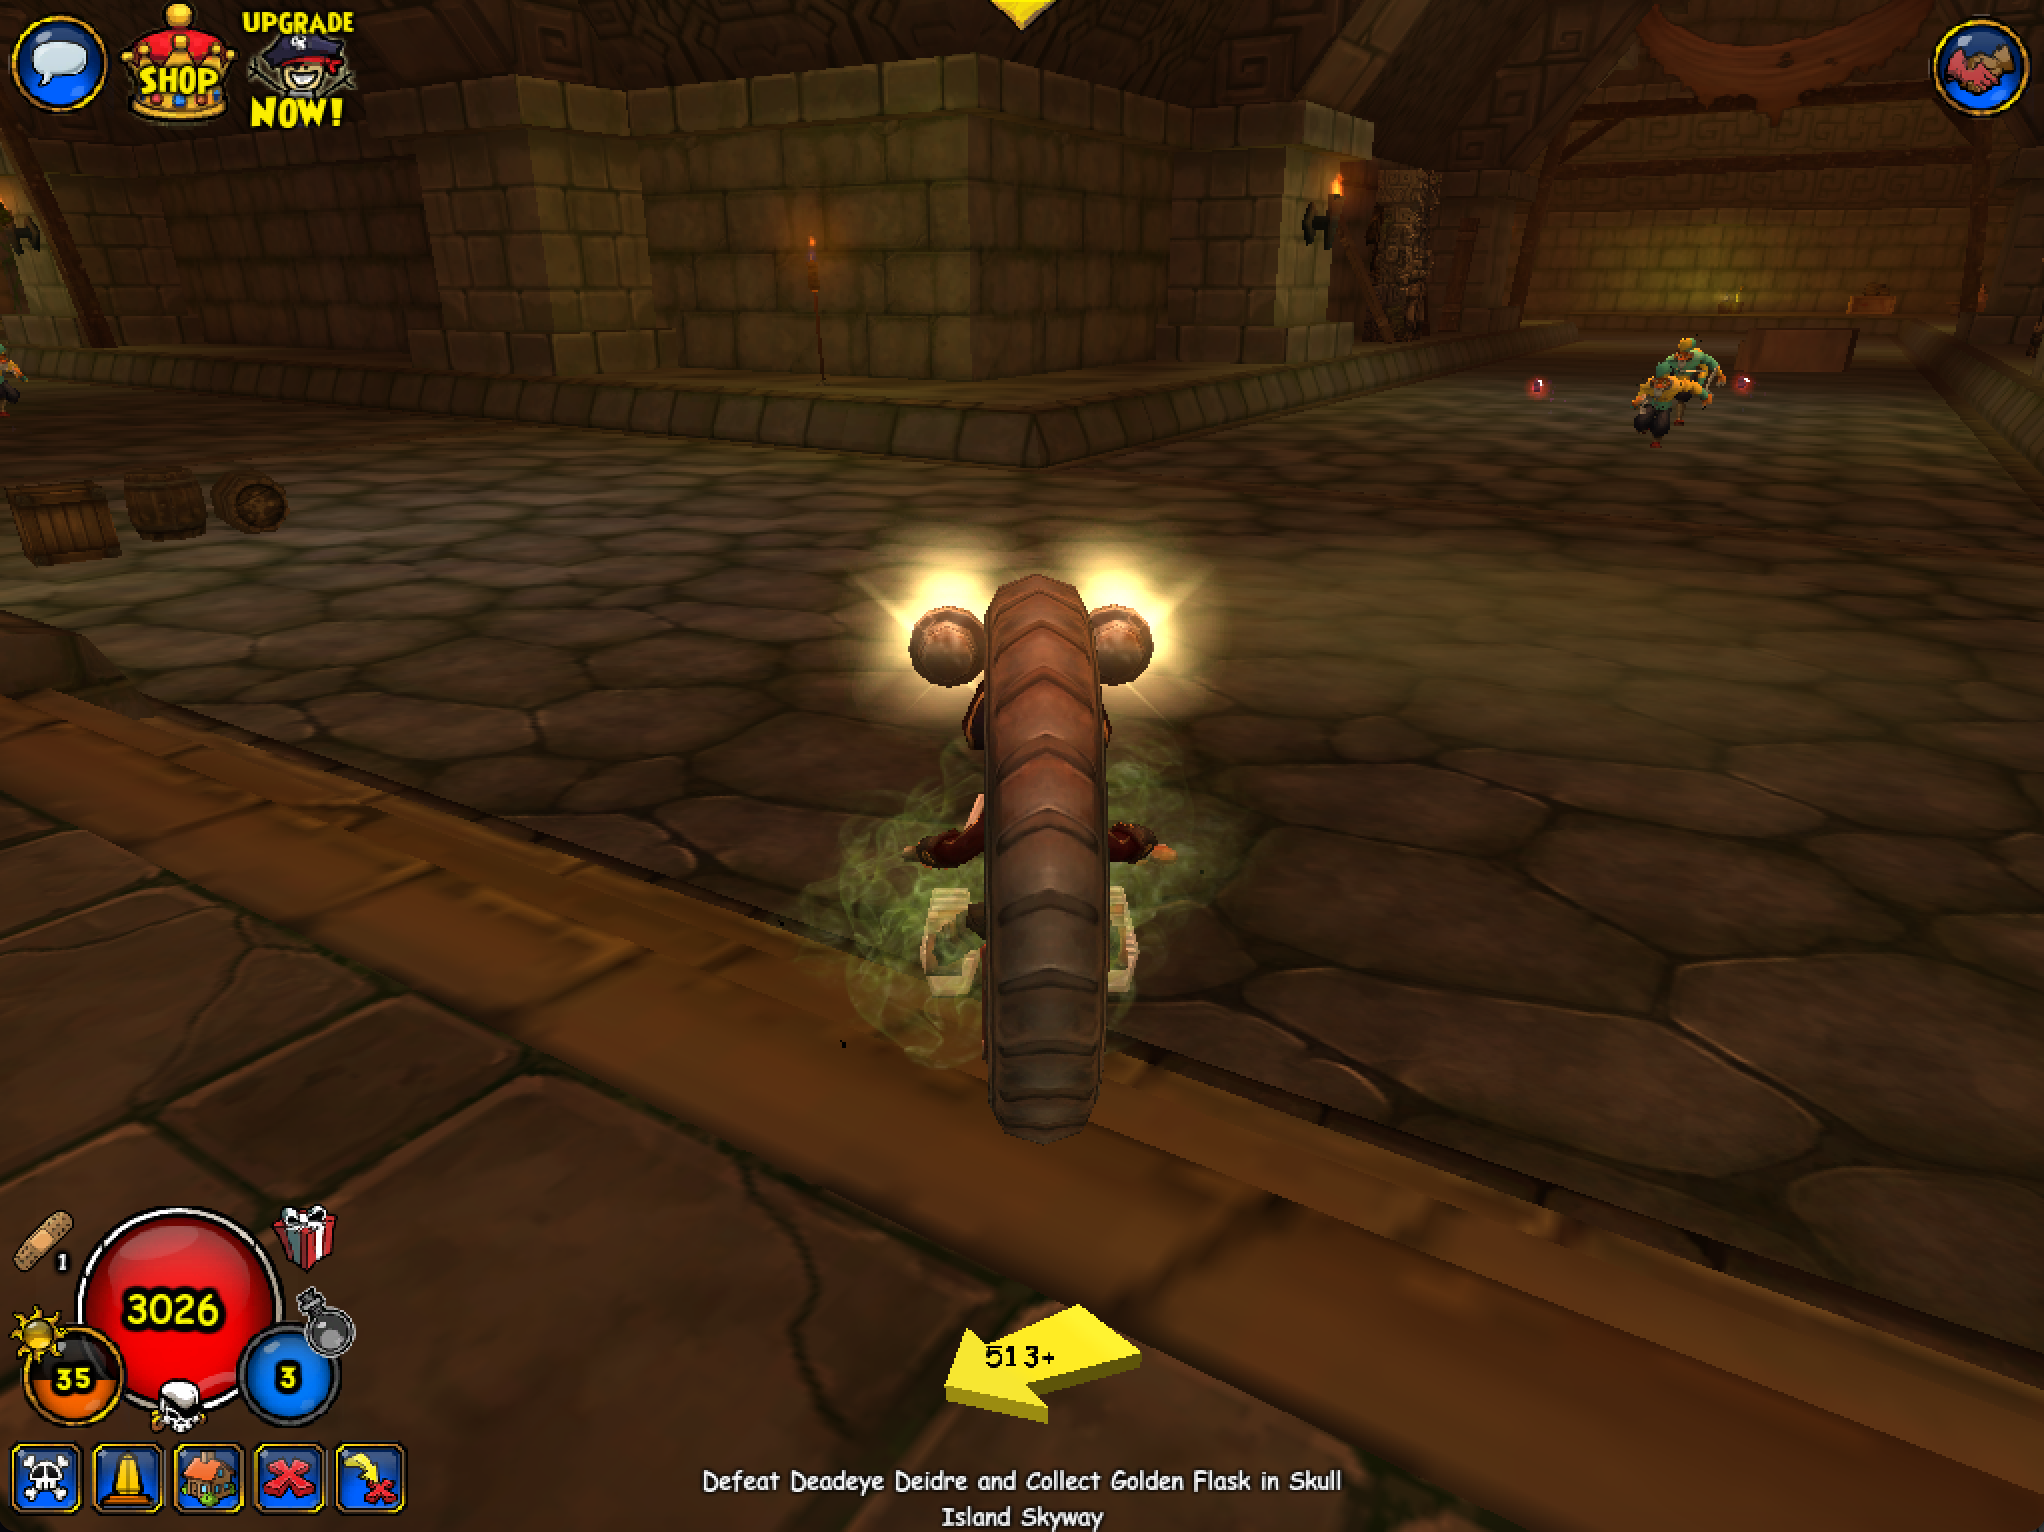
Trash Gyro Cycle
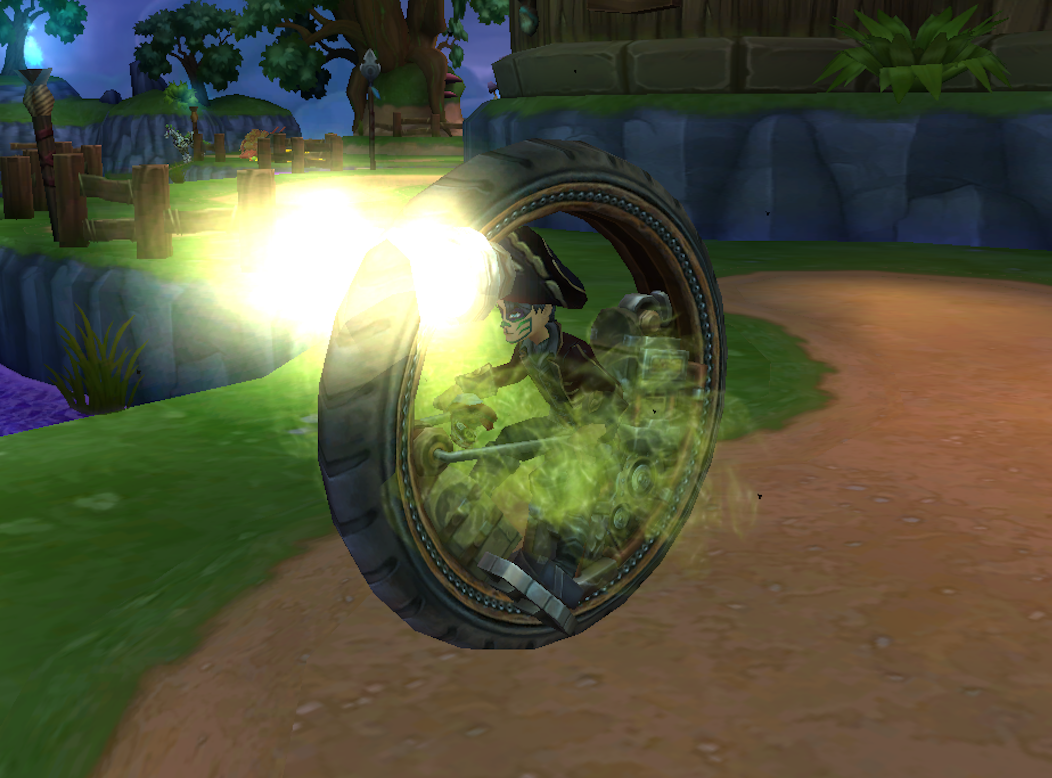
- Can be dropped as 1 day, 7 day, or permanent; each variant sells for about 11,000 gold if you need extra gold
- Hats drop from Klaw, Blue Herring Mastermind, and Bran
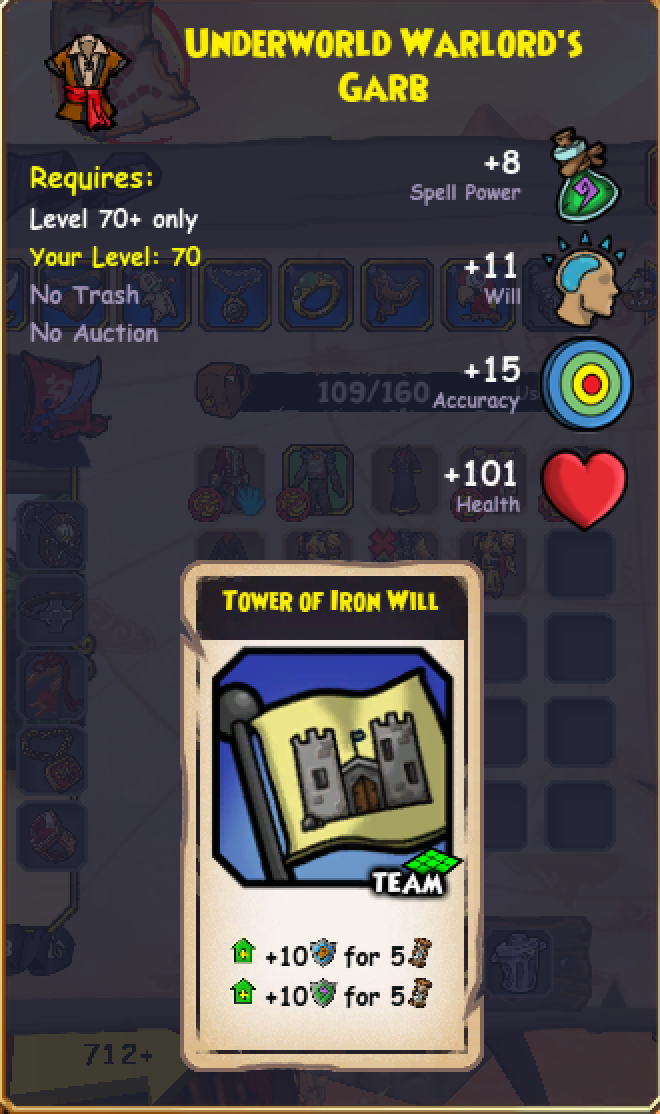
- Robes drop from Blue Herring Mastermind
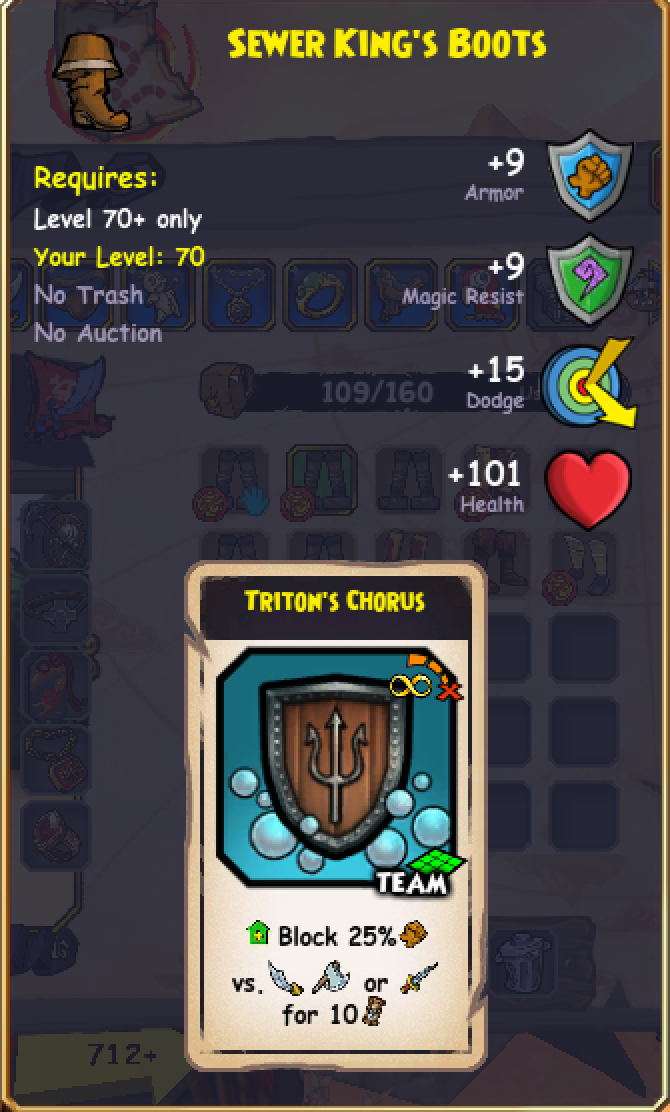
- Boots drop from Klaw
- Mounts drop from Bran
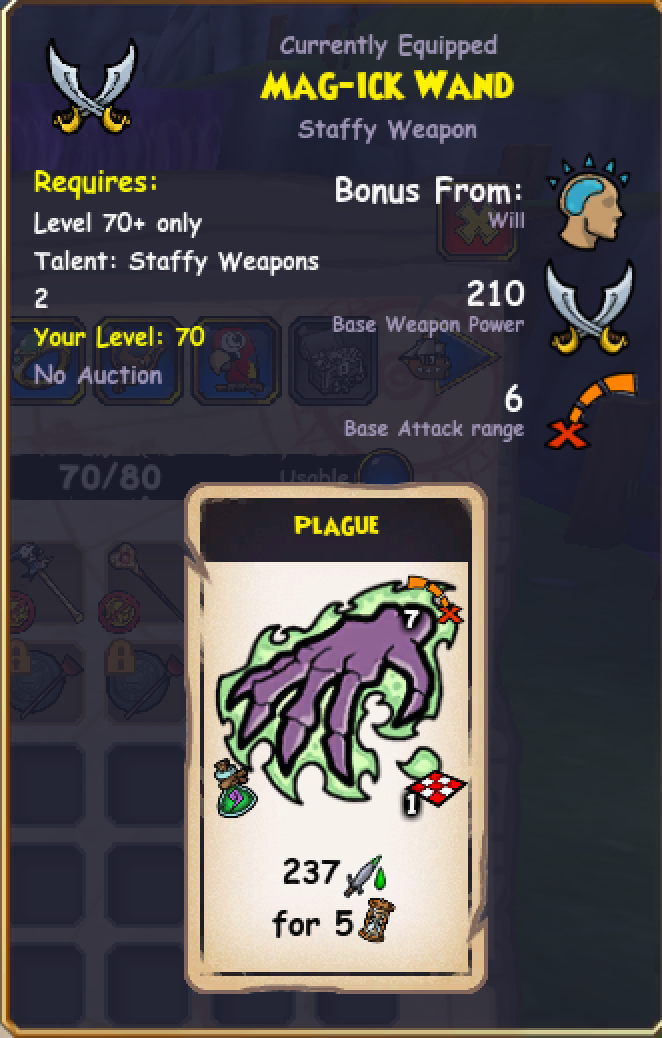
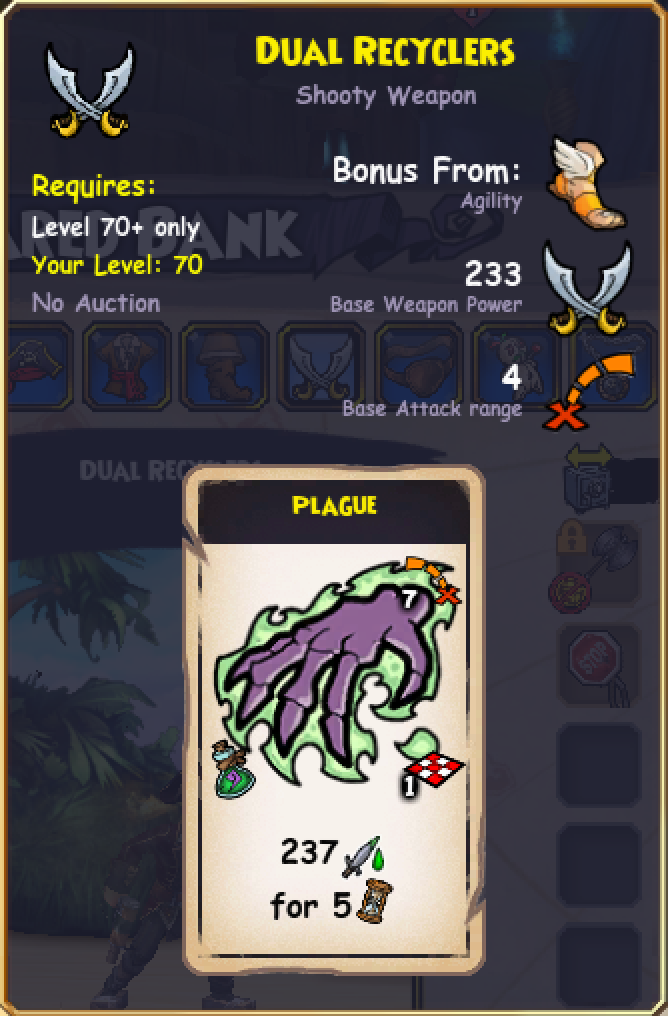
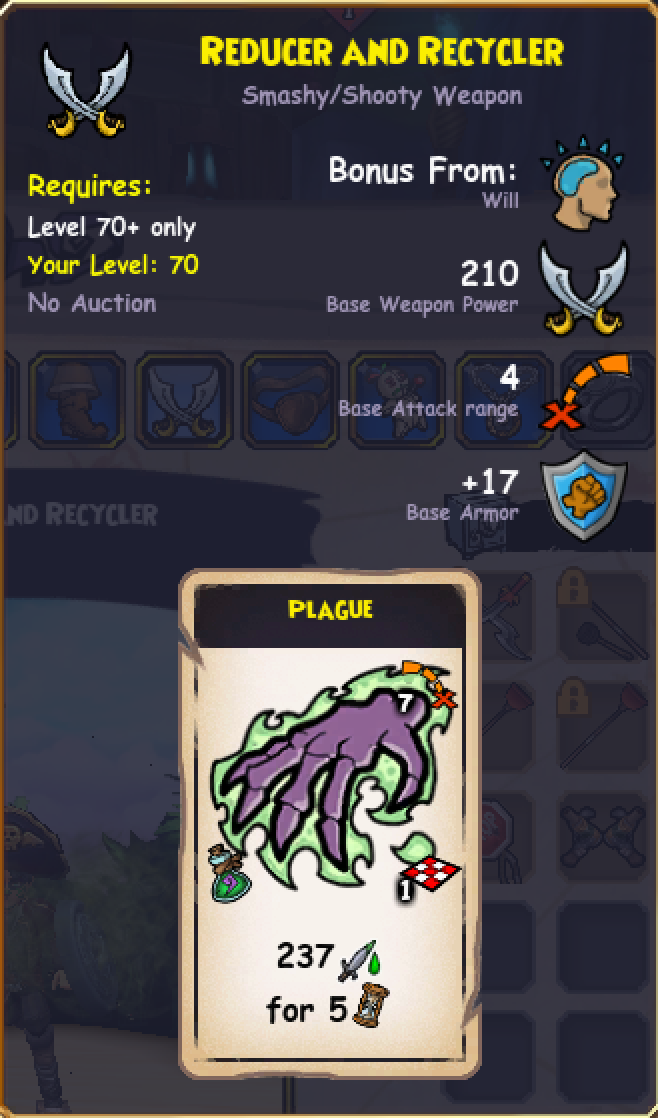
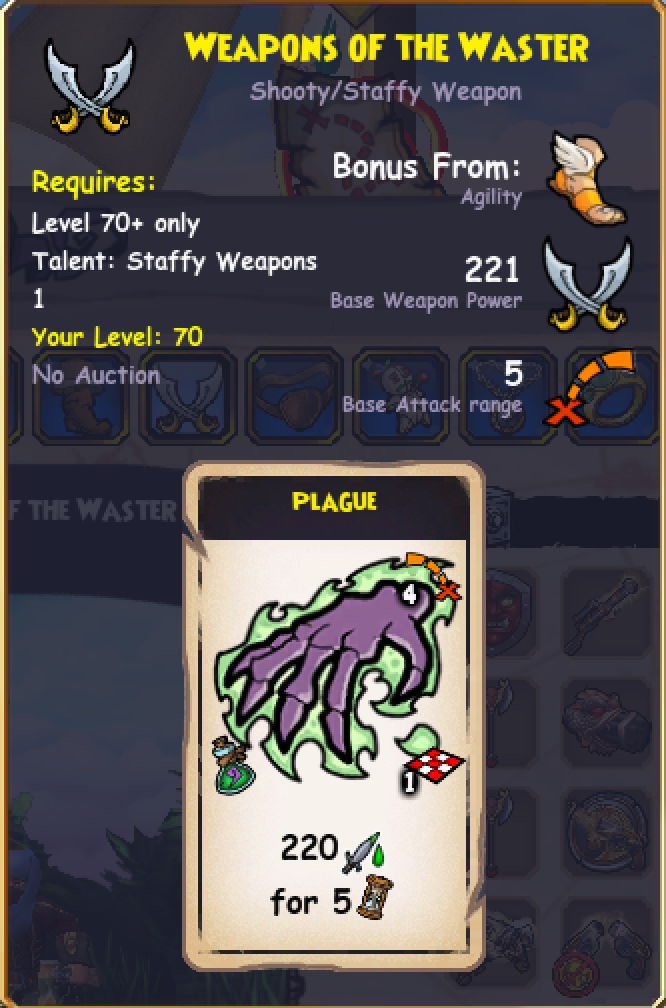
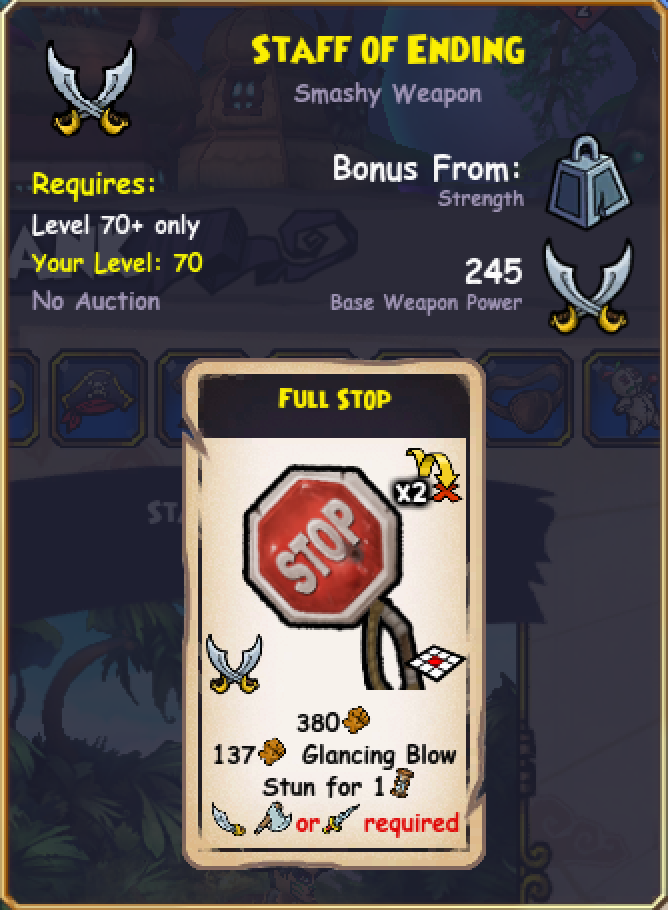
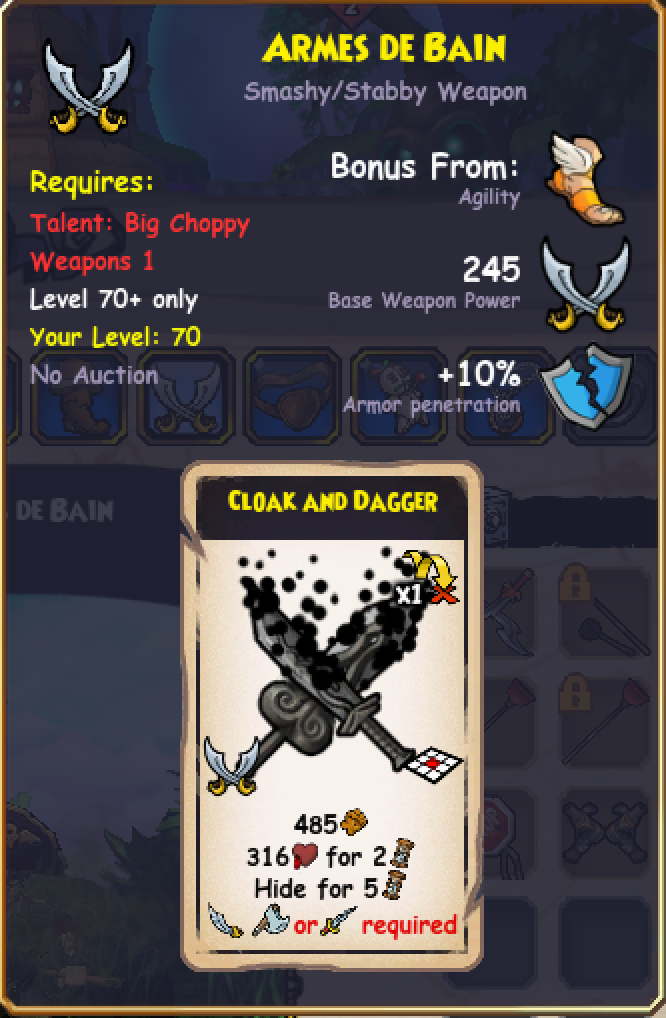
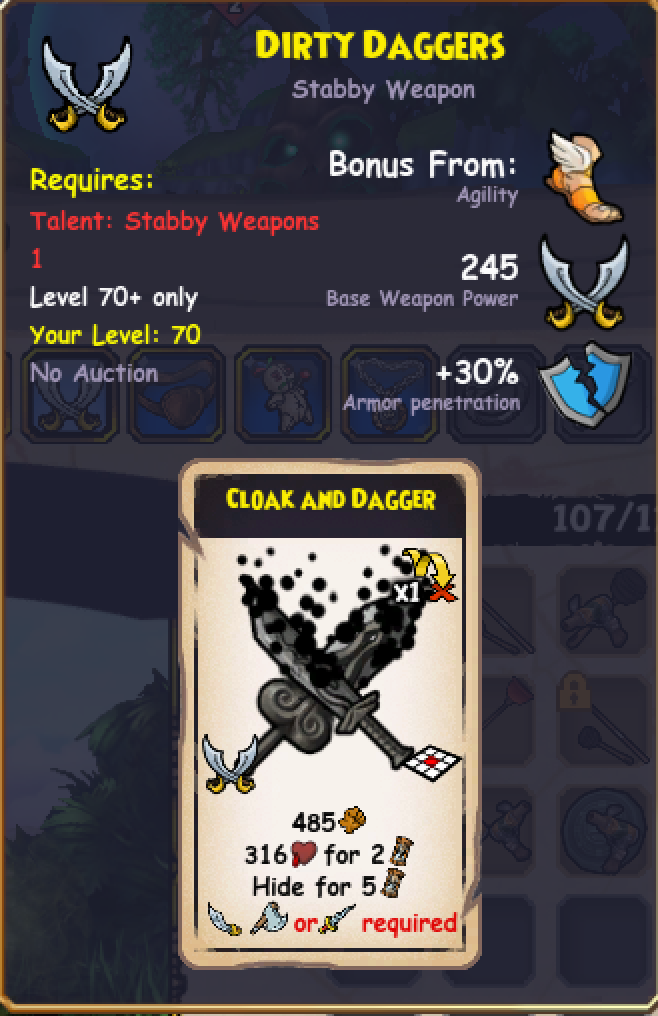
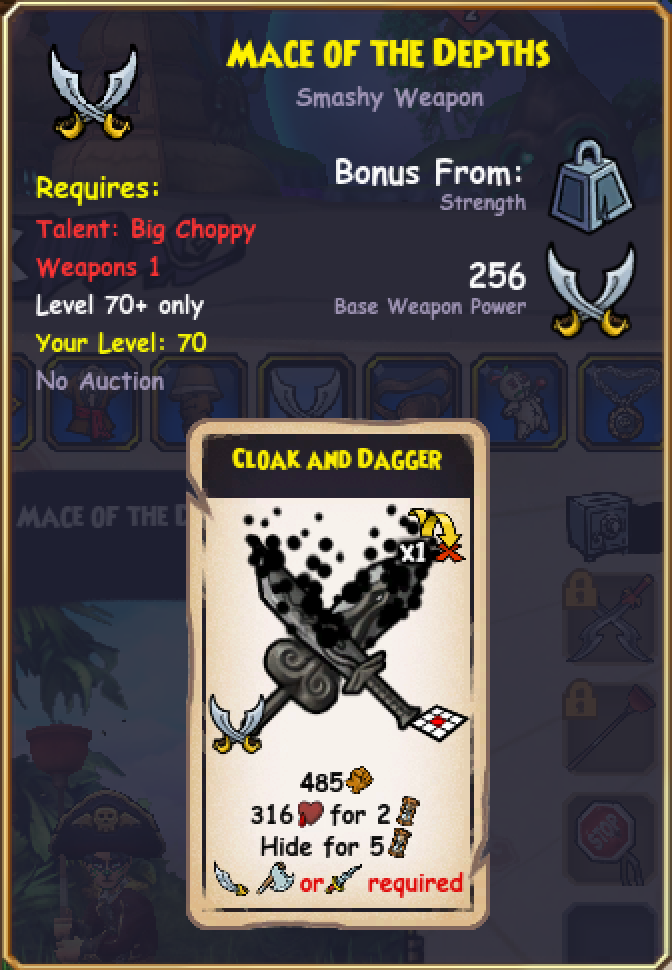
There’s also quite the number of weapons from this expansion, all of which drop from Bran! The powers being granted are all pretty interesting so I can see these weapons being used at the very least to some extent.
- Mag-ick Wand
- Dual Recyclers
- Reducer and Recycler
- Weapons of the Waster
- Staff of Ending
- Armes de Bain
- Dirty Daggers
- Mace of the Depths
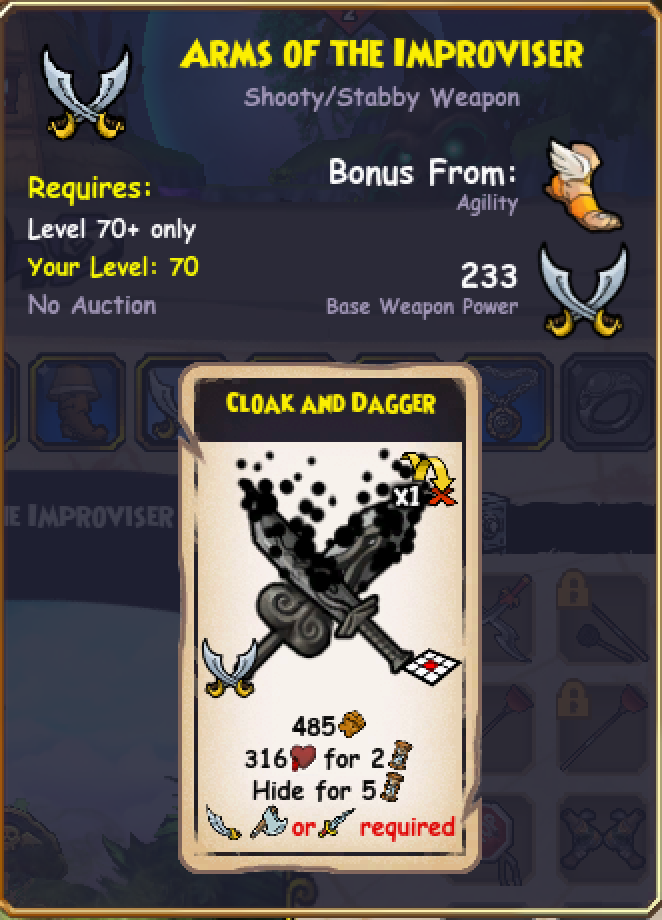
- Arms of the Improviser
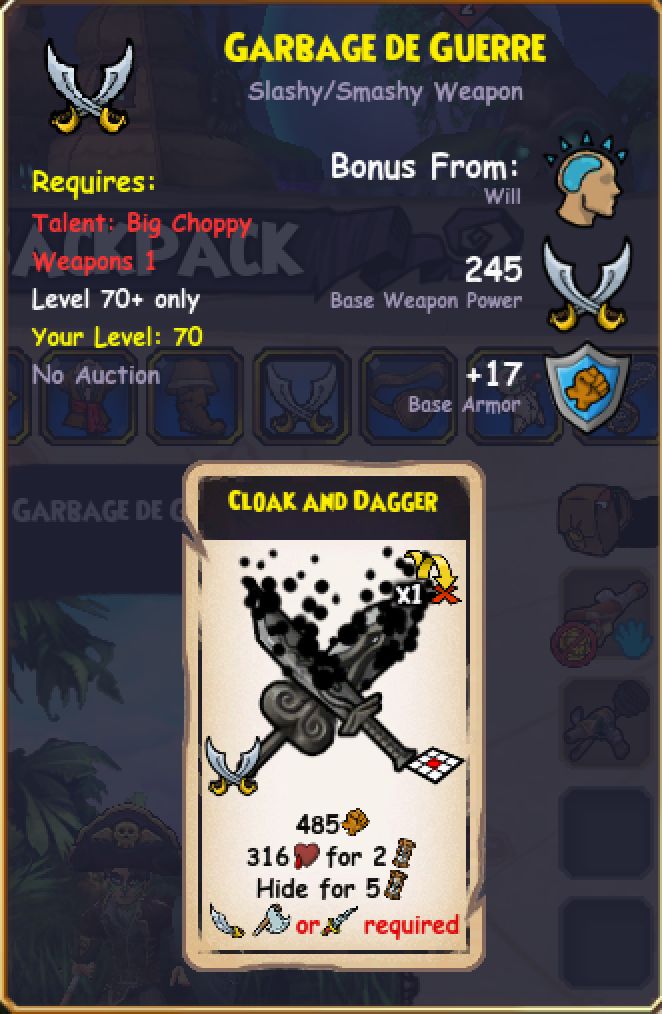
- Garbage de Guerre
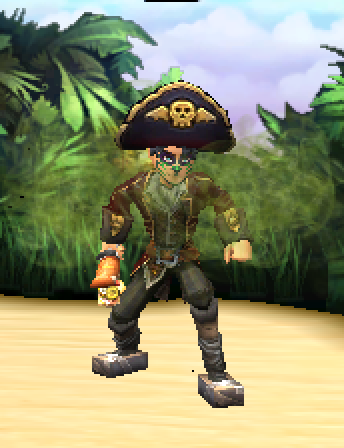
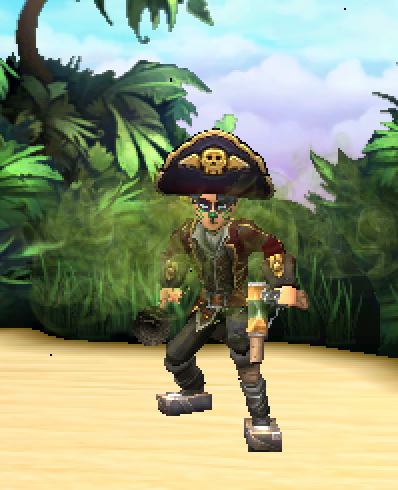
Appearance
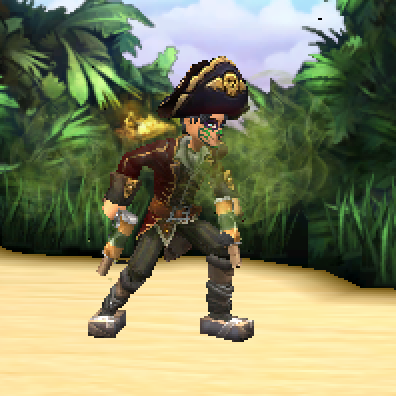
Appearance
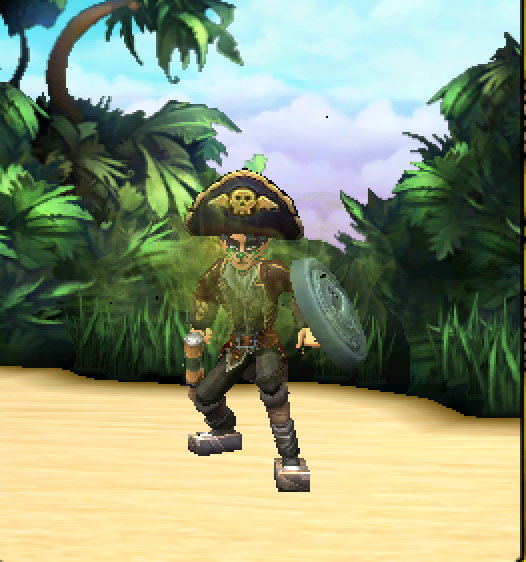
Appearance

Appearance
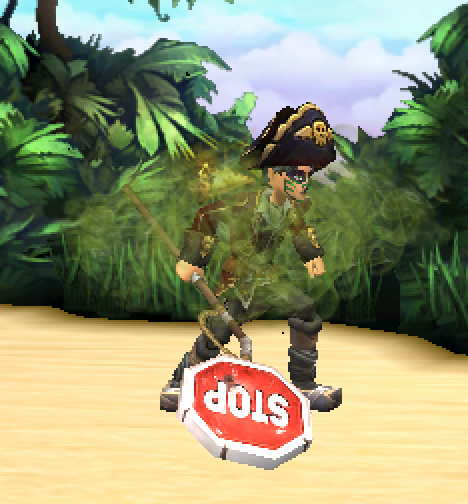
Appearance
Appearance
Appearance
Appearance
Appearance

Appearance
Final Thoughts
As the final update of 2023, this expansion is definitely quite a step forward with some new zones and very interesting mob fights. It’s fully voice acted, reintroducing some companions, NPCs, and even some new friends. This makes it a much more immersive experience than Sinbad Parts 1 and 2, which were essentially a dungeon with Albano talking for most of it.
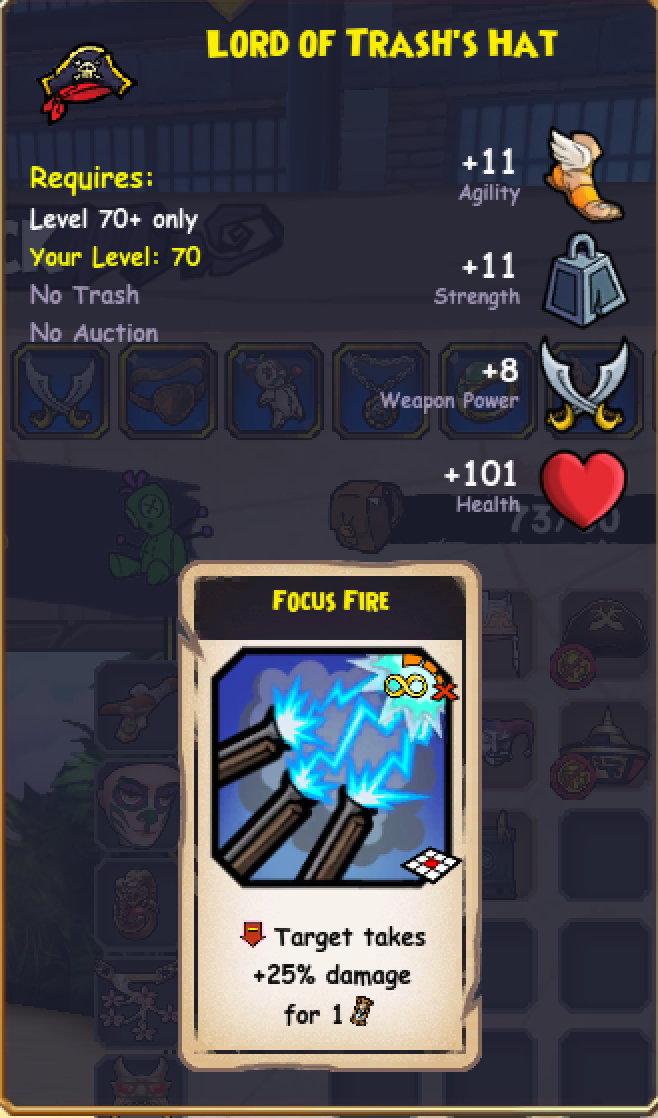
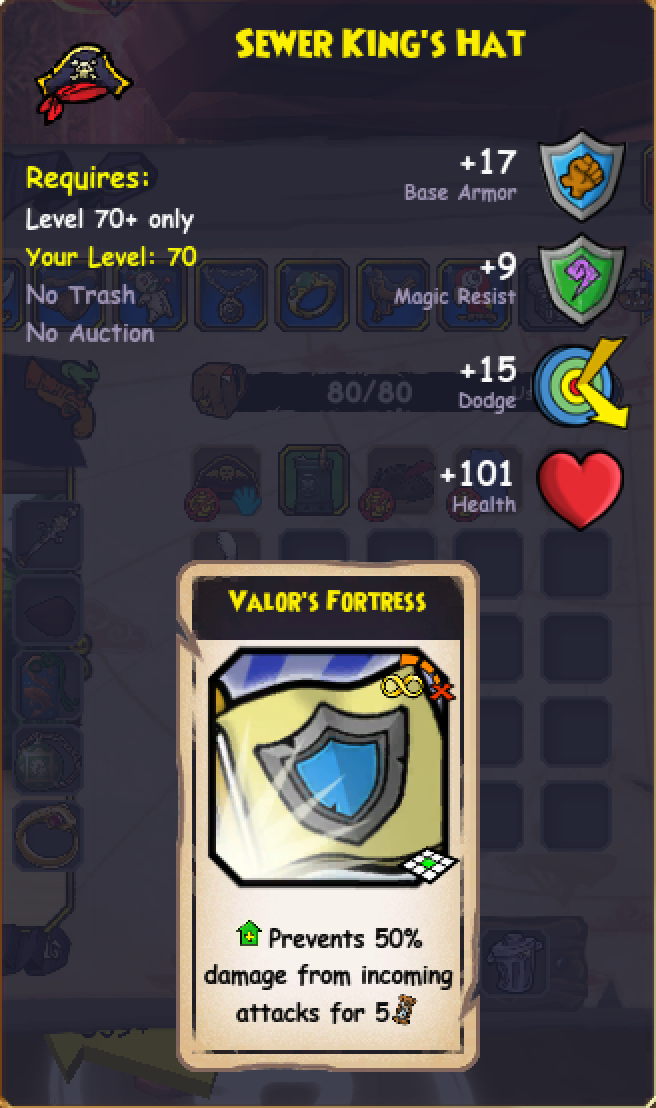
As far as gear goes, in comparison to most endgame gear farms, it actually wasn’t much of a headache! This is probably the most generous addition to endgame gear I’ve seen so the hassle of farming other endgame content, such as the other Sinbad parts, isn’t really there. Some of the gear is quite excellent, I can see the Sewer King’s Hat being used in PvP and gear such as the Lord of Trash’s Boots and Mag-ick Wands are now staples to own. Some of the gear is kind of mediocre, such as the robes, but you could probably make use of them in some quirky way.
Now, onwards to Tartarus!